The Best Way To Copy Time Machine Backups
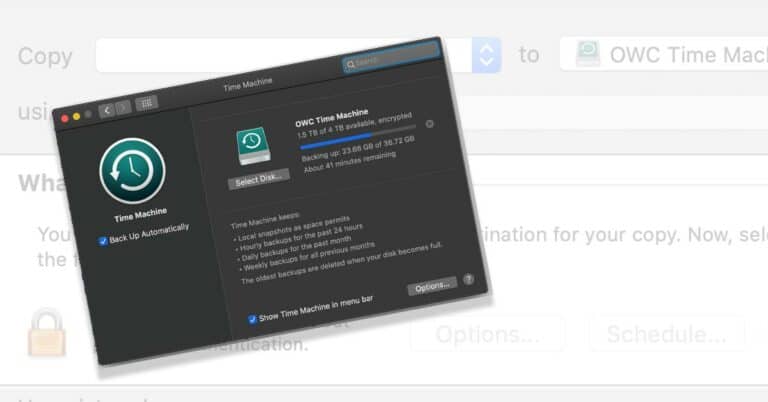
If you are experiencing issues with copying your Time Machine backup from one drive to another, I have the best solution.
If you are experiencing issues with copying your Time Machine backup from one drive to another, I have the best solution.

Of course there have been questions about this. Hopefully this clears things up for everyone.
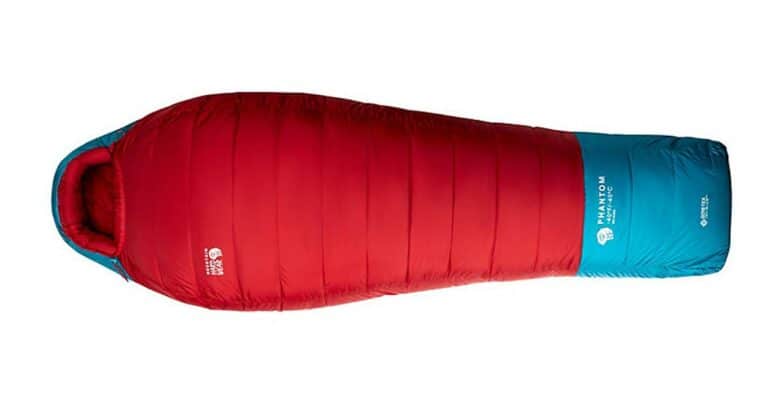
If you’re looking for a sleeping bag that can keep you safe and comfortable in extreme temperatures, I have some advice.

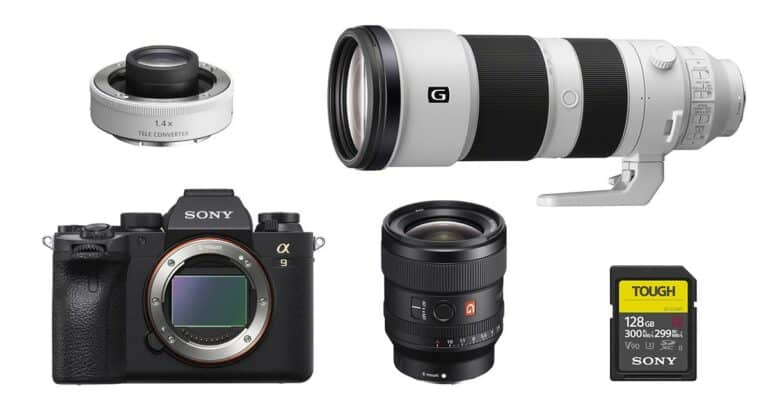
I’m just packing for a trip to Hornby Island off the coast of Vancouver Island where I will once again be photographing sea lions underwater. Here’s what I’m taking with me…
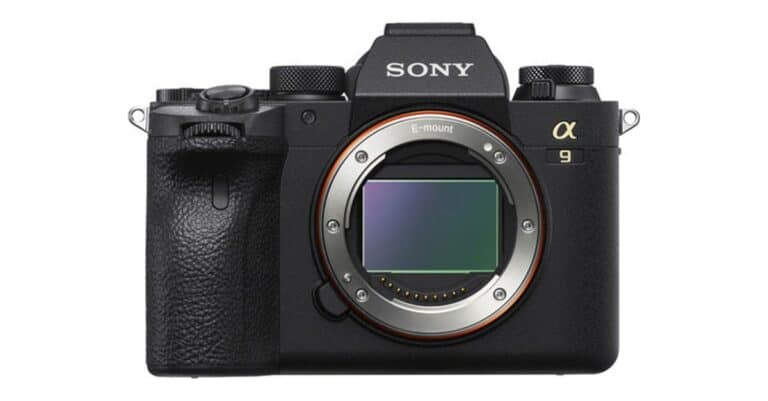
These are the first three things that I always buy for any new camera that I get. In this case it was the Sony A9 II, but you can apply this thinking to any other camera as well.
Well, it happened. I sold my Canon DSLR gear that I have used for my whole career, and began to build a new Sony mirrorless system based around the A9 II.

I’ve rounded up all the best photography deals for Black Friday and Cyber Monday right here!

Gear used for this shot The key to this shot was preparation and pre-visualization of the final image. I was driving back down through the Yukon on the Dempster Highway, returning from a trip to the Arctic Ocean. On trips like this I often adjust my sleep schedule so that I don’t miss the best hours of the day, and in this case, I had slept through the middle of the day and then hit the road in the evening. Not only does that mean I’m driving during the nice evening and morning light, but also at the best time …

Regular readers of the site will probably remember the annual 5DayDeal complete Photography Bundle from years past. Every year, the best photography educators in the world get together for a crazy 5-day sale where they pool resources, offer an incredible deal and give 10% of the proceeds to some amazing charities. Over the years they have raised over $1.5million for the chosen charities! (learn more about the charities here) This year the bundle is sweeter than ever, with over $2800 of products available for just $89. That’s a 96% discount! As you can see from the ominous counter at the …
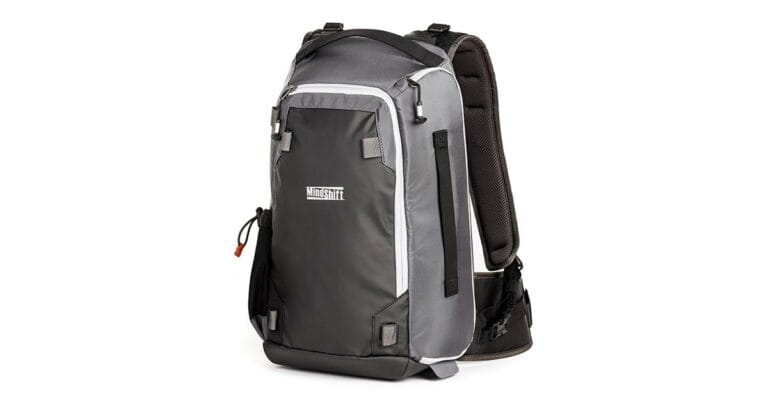
MindShift Gear just expanded their backpack line with the addition of a cool new side access bag called the PhotoCross 13.
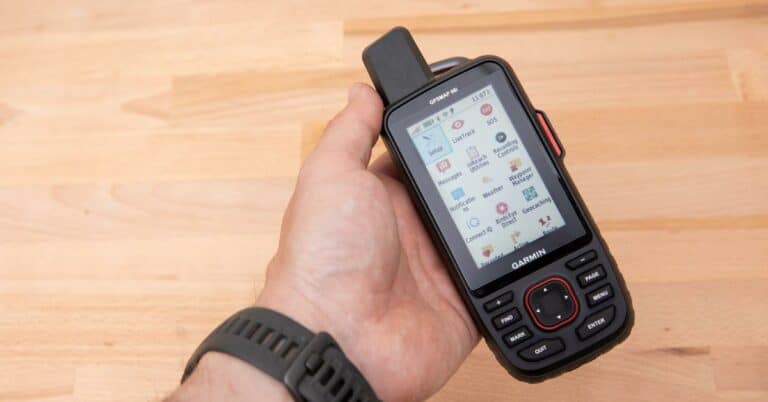
I have always been a fan of InReach satellite messaging devices, and Garmin has finally integrated this technology into one of their handheld GPS units. Take a look and see how I use it for my photography!

Peak Design’s new Travel Tripod just raised over $12million on Kickstarter. Now I have a pre-production version in my hands.