
For those of you that are following these posts in order, I realize there has been a bit of a gap since the last BTS post. I’m going to try and keep things a little steadier from now on, but I got a bit sidetracked with things like the backpacking gear series. Ooops! Sorry.
Equipment Used for this Shot
- Canon 5D Mark IV
- Canon 8-15 f/4 L Fisheye
- Aquatech Elite 5D water housing
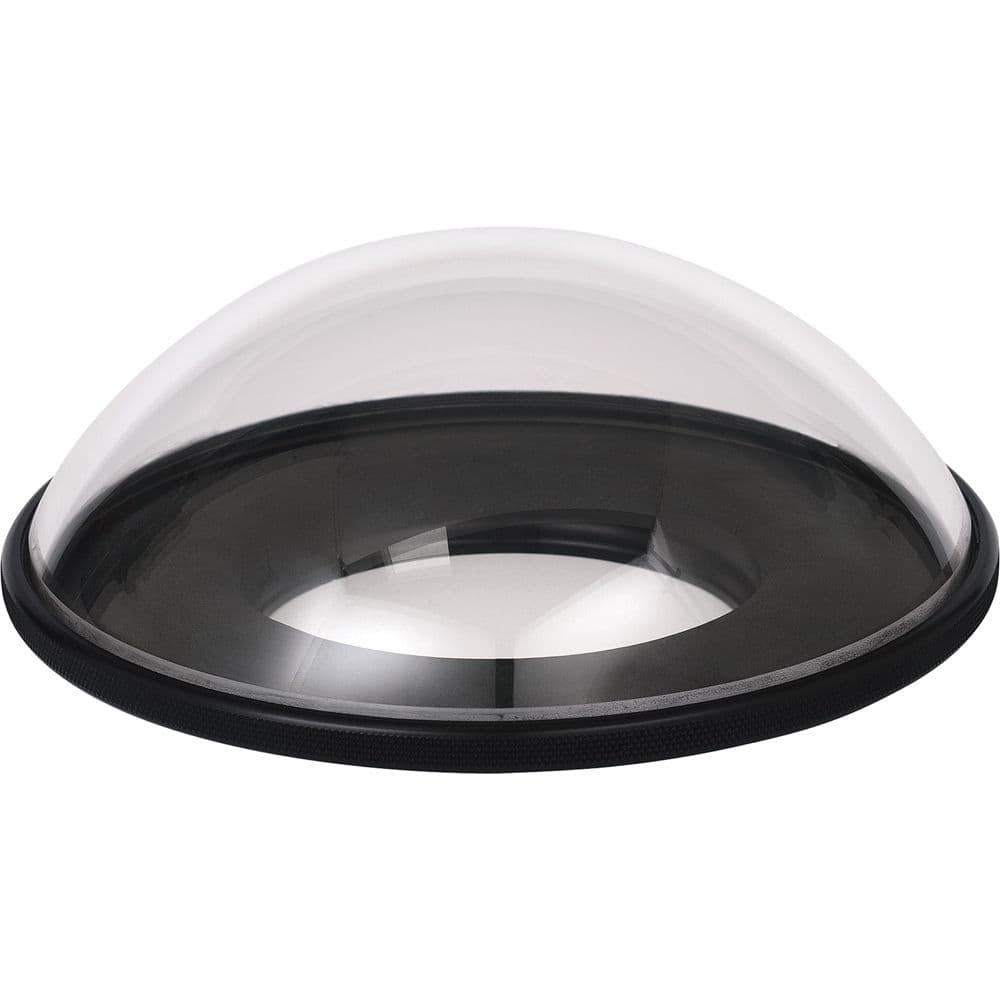
- PD-85 dome port
- English Springer Spaniel
- Lexar Professional 128GB CF Cards
- Adobe Lightroom CC
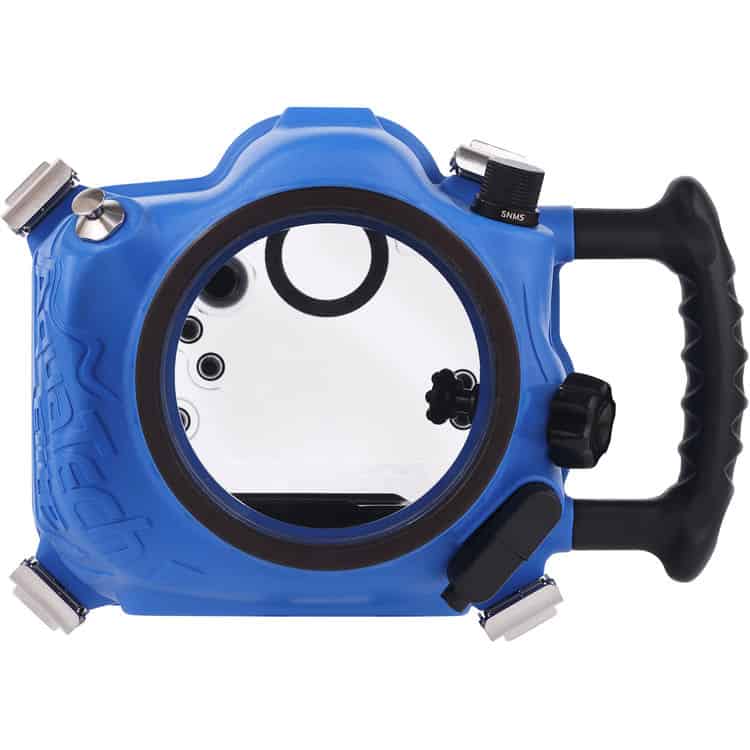
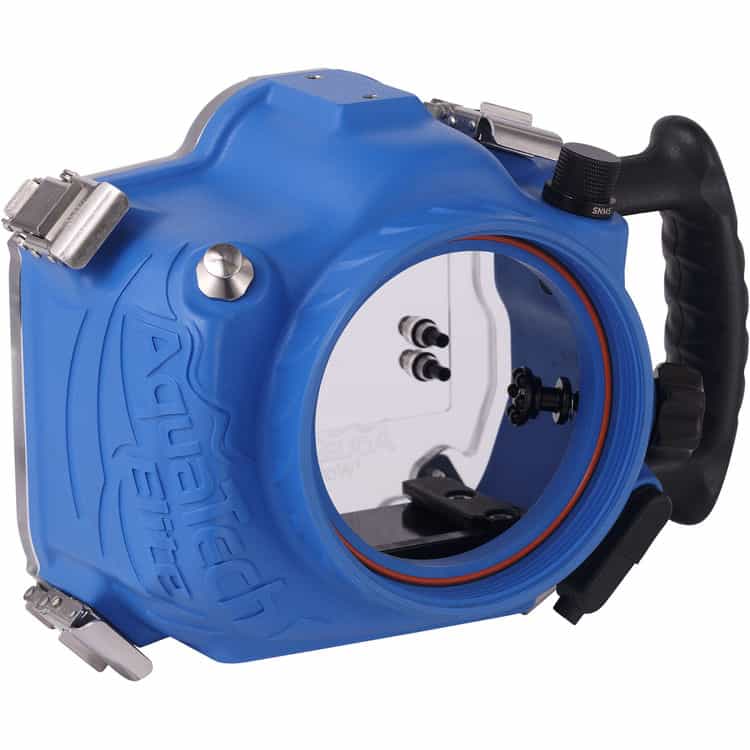
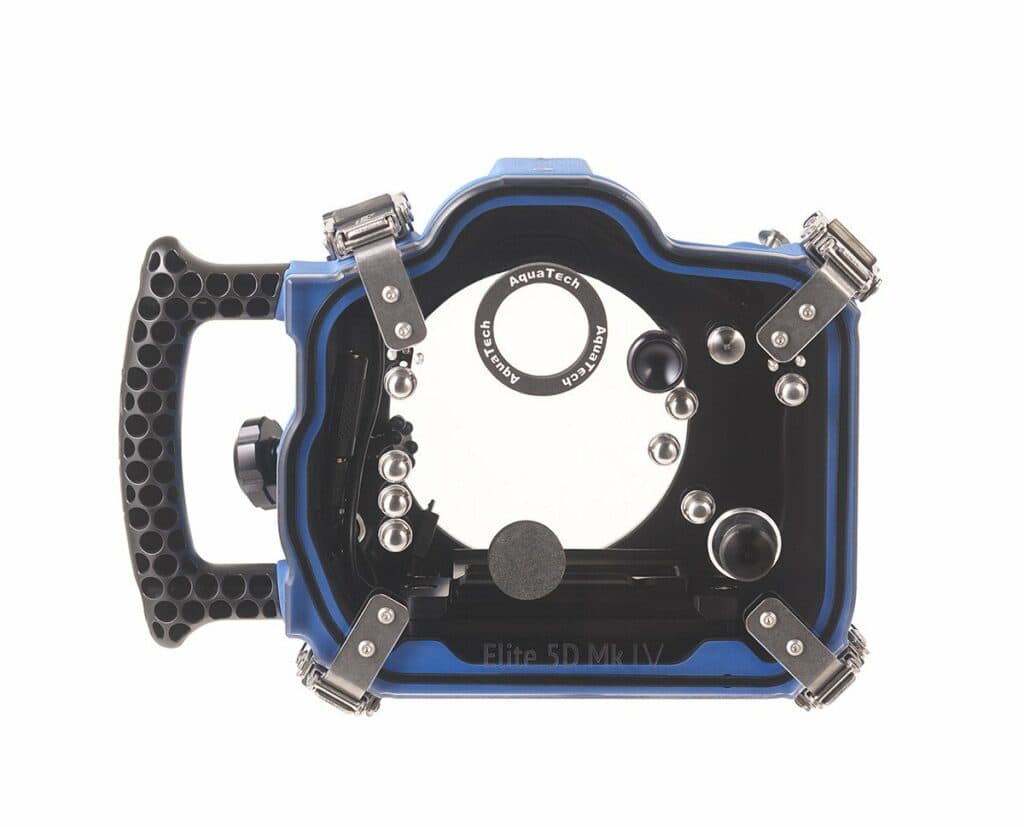
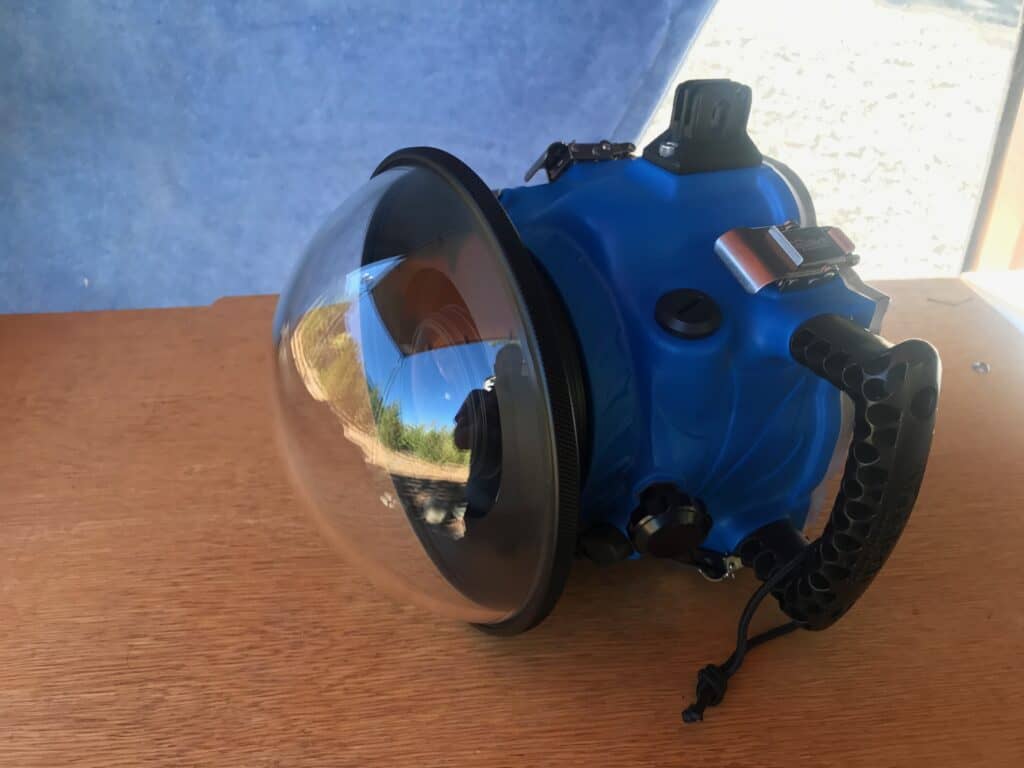
I wanted to share this photo with you because it’s a fun shot, and it also gives me a chance to tell you how awesome the Aquatech Elite underwater housing is for the Canon 5D Mark IV!
I took this photo of my Springer Spaniel as we swam in Tyaughton Lake in British Columbia. This breed of dog is a real water dog, and anyone who has met him knows that lake swims are what he enjoys the most. I thought it would be fun to capture that! The under/over water technique that you see here is achieved by using a large dome port, and the Canon 8-15mm f/4 L fisheye lens.

If you haven’t used a housing like this before, the technique might surprise you! Your main enemy in the creation of an under/over shot like this is going to be water droplets on the dome port. As you pull half the dome out of the water, it can be all too easy to have droplets all over it and then the shot is ruined.
A dome port like this is called a wet port, and actually you shoot through a thin layer of water that adheres itself to the perspex dome. When you pull the lens out of the water, the thin layer sticks to the dome for a brief moment, and this is when you take the photo. Eventually the water layer does flow off, and that is what will eventually leave droplets in the shot.
The key thing is to get the water layer to adhere to the the dome for as long as possible, and you do this with good old-fashioned spit. Yep! You spit on the dome, give it a good rub, and then lick it all over for good measure. There’s a few other tricks out there that some people use, but personally I find a good dose of saliva does the trick. If you do it every few minutes, you’ll have a few seconds to shoot the photo after you have pulled the dome partially out of the water. Pretty cool, huh?
Editing Tweaks
There’s nothing too fancy going on in the editing of this image. It’s about as close to out-of-camera as you’ll ever get with a Raw file! The couple of small changes I made were to the water and the sky, by using the graduated adjustment tool in Lightroom. The first gradient was dragged over the sky, and I lowed the exposure perhaps a third of a stop up there. The second gradient was dragged up from the bottom of the image over the water, and for this one I chose to add some clarity. As you may remember from previous posts in this series, the clarity option in Lightroom selectively adjusts the edge cdge contrast of the midtones, and in this case it has helped to pick out the underwater light rays a little more. I also used the same gradient to add some vibrance to the dark green water.
That’s it! That’s all I did. I didn’t even feel like I needed to sharpen the image, which is both a testament to the sharpness of the Canon 8-15mm lens, and also the build quality of the Aquatech PD-85 dome port. You might even think that shooting this image with a thin film of water over the front of the dome would significantly decrease the image quality, but it’s not the case at all.

