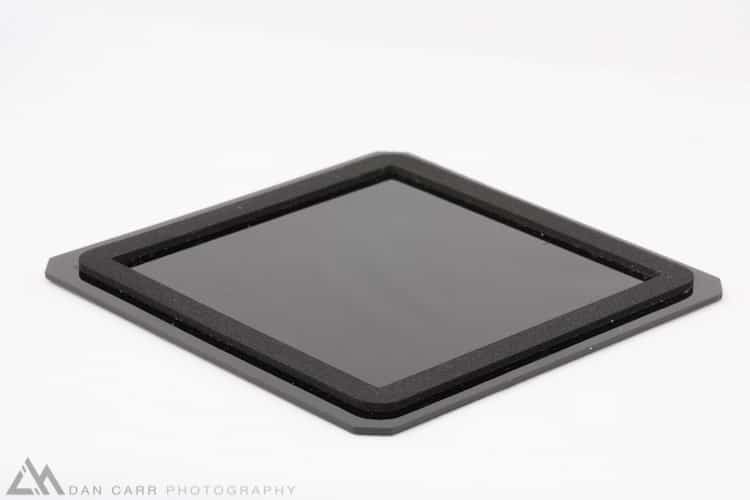
The kind folks at B&H recently provided me with several products from the filter company Hitech for testing and review. I’ve already reviewed their 100mm modular filter holder and now it is time to take a look at one of the most talked about filters, the 10-Stop ND.

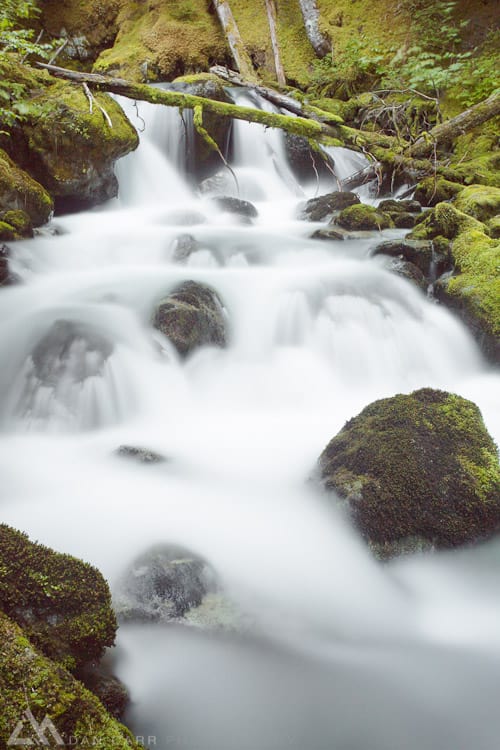
Let’s start with the basics, why would you need a 10-stop ND filter ? In the vast majority of cases the reason to use one is going to be to create long exposure photographs of flowing water and skies. A 10-stop filters will allow you to take some truly LONG exposures even right in the midday sun. Take a look at the little example below which shows your exposure without the filter on the left, and equivalent exposure with a 10-stop ND on the right. It’s simple math to get to this point but I feel it’s worth underlining !
10-Stop ND Exposure times
- 1/8000 —————> 1/8
- 1/4000—————-> 1/4
- 1/2000—————-> 1/2
- 1/1000—————–> 1 Second
- 1/500——————> 2
- 1/250——————> 4
- 1/125——————> 8
- 1/60——————-> 15
- 1/30——————-> 30 Seconds
- 1/15——————-> 60 (1 minute)
- 1/8———————> 2 minutes
- 1/4——————–> 4 minutes
- 1/2——————–> 8 minutes
- 1 Second————-> 16 minutes
If math isn’t your thing then there are several apps in the App Store for the iPhone which will do this calculation for you in the field and they are very handy to have. I used a free app called Long Time Exposure.
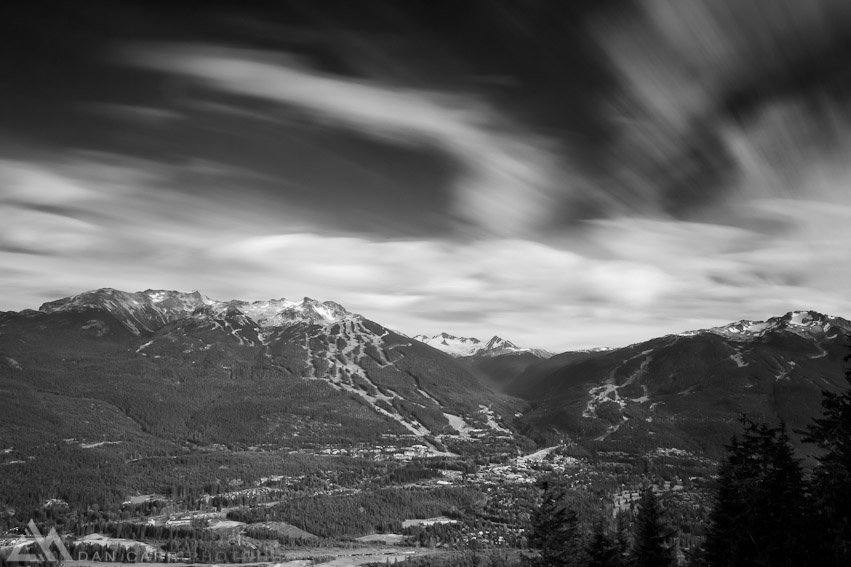
Yes I did say sky up there as well as water. We almost always gravitate to long exposure of water but with the kind of length of exposure available with a 10-stop filter you can also get some great blurred cloud movement in your images.
Using the Hitech Pro Stop 10 will leave you with a pretty big color cast if you let your camera try and figure out what the white balance should be. I generally find that these days my 5D Mark3 does such a good job on auto white balance that I can typically leave it there and only occasionally need to make small adjustments in Lightroom to finish the image. This is definitely not the case when using this filter though. The first images I shot with it I struggled for a very very long time with the temperature and tint controls in LR4 to try and get the image looking right. I simply couldn’t get it.
I do take slight issue with this as the filter is listed as a NEUTRAL density filter when by admission they have not designed it to be neutral……
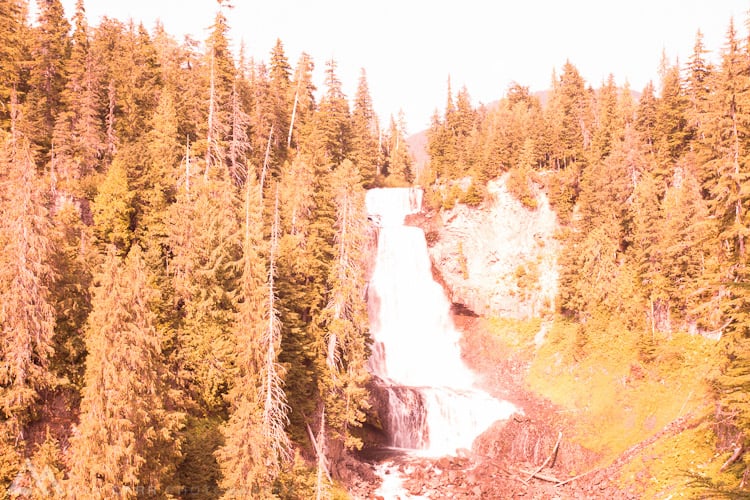
So next time out I wanted to shoot a custom white balance reference and actually ended up using the grey tissue paper that the filter was wrapped in, it was an almost perfect shade of grey to create a custom balance with. With that selected in camera I could see a huge difference right away and the images on the LCD were looking very similar to real life. I found a small amount of magenta had to be dialed back in Lightroom but otherwise it wasn’t bad at all. For your interest I have included an image shot with the custom white balance applied in camera, but without the filter on the lens. This shows you how fierce a correction is needed. It should be noted that no 10-stop filter I’ve seen has managed to be perfectly neutral but by being so blue, and requiring such a large correction it is possible that a lot of the red channel information is being lost in the image, causing it to break down quicker under heavy post processing. The main competitor is without a doubt the Lee Big Stopper. Unfortunately I don’t have one to make a direct comparison. Several others have done this though and it seems that they both produce a cast, albeit slightly different ones.
Let’s walk through some images I took for testing. Hitech say that the blue is optimized for sea and sky shooting but there is an awful lot of green on our planet and that could be problematic.
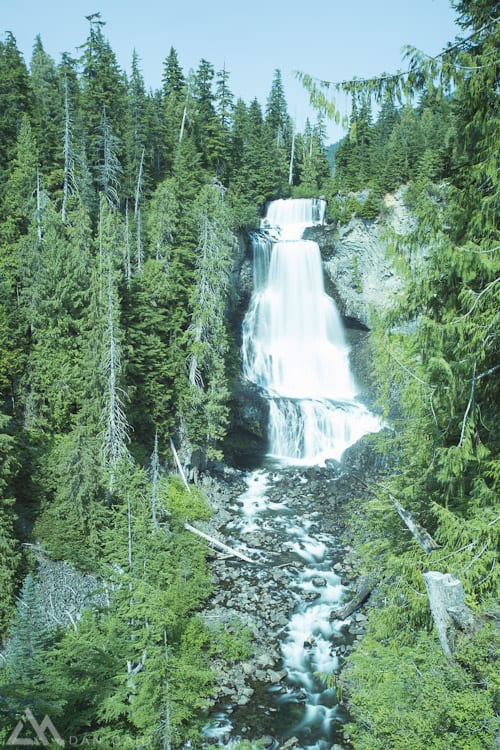
Firstly an image with the 10-stop and just letting the camera try and auto white balance.
Next we have my test image of a neutral grey piece of paper which I would use to create my custom white balance in the 5D Mark 3

Taking this blue image into Lightroom we can use the eye dropper tool to examine it a little closer and it required a 12250 temperature and +120 tint to get it back to the right area.

Using this custom WB image in camera produces this right away though:
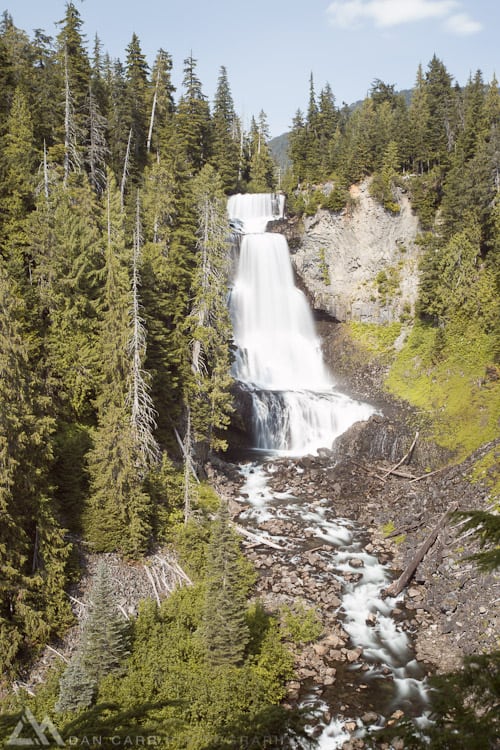
Now this image is not too bad in my opinion. There’s a little extra magenta which is most visible in the rocks by the river, and the greens need a little tweaking to remove a slightly yellow tint. I took it into Lightroom and tweaked the luminance and hue of the greens, bumped the contrast slightly and got to the below image very quickly.

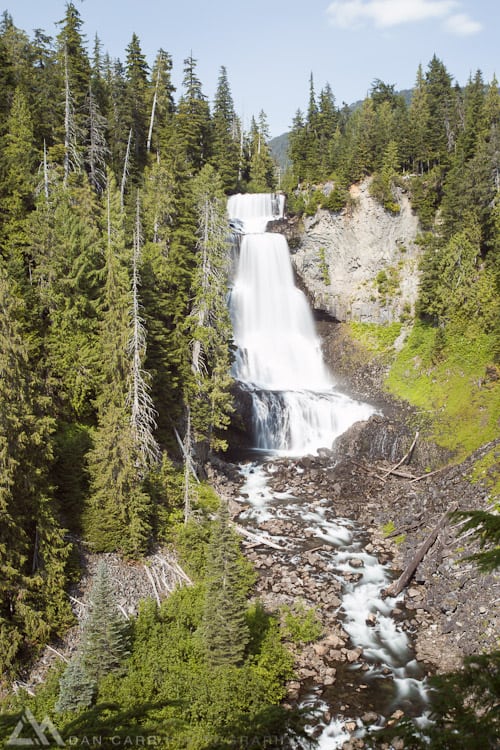
Whilst I do not agree with Hitech’s decision to make the filter with a blue tint, you can quite readily get a good looking image simply following this process.
What is interesting to me is a polarization of opinion about this filter on the internet. I conversed with several people on various social media platforms about this platform and opinions ranged fron ‘fine, just like the Lee Big Stopper’ to ‘never ever use this filter’. Why is this ? Some of it might boil down to people’s lack of understanding in how to do an in camera custom white balance but I also got negative reviews from real pros who most definitely do know how to do this. A clue can be seen in the Hitech comment I posted above I think, they mention variation in batches of filters and I have a feeling that judging by the varied opinions this is quite prevalent. It’s rare to see a company openly admit to variation like this.
If you decide to purchase one of these filters and you know another photographer who owns one, I would love to see a comparison of several of these.
Conclusion
Firstly you absolutely MUST do a custom in camera white balance when you use this filter. I’ve found it to be a more reliable start to the proceedings than simply using the eyedropper in Lightroom or ACR. In doing this it is possible to get a pretty accurately colored image right out of the camera. The greens definitely do suffer which is a shame, I wish overall they really had made this a NEUTRAL density filter and I think it is wrong of Hitech to call it such when they state themselves that it has a blue tint. Whether this is intentional , or because they have struggled to make a neutral version is not clear but it certainly seems highly detrimental to peoples opinion of the filter so if it really is intentional then it seems a rather odd choice. Nonetheless I was able to get some good results out of it and whilst I made mention of the ease in which you can scratch a CR39 resin filter, it’s far far more robust than the glass Lee filter which will simply crack at the first drop. Also worth a note is that the rubber gasket did a fine job, at least in my Hitech filter holder, of proventing light leaks. I understand in the first version of this filter this wan an issue but that is now fixed and if you talk to Hitech I believe they can even supply custom gaskets designed for other filter holders.
In extremely long exposures like the 342 second one above I noticed a propensity for the filter to darken the mid-tones of a scene relative to the rest of it. It’s not noticeable in shorter exposures, say 30 seconds or a minute, but quite noticeable in very long ones. I can’t comment as to whether the Lee has the same effect though but I suspect it would. Once you get into these very long exposures all sort of things happen as the sensor heats up and infra red light builds up which brings down the contrast and requires a little more fiddling with the tonal curves. At $160 the Lee Big Stopper is slightly more expensive than the Hitech Pro Stop which is currently $146 but probably not by enough that it will make the decision for someone. Lee filters are notoriously difficult to track down though and almost it seems permanently out of stock at the big online stores. If they do come in they are gone again in minutes so if you are in the market for a 10-stop filter then definitely take a look at the Hitech Pro Stop. Having the ability to do such long exposures in full midday sun is a fun little addition and I’ll be keeping this thing with me whenever I go out to shoot. Unfortunately for Hitech I think the blue tint to the filter, relative to the Lee Big Stopper is giving this filter a bit more of a bad rap than it deserves because you can certainly get good results and I was also pleased with how little the image sharpness suffered. Now if they did another version that really was neutral I think it would be even better.

