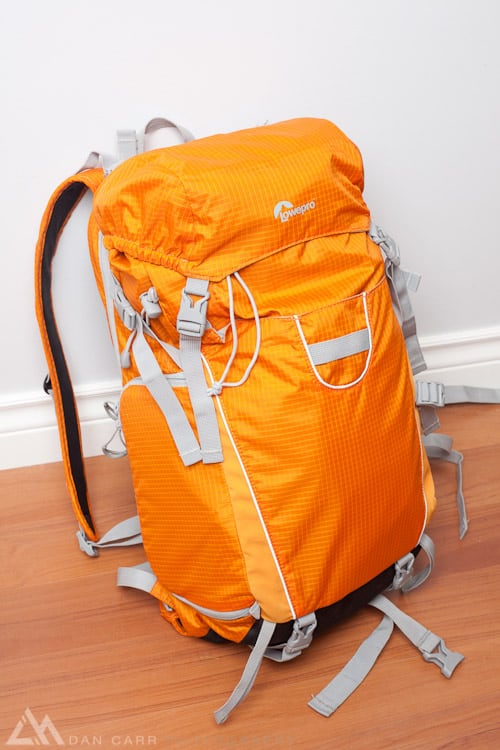
The eternal quest for the perfect camera bag is one that I’m sure you’re all familiar with. I’ve given up looking for “The One” though because the breadth of photography that I enjoy makes such a bag an impossibility. I prefer to narrow things down a little and in this instance I’m on the hunt for the best outdoor adventure photography pack. This year Lowepro launched two bags that fall into this category, the Photo Sport Sling 100 and the Photo Sport 200 AW. Lowepro recently sent me a 200 AW to try out and it’s actually the first Lowepro bag I’ve tried out so I was very interested to see how it performed. First impressions upon unpacking it were just how light it is and how nice the nylon material feels. Overall impression of the construction is something I always note, and with the Photo Sport 200 there were no loose threads or missed stitching in site. Clearly a well constructed bag that felt great to the touch when opening and closing various compartments and zippers.
Key Features
- Exterior: 10.6W x 6.7D x 19.3H in. 27 x 17 x 49 cm
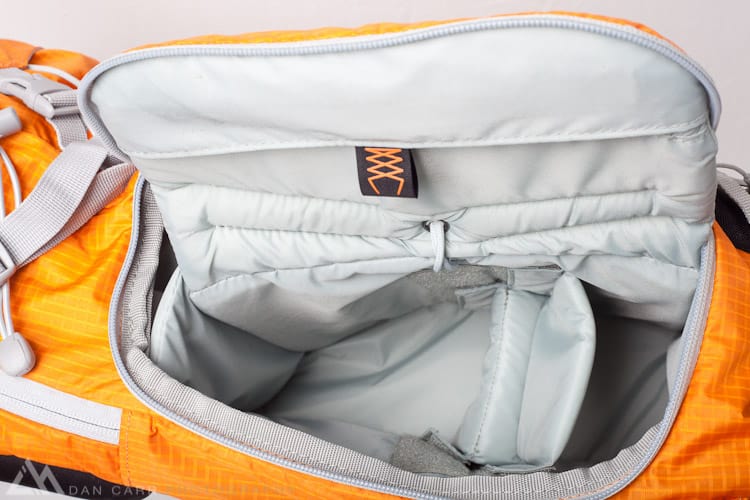
- Interior Camera Chamber: 7.7W x 3.5D x 9.1H in. 19.5 x 9.0 x 23.0 cm
- Toploading Compartment: 13.9 liters
- Weight: 2.9 lbs / 1.3 kg
- Fits: Pro DSLR without grip with lens attached; flash; hydration reservoir (not included); personal items like a hat, light jacket, trekking or ski poles, snack, cell phone, keys, etc.
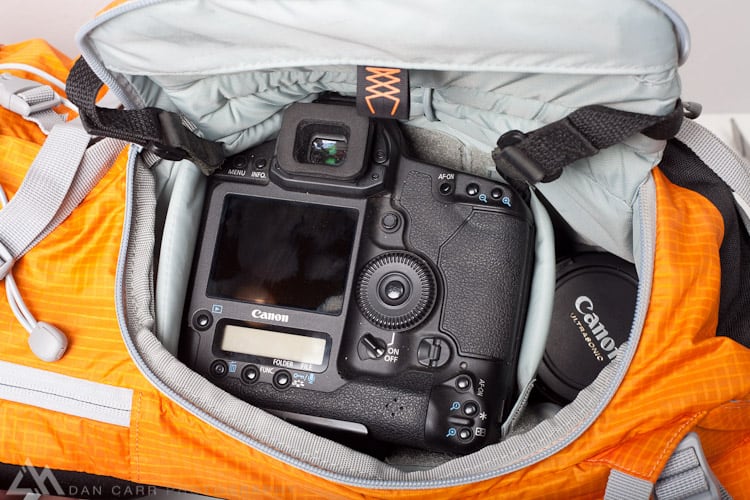
An amendment to the list above that I’d like to make…. whilst the bag is specified for pro DSLR without grips, I have been carrying my Canon 1dmk4 around in it without much trouble. It makes it quite a tight squeeze when you close the zipper but it is a possibility. Packing the bag is slightly easier with a grip-less body though. See my photos later on in this post though for an example.
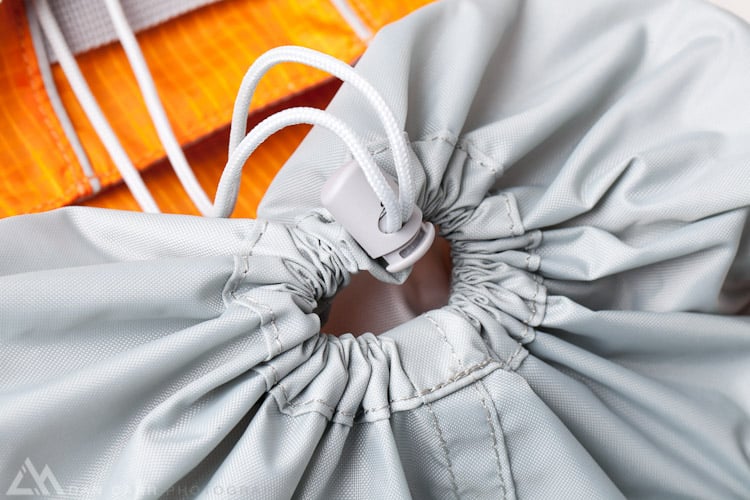
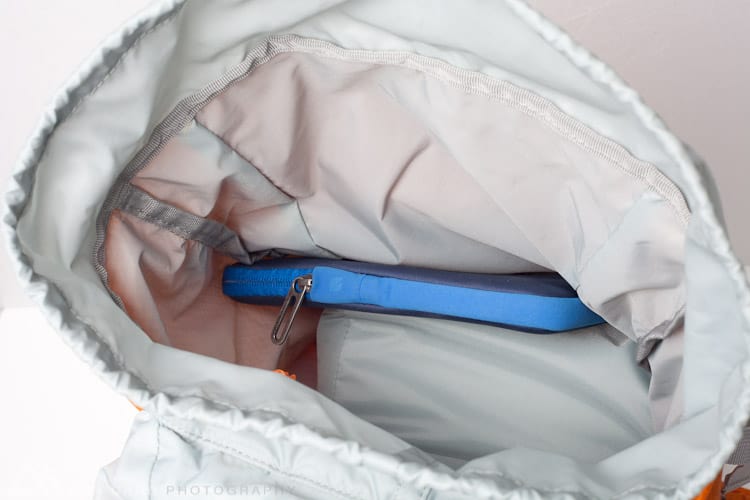
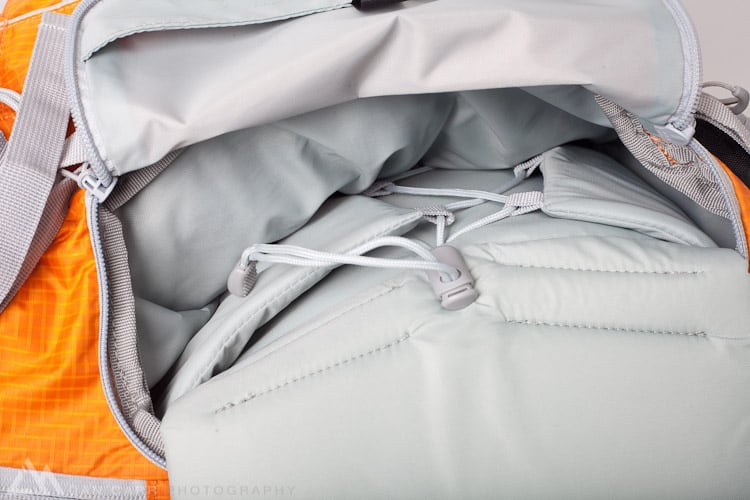
The main compartment closure is provided with a drawstring. The flap that covers the whole top of the bag reaches around plenty far enough to ensure that dust and dirt doesn’t come close to the drawstring area.
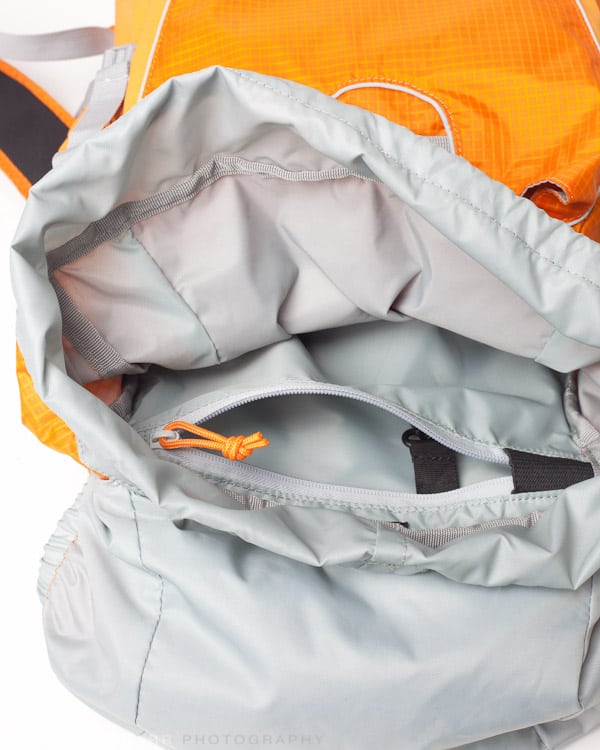
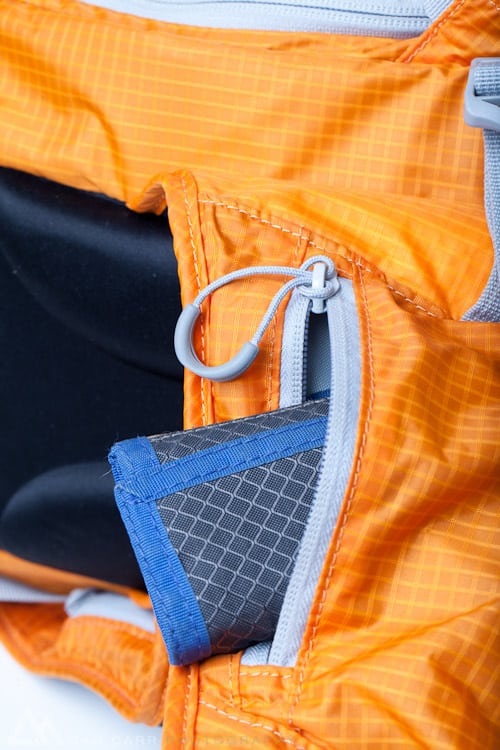
Just inside the drawstring you’ll find an interior zippered pocket with a key clip. I found this was a great place to keep my memory card wallet, filters and all those other little expensive things.
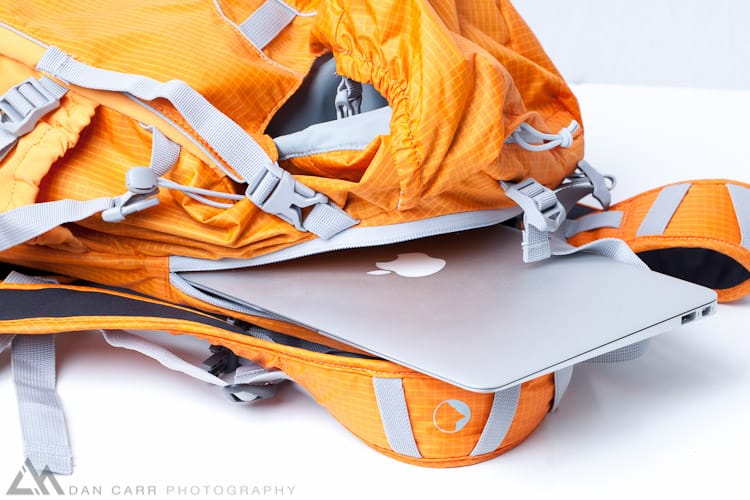
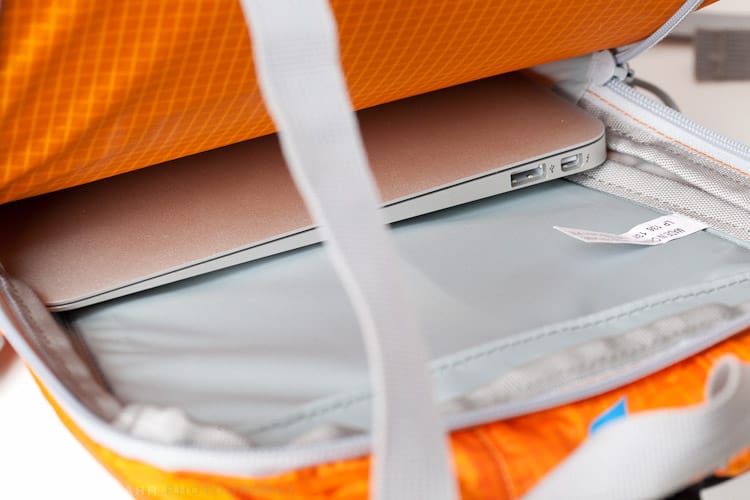
This rear pocket is designed for a water bladder but it’s also a perfect fit for an 11″ Macbook Air.
An excellent part of the design is that the interior pocket stretches right down the full length of the bag behind the camera compartment. This gives you another excellent place for a small laptop like my Macbook Air in the photo above. Alternatively I also found that there was room for my monopod or a few magazines and a book when I took it on a weekend trip. The top loading compartment is just about 14 liters in capacity which is plenty of room for a couple of extra thick layers and food for a days hiking or biking, or even a full change of clothes if your spare outer layer isn’t too bulky. To me it felt like more than 14 liters, on an overnight camping trip I also managed to fit a second pair of shoes on top as well.
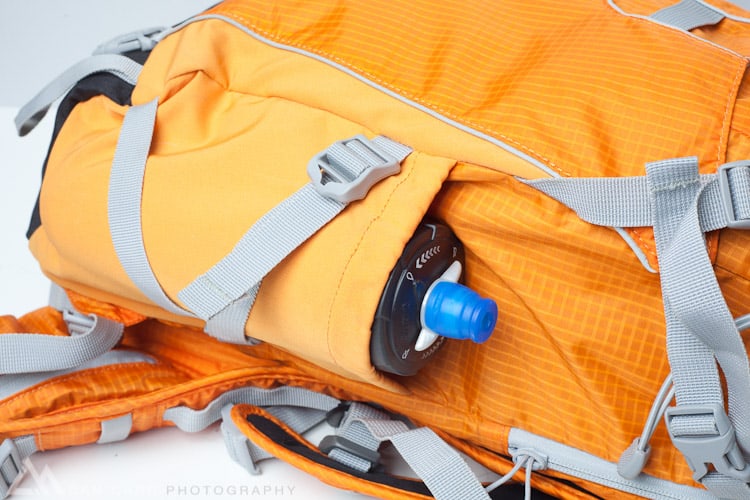
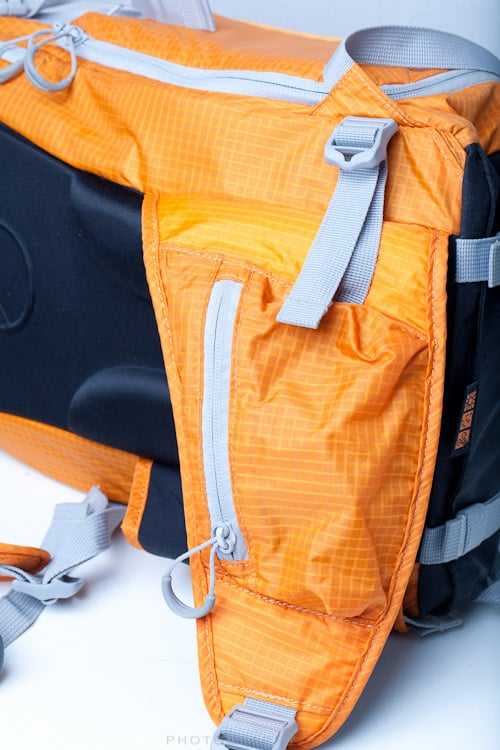
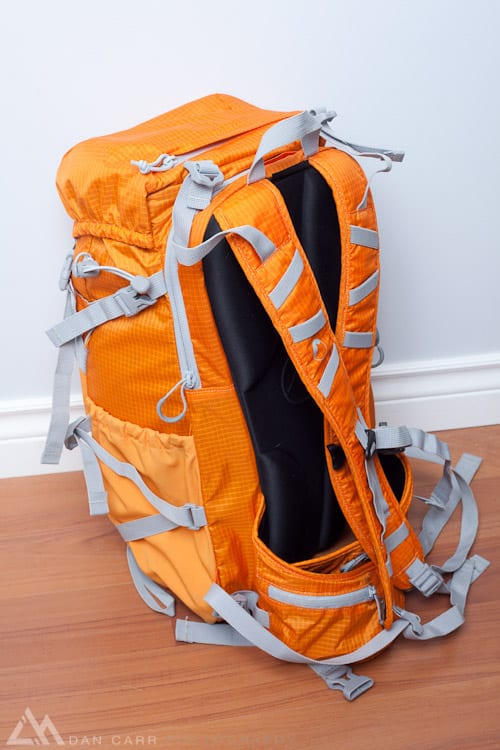
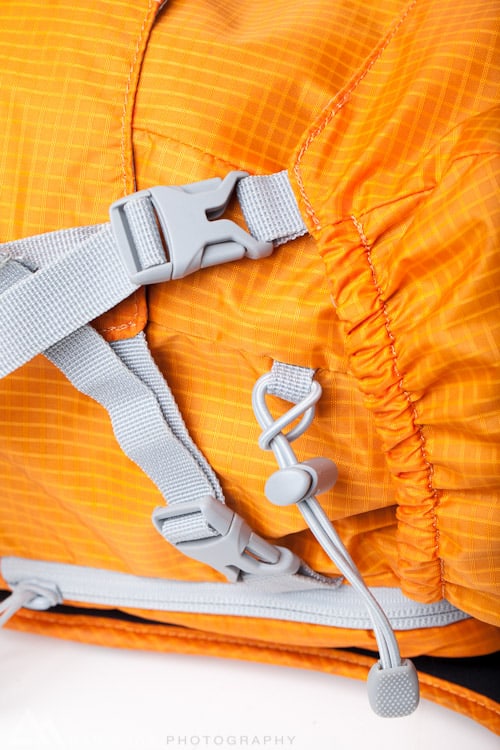
Elasticated side pocket safely secures a range of items with the compression strap. A minor complaint here is that the stretchy material used for this pocket seemed to be a bit of a dirt magnet. On the far right of this photo you can also see a compression strap further up the bag. Combining this strap with the elasticated pocket gives you a way to attach a small tripod to the bag. I would love to have seen a way to attach a a tripod right on the front pf the bag. I personally don’t like having a tripod on the side as it unbalances the pack much more. Due to the small overall size of the bag though, users of huge 3 or 5 series Gitzo tripods will probably find that they can’t secure it on the side of the pack very well but it lends itself nicely to to “traveler” style tripods.
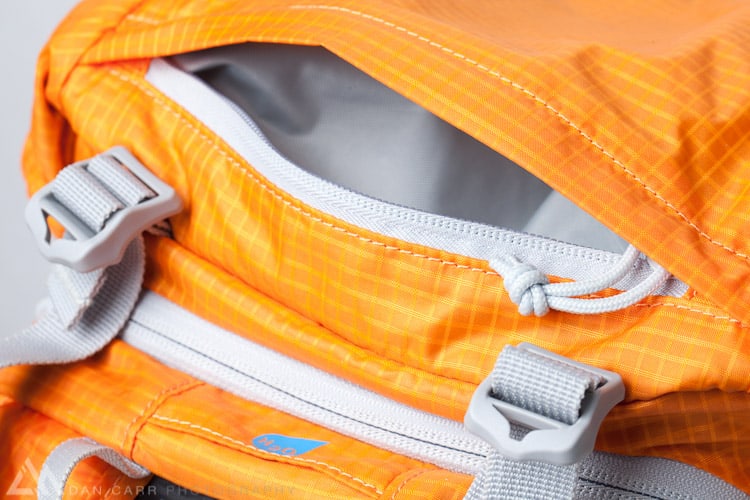
The top lid pocket is the perfect place for your snacks and gloves in the winter. It’s easily big enough for a bulky pair of gloves and a hat.
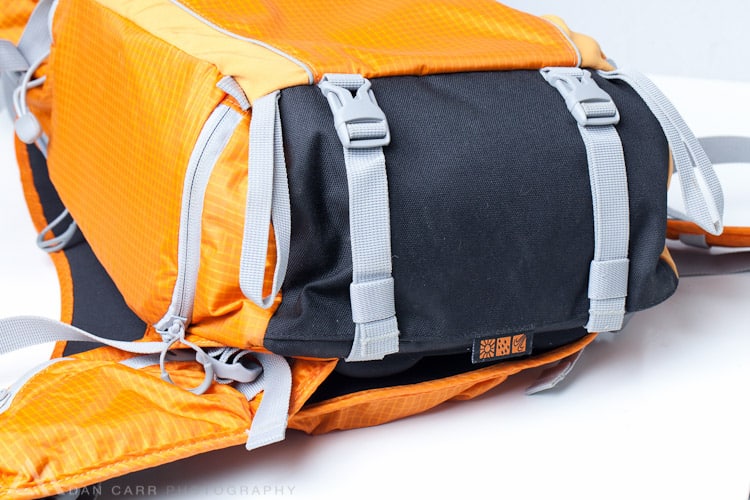
The bottom of the bag features a much tougher material to prevent rips and damage. Also included is a pair of straps that could be used for additional equipment in a stuff sack.
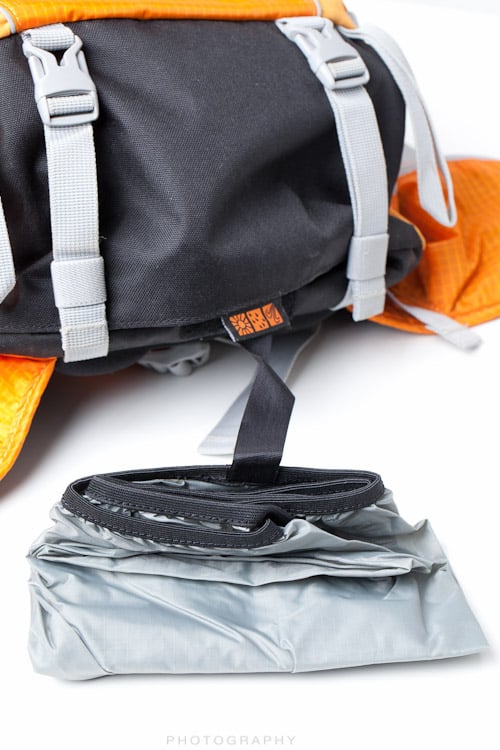
In the base of the pack is a waterproof rain cover. At this price point it’s great to see this included for free as some more expensive bags are charging additional $20 for a rain cover.
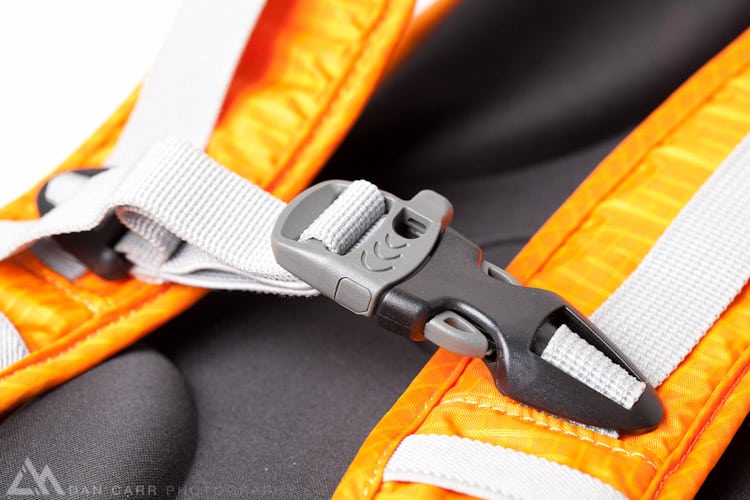
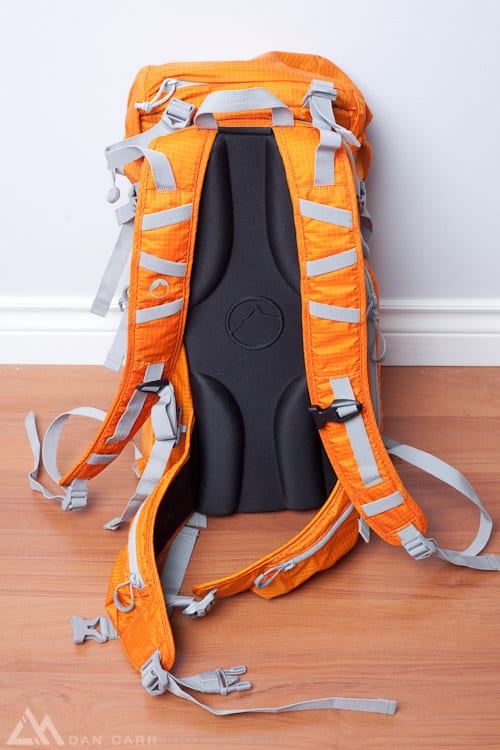
Chest strap features elasticated expansion and built in whistle.
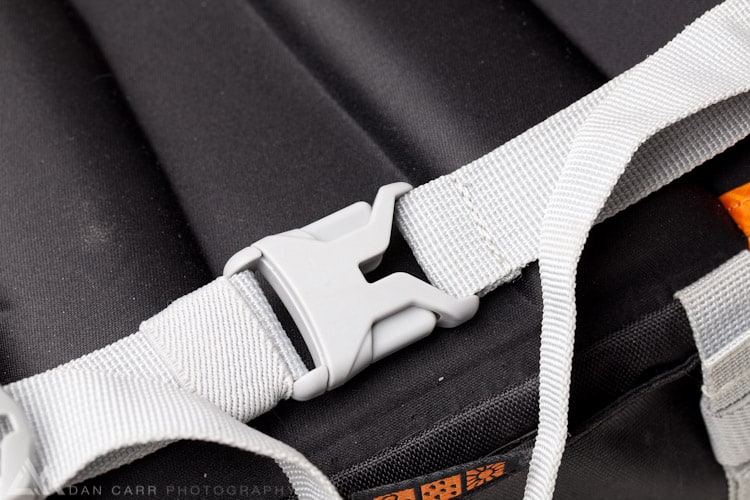
The waist belt itself is very thin and the buckle is very small. Obviously there will always be compromises between weight of a bag and size, thickness and padding of the support system. With the waist belt I wish that Lowepro had gone for something more substantial. I found that when the belt was tightened up, and I was hiking wearing just a T-Shirt, the belt dug into my stomach more than I would have liked. With a couple more layers on it became less of an issue though.
The hip padding is quite thin and supple and didn’t help much with transferring the bags weight to your hips. I wish that they had made them a bit thicker but it’s nice to have zippered pockets on both sides.
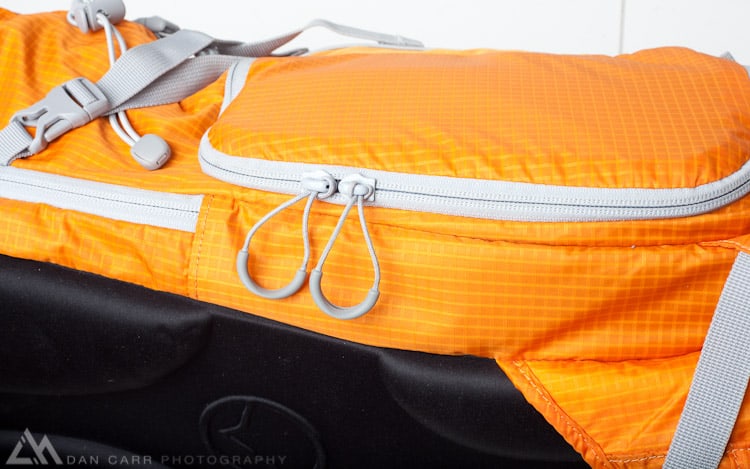
The side compartment features a dual zipper configuration. A small point, but I really like the zipper pulls and they are large enough that you can use them easily with gloves on.
The bag comes with only one padded divider. It would have been nice to see a couple more options in that area.
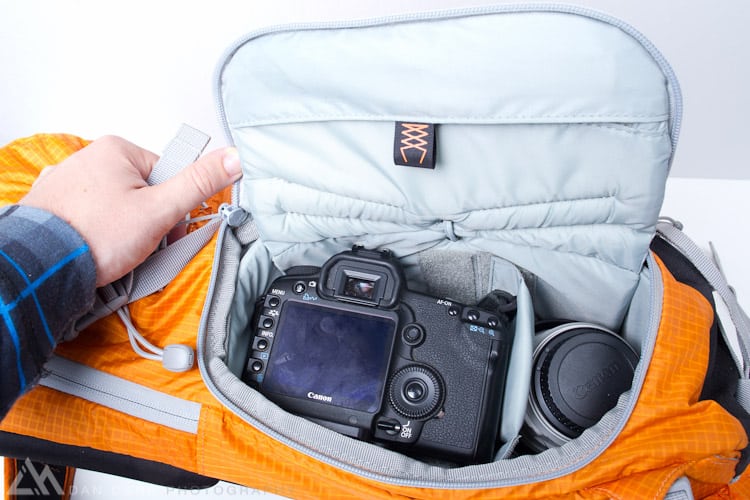
What you see in this photo is the heart of the Ultra Cinch camera chamber. It’s a really nice feature that works very well, simply tighten up the camera chamber if you are using smaller cameras like micro four thirds systems. If you are trail running or mountain biking then it does a very good job of preventing the camera and lenses from bouncing around and jarring your back.
In this image I have a Canon 5dMKII with an attached 24mm f1.4 and next to it a Canon 70-300 f4-5.6 L IS.
Here we have a Canon 1dMK4 with the 70-300 attached and the 24mm alongside. PLEASE NOTE this is not a configuration that was designed to be used in this bag. Lowepro do not state a countability with cameras with grips attached. However I did find that I was able to squeeze my 1-series in there. It is a tight fit, and doing the zipper up afterwards is also quite tight but at a push it’s a useable combo in my opinion. Your mileage may vary……
Walking/ski pole attachments are also present on both sides
Other options
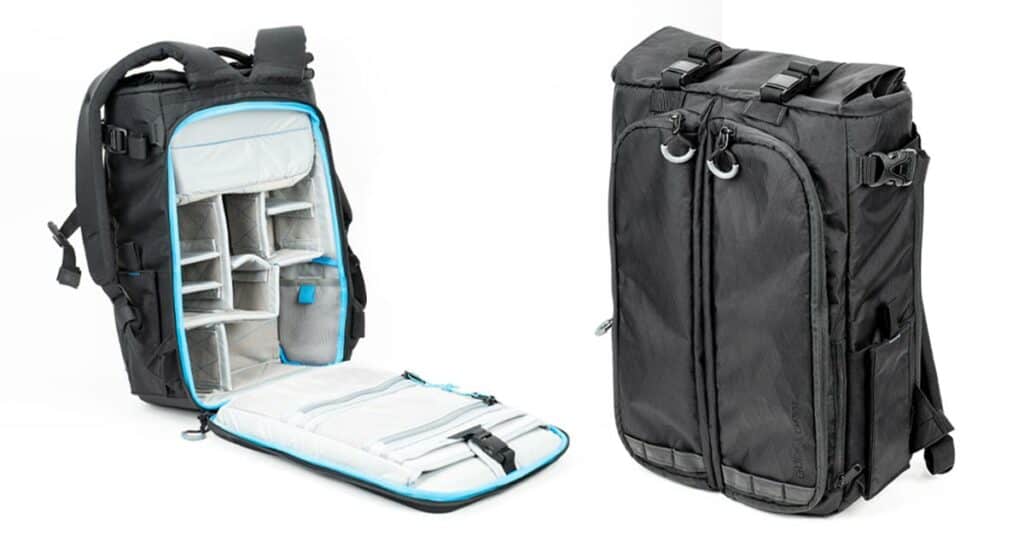
If you’re looking at the Photo Sport 200 then you are either looking at it because you want an adventure photography pack or you want a pack with a side opening. Click Elite offers a ProBody Sport and a more comparable Compact Sport bag that ticks both boxes like the Photo Sport 200 does. I’ve never tried either of them myself but I certainly prefer the look of the Lowepro design. F-Stop also have the new Kenti which is considerably more expensive than Lowepro or Clik Elites offering but also looks to be a large pack with some interesting features like a roll top closure. I’ve reviewed many F-Stop products in the past and always found them to be premium priced, but excellent products. I’m hoping to get my hands on a Kenti sometime soon and will make some comparisons with the Photo Sport 200 when I do.
If you’re only looking for side access and outdoor and adventure photography is not your main goal then there’s a whole world of products to explore in that category. Think Tank even have an entire range of sling style packs with side openings. Kata also make the confusingly named 3N1-20 Sling Backpack which actually morphs from a backpack to a sling,still featuring side panel access but like the Think Tank bags, not really designed with adventuring in mind.
Pros & Cons
Pros
- Super lightweight
- Very well priced compared to other similar packs
- Comes with dedicated rain cover
- Hydration bladder compatible and separated from your camera gear
- Ultra-Cinch Camera Chamber secures smaller camera systems very well
- Full length interior pocket allows plenty of room for larger items like a small laptop/netbook or a monopod.
- Glove friendly zipper pulls
- Material repels dirt very well
Cons
- Waist belt could be a bit wider
- Hip pads/support are too thin and don’t transfer weight very well enough to your hips
- Front pocket seems a little tight for an extra layer of clothing, could benefit from a little more elasticity in the edges
- Officially not designed for pro sized ‘gripped’ camera bodies
- Just one internal camera divider
Conclusion
This is actually the first Lowepro bag that I’ve ever spent any great time with but I’m always attracted by lightweight things. I’m a fan of traveling light whenever possible and that includes travel to and from location as well as on location. I shoot a lot of outdoor sports living up here in Whistler, BC, and quite simply it makes for a better days shooting if you’re not constantly aware of the bulk on your back. The Photo Sport 200 is the lightest photo backpack that I’ve ever used and it’s thin profile helps to keep weight balanced closer to your spine. Whilst it doesn’t pretend to be a bag for all your gear, it makes you think about what gear you need to take with you and with a body and a couple of lenses you’ll be just fine. I found the combination of a body, a long zoom and a wide prime were able to get me 95% of shots that I wanted. One thing that I wasn’t expecting though was how many times I reached for the bag when I wasn’t shooting outdoor sports. Spending a couple of nights away in a city, or heading into the local coffee shop for a change of scenery when doing some writing I grabbed the Photo Sport 200 on more than a couple of occasions. It’s a fantastic fit for an 11″ Macbook air as you can see in my photos above and allows plenty of room for my Fuji X100, and anything else you might need for a quick night away from home or a photo walk around your local town or city. The minimal dimensions of the bag mean that you don’t feel like you are grabbing your typical bulky camera bag though I will say that the Orange one screams LOOK AT ME a little too much for this usage. Overall then I was mightily impressed with this bag and for the price point I don’t think there is anything else that can beat it for the adventurous people out there. The main consideration is going to be whether you can manage with just two lenses, if you think you can then you definitely need to check this pack out. The other thing to consider is whether you are using a camera like a Canon 1-Series or a Nikon D3s. As I proved, it is possible to use them but the ease of usability does take a bit of a hit so make sure you try that out before purchasing to use with one of those cameras.
Overall though this is s top notch bag for adventurous people, let down only slightly by a less then adequate waist/hip support system.

