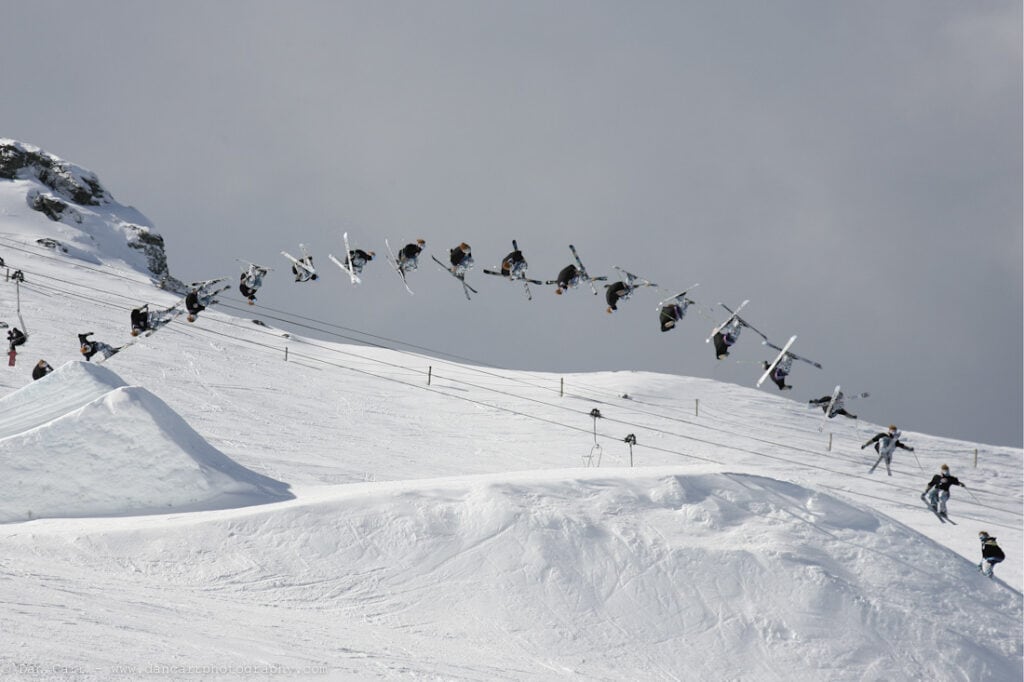
Apologies for the lack of updates in the last couple of week, it’s been busy times here in Whistler. Today I’d like to post some sequences that were shot last year for SBC Skier magazine here in Canada. The first four were to be used for “Trick Tips” , where a pro skier describes how someone would go about performing that trick. The fifth sequence was not shot for that purpose, but it was run as a double page spread so I thought I’d throw it in the mix too. For anyone wanting to know how to create a sequence photo in photoshop I did a video tutorial on this a while back which I will re-post at the bottom of this article. I might re-do this tutorial over the summer to upgrade it to an HD version so if there is anything you want clarification on please leave a comment below so that I can address it in the re-make!
A key rule for shooting a sequence is that you have to be able to see the skier (or snowboarder/biker/skateboarder) ride away cleanly from their trick. This is the first thing that I think about when I want to shoot a sequence. Which angle will allow me to see them ride away? A sequence without the ride away is totally pointless so always think about this first. People often ask if I use a tripod too and the answer is no. You don’t need to if you have a steady hand. Sometimes I will use a monopod if I happen to have one with me but mostly it is all hand held. You will also save yourself hours of photoshopping if you frame the shot to include the start and finish of the riders trick all in one shot. DON’T zoom in on the rider and pan the camera as you will have to spend hours lining up the backgrounds. If you know where the rider is going to take off, and where they are going to land, then frame your shot to include both those points. The advantage of not using a tripod is that if you miss judge the landing point and the rider goes a little bit further than you anticipated you can pan at the last second to make sure you get those landing frames. As I mentioned, you will incur a little extra photoshop time having to line up the backgrounds but at least you will still get the shot.
To make this post a little more interesting I thought I would make a short animation of the sequences using Final Cut. Each frame in the sequence is on a separate layer in the photoshop file so I turned them off in sequence and saved a JPEG of the resulting image and then put them all into Final Cut! CLICK CLICK CLICK!!
Sequence Animation for blog post from Dan Carr on Vimeo.
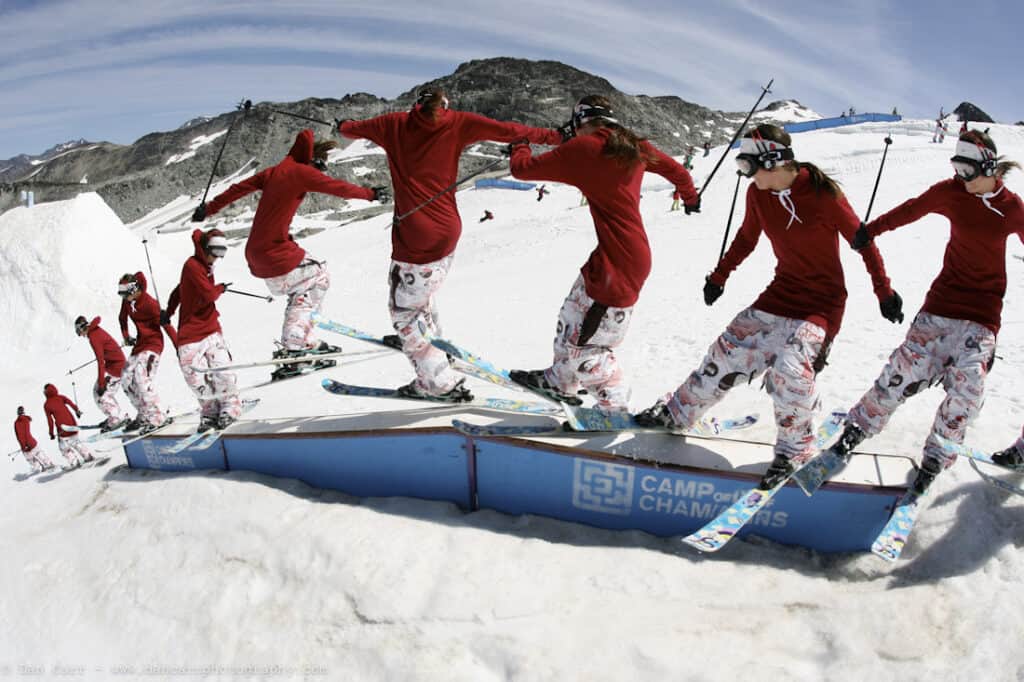
Kaya Turski in Whistler, BC doing a 360 switch-up at Camp Of Champions. Kaya is the current X-Games slopestyle gold medalist.
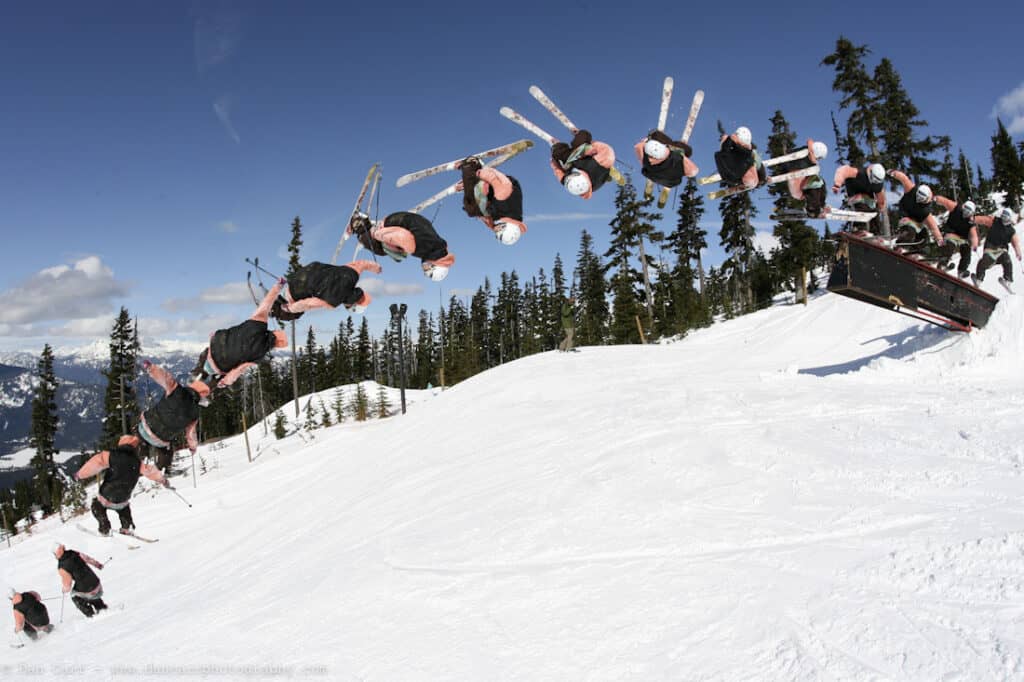
Leigh Powis at Whistler Blackcomb with the misty flip off the canon box.
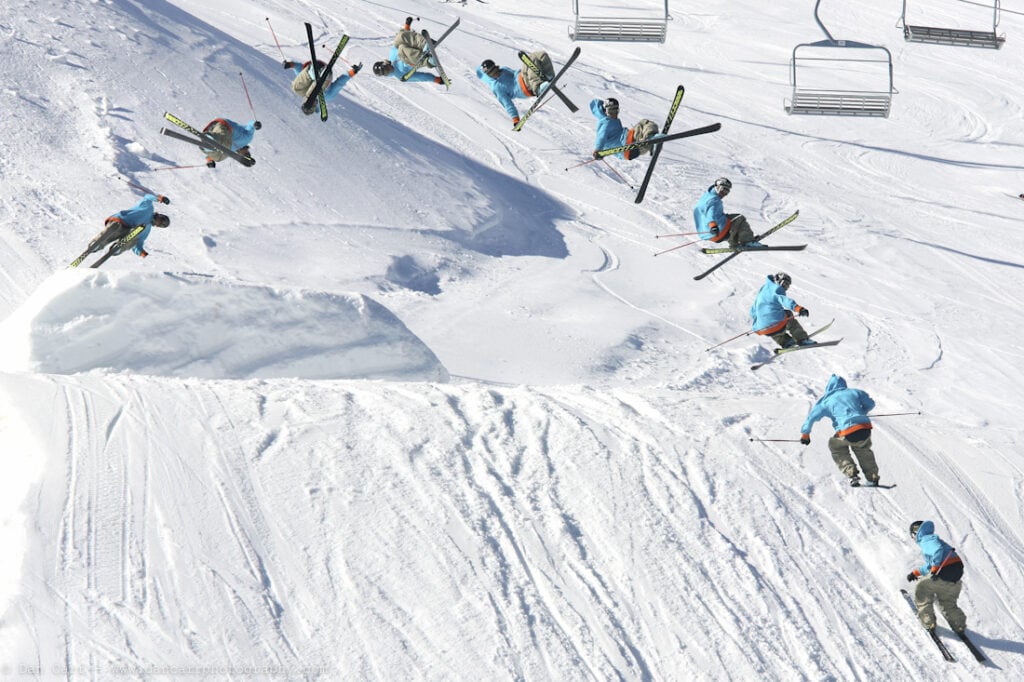
Matt Margetts at Snowpark in Wanaka, New Zealand with a cork 540 tail grab
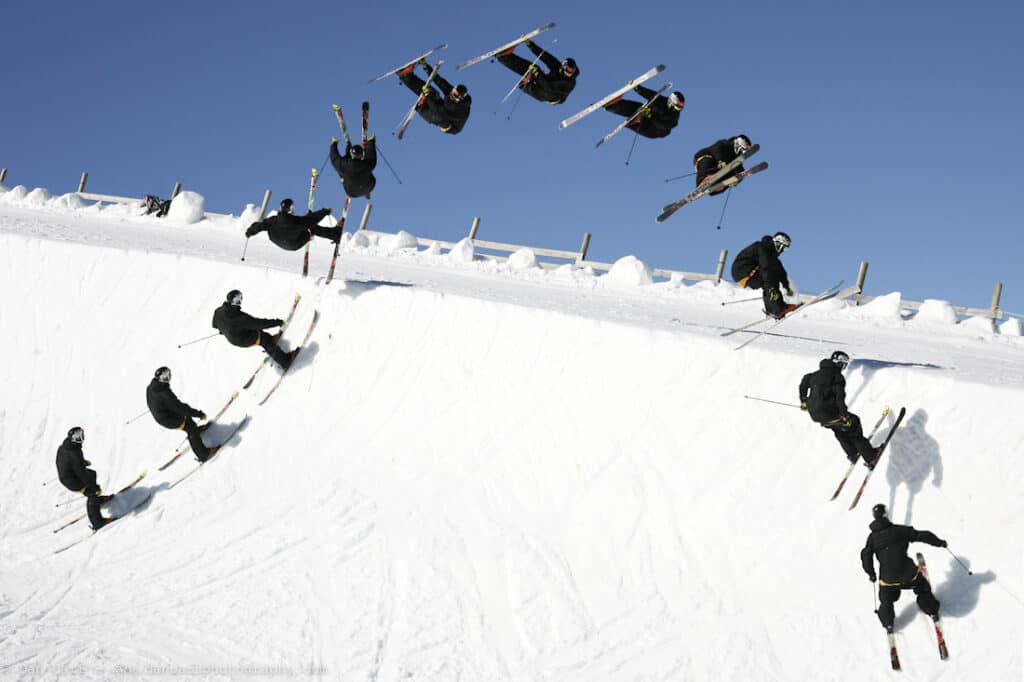
Mike Riddle at Snowpark in Wanaka,New Zealand with an alley-oop flat 360 in the halfpipe
Dane Tudor at Cardrona in Wanaka, NZ with a hand-drag double cork 900

