
I know quite a few people are following along as I build out a small trailer into the ultimate adventure photography basecamp. If you aren’t caught up on this, you can find some previous blog posts in this section. This week I tackled the problem of poor air circulation in the Taxa Tigermoth trailer, which was leading to condensation trouble when sleeping in colder temperatures. Unlike most larger RVs and trailers, for some reason the older models of this trailer did not have any kind of roof ventilation. I believe they have fixed this for the newer models of this trailer, but I definitely needed to find a solution.
The go-to for most people who convert their own vans, is the Fantastic Fan. The issue with this is that the vent opens upwards on the roof, and since I installed a 100w Goal Zero solar panel up there I couldn’t use a solution like that. I toyed with a few other options, but all of them meant cutting a large hole in the aluminum skinned roof, and quite frankly I didn’t really want to be dealing with that. It would be one thing if it was a single skin roof panel like a van, but the panels appear to be air-gapped honeycomb of some sort for insulation. It would definitely take time and way more tools that I had, so I looked for other solutions.
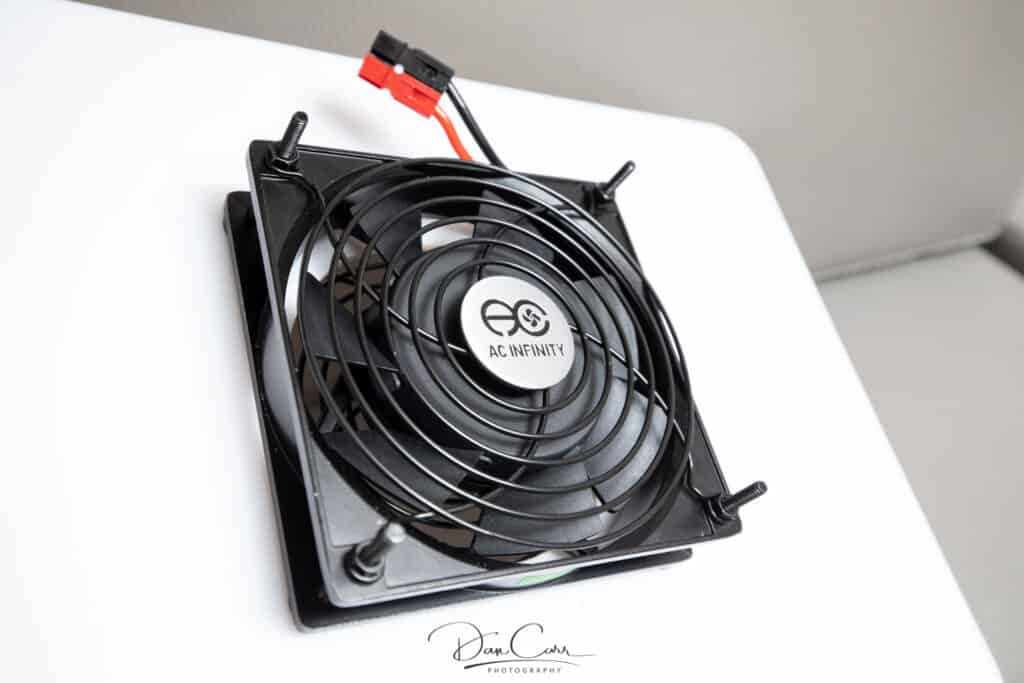
Another Tiger Moth owner suggested a brand of fans that are mainly designed for use in computer server cabinets and large home entertainment systems. AC Infinity sells through Amazon and they offer a huge variety of fans that run of AC power or even USB ports. I decided that this looked like a pretty good option because it would allow me to create some circulation in the trailer by having one fan sucking air in at the bottom end of the trailer, and a second fan lowing it out at the top. Instead of cutting holes in the skin of the trailer, I could make panels that slot into the existing windows when the fans were needed at night.
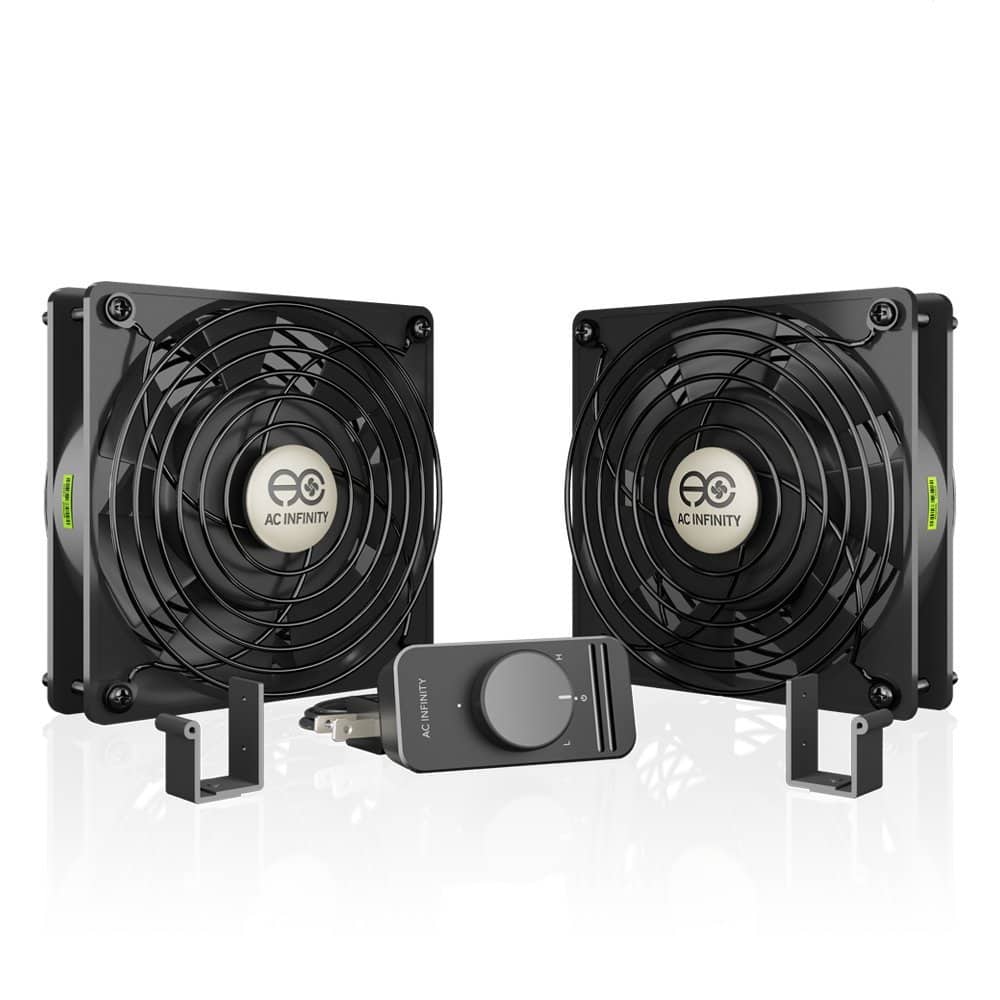
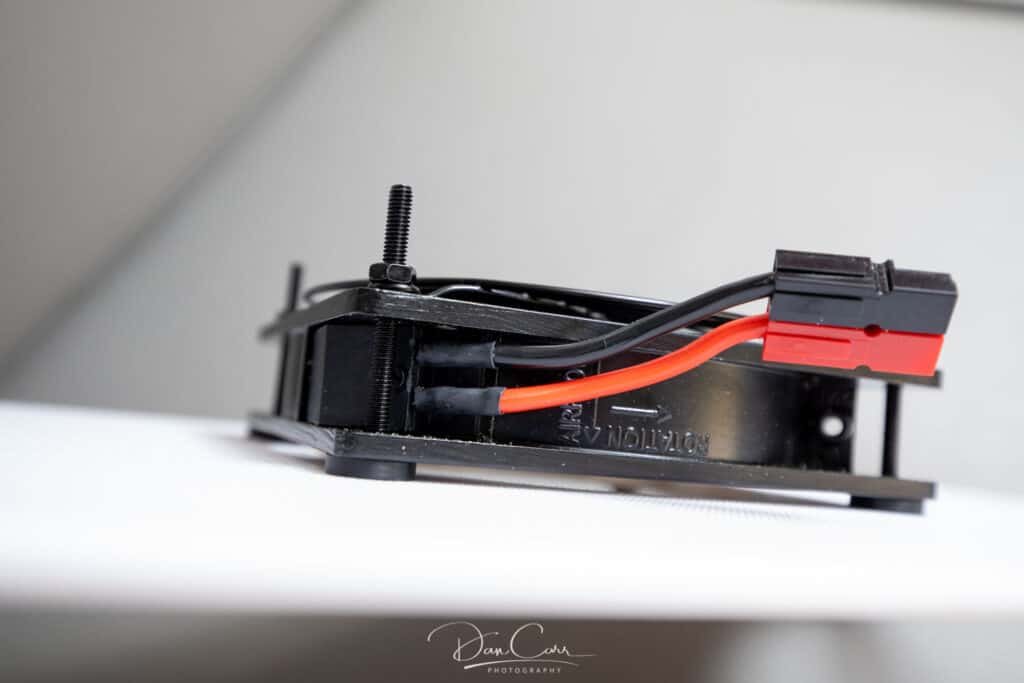
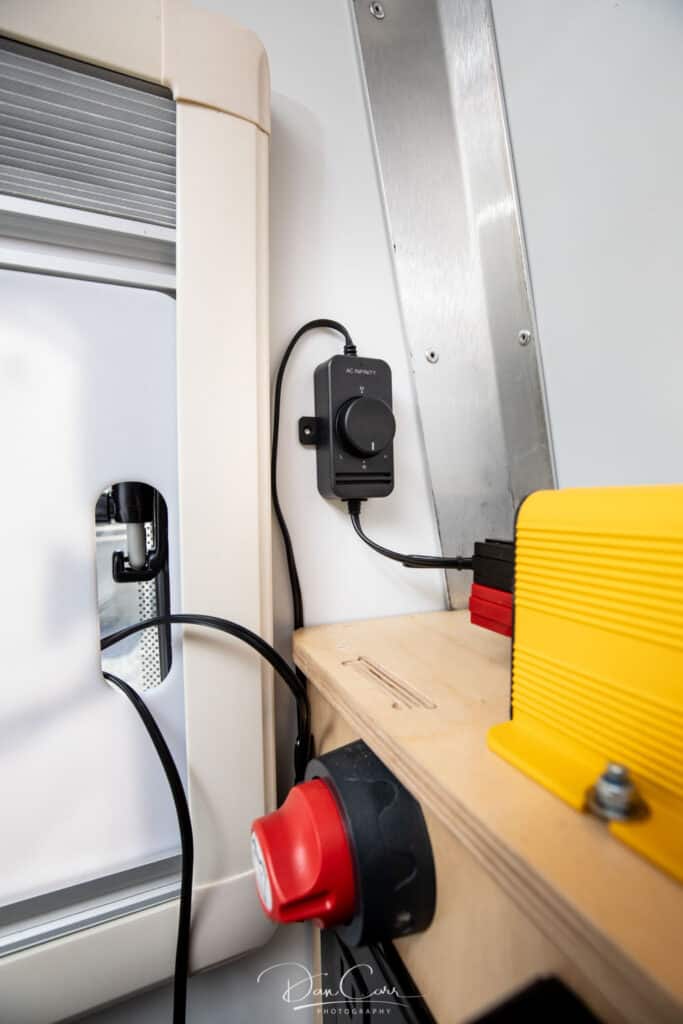
Not only do AC Infinity also sell these fans in double or even triple combinations, but they also offer a variety of different fan speed controllers to go with them. I decided to go with a pair of the single 120 x 120 x 25 Muffin Fans and one of their simple speed controller knobs. Whilst I do like the fancy looking LCD screen with the temperature sensors on it, it would unnecessarily use more power when running that screen. What I liked about these systems is how simple they are to piece together. I’m starting out with this pair of fans to see how it goes, but I could very easily add more to the system if I needed to. The speed controller connects to both fans so they can be controlled simultaneously, and the extending the control cable was extremely simple with a thin gauge of wire because the fans draw so little power.


Window Mounts
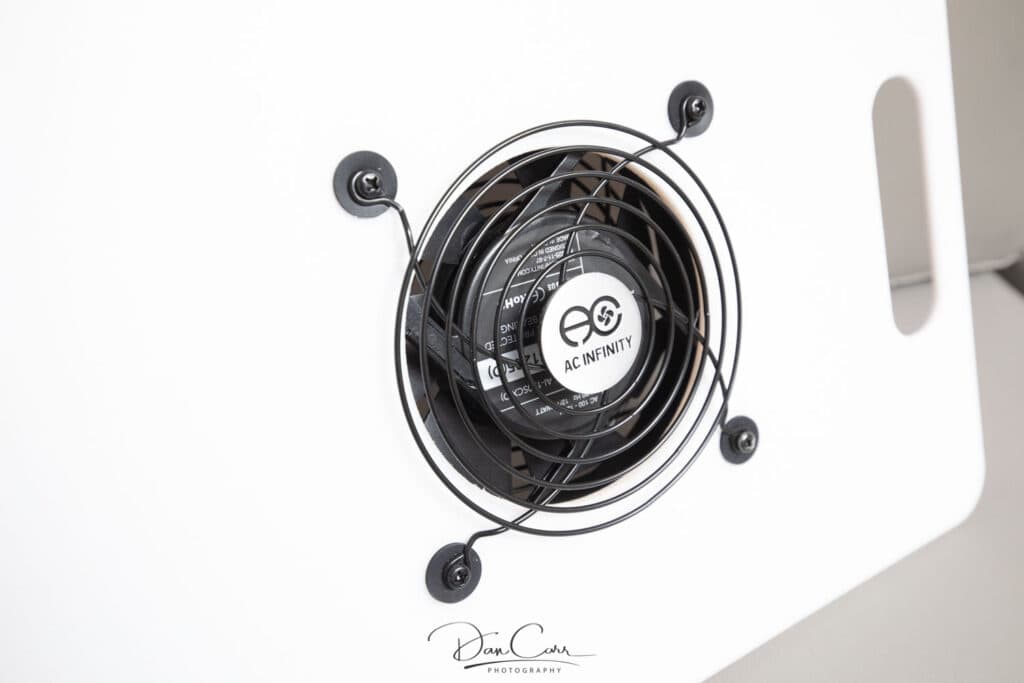
Next I needed to make a panel that slotted into the front and back windows to hold the fans. Wood was the obvious choice, but thinking about it a little more I thought I could do better. I wanted to try and keep things a little brighter in the trailer when I wake up in the morning, and a thin piece of white plastic would provide both privacy, and a little more light. I’m sure if I looked hard enough I could have had custom panels created at my required size, but the considerably cheaper $10 option was simply to use plastic cutting boards from Canadian Tire (for US folks, it’s a place that’s somewhat similar to WalMart). I would have needed to cut holes in the board anyway to pass the wires through, and the hand hole on a cutting board was already perfectly placed for this!
Tools and Construction
The fan blade diameter of the 120 x 120 Muffin Fans is roughly 4.5 inches, so to cut a circular hole in the panel you will need either a 4 or 4.5 inch hole saw. I tried out a 5 inch hole in one of my first attempts and it was definitely a little too big. After cutting a hole in the centre of the panel, all you need is four holes for the included bolts that come with the fan. Four small rubber washers are also provided, but I actually purchased a few more so that I could isolate the fan from the plastic panel on both sides. The windows on my trailer, like many RVs and trailers, bulge outwards so that they can include a bug screen that can be raised and lowered. This means you can actually mount the fan on the outward side of the panel, and have it stick out into the window bulge and not into the trailer. It creates a really neat setup!
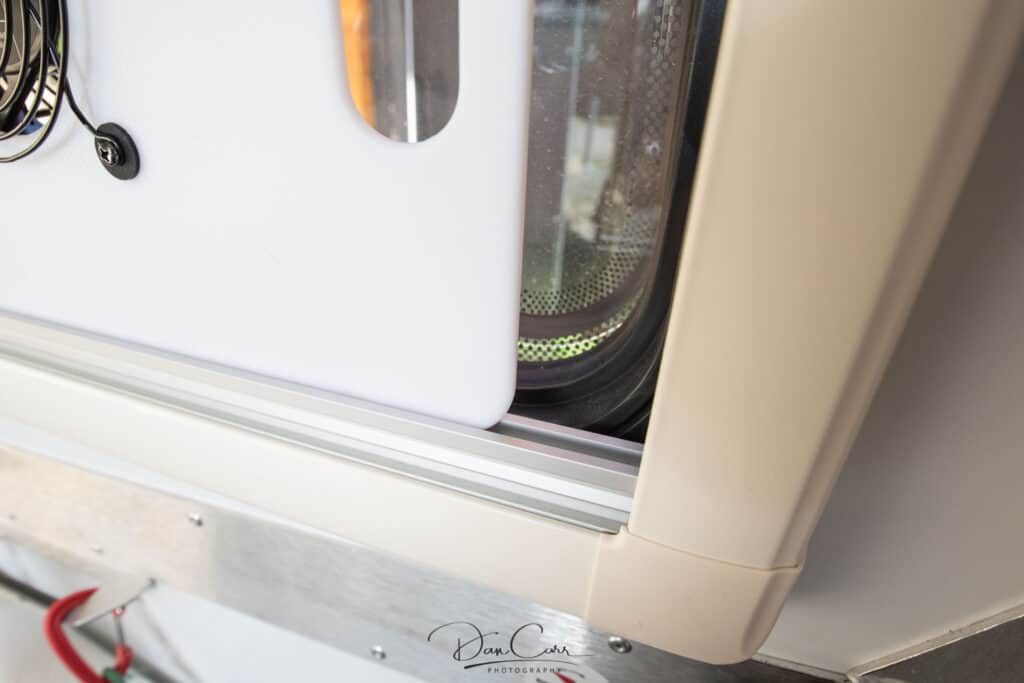
In the case of my trailer, using a 4 or 5mm thick plastic cutting board for the panel meant that I could actually slot the panel into the groove on the top of the collapsed bug screen. This is such a common window setup in trailers and RVs that I feel certain it will work in places other than just the Taxa Tiger Moth trailer that I own.

