Those of you following my Instagram stories recently will have seen my portable base camp, a Taxa TigerMoth adventure trailer. I’ve been documenting some of the modifications I’ve made to it on this blog, and today we’re going to solve a solar power problem.
I have a lot of Goal Zero gear because I think their products represent good value for money, and their customer service has proven to be exceptional. They make a variety of great products, such as battery packs and solar panels, but they have a tendency to go their own route, instead of using industry standards when it comes to the connections on these prodcts. Like many companies, they seem to think that using proprietary connections will help keep people in their ecosystem and buying their products. To be honest it probably works a lot of the time, but I’m a stubborn bastard and I do things that way I want to do them! A couple of months ago I showed how to get around the issues with Zamp solar power connections too.
Since then, I’ve wanted to make some improvements to my solar setup and I’m going to be adding a permanent 100w panel to the roof of the trailer. I realized that what I needed was a waterproof junction box that would take the 8mm inputs from multiple Goal Zero solar panels, and then combine them and feed them through a cable port into my trailer.
No such product exists on its own, so I was going to need to plan something myself that was built tough enough to match the ruggedness of my adventure trailer!
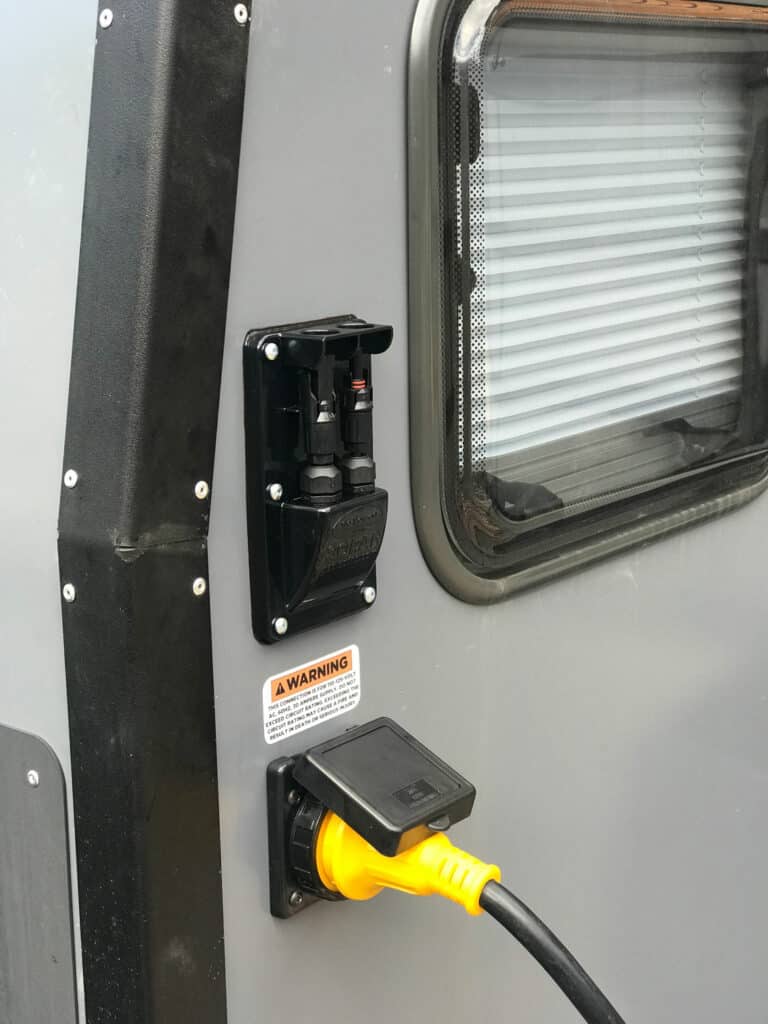
The first step was to get rid of the Zamp port on my trailer and switch it for an MC4 port – I used this one from GoPower. MC4 connectors are much more standard in the solar industry, and they are both lockable and waterproof which is what was needed for my soon-to-be-installed roof panel.
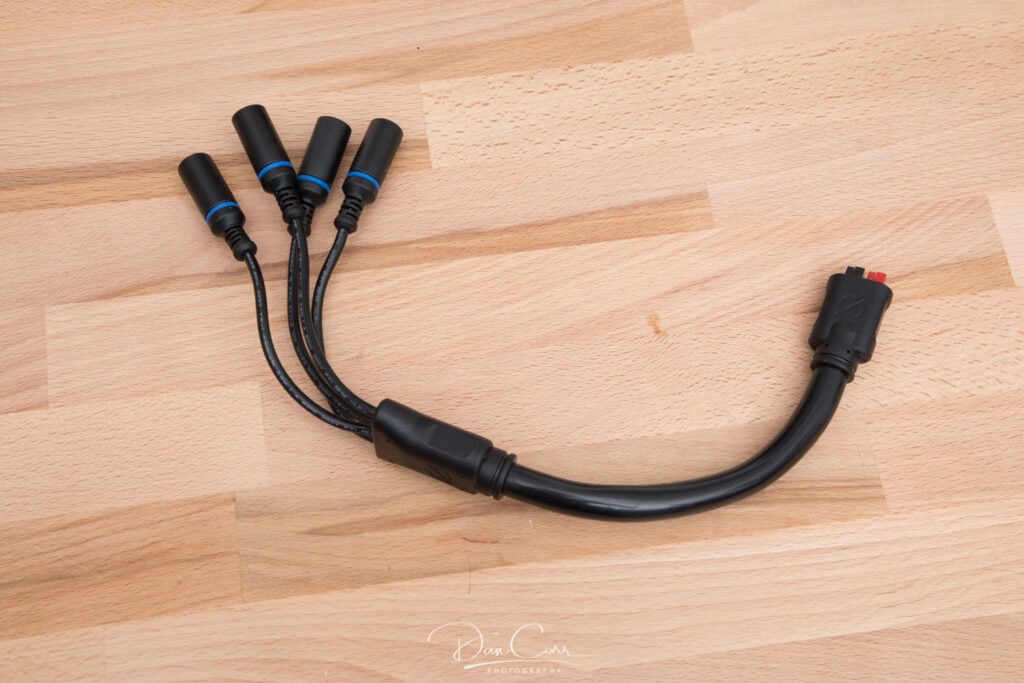
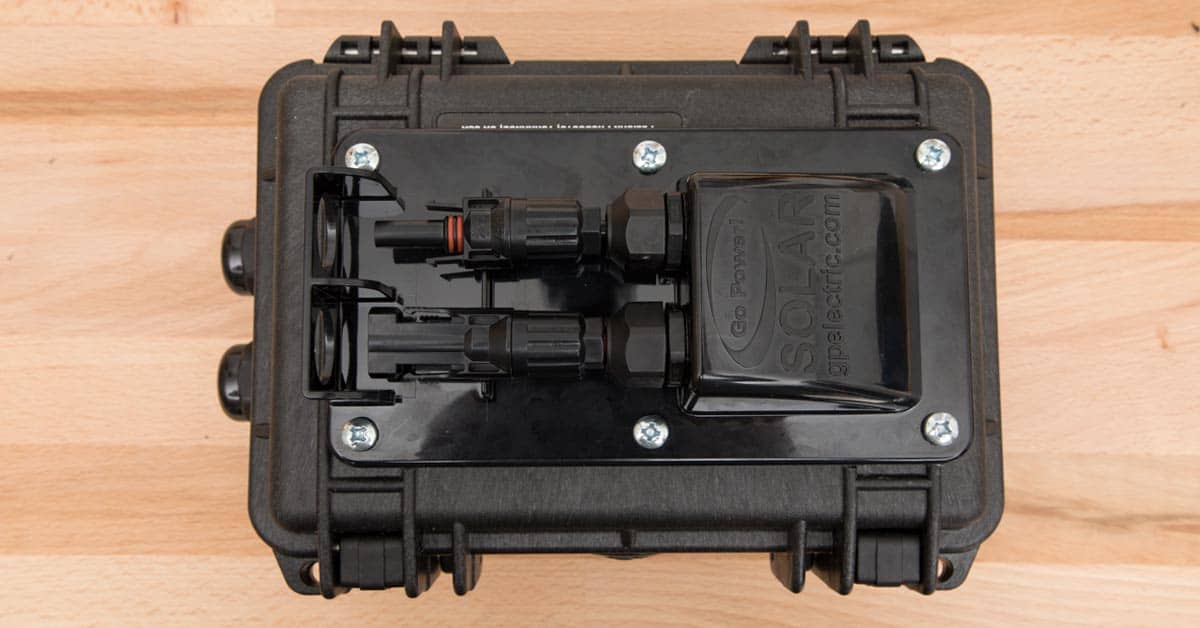
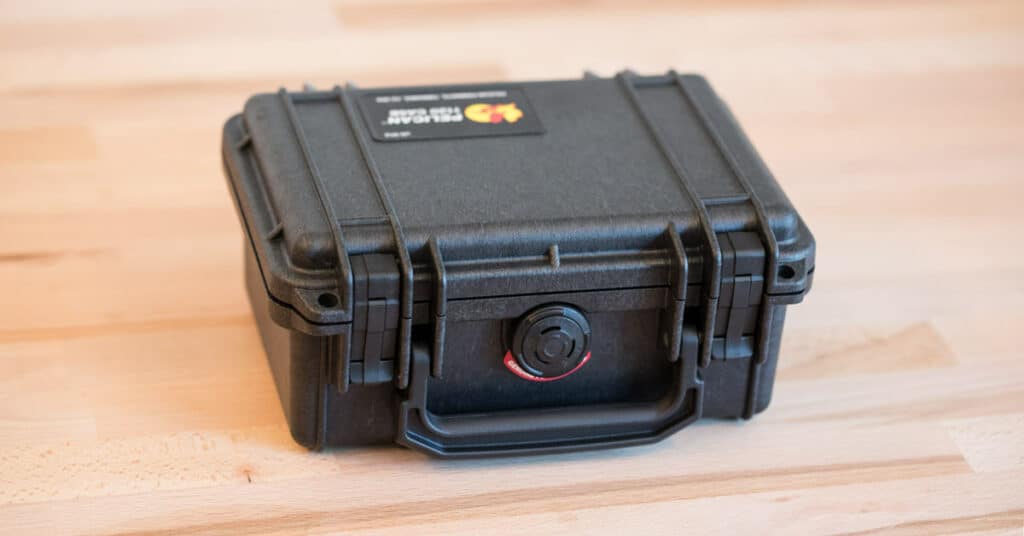
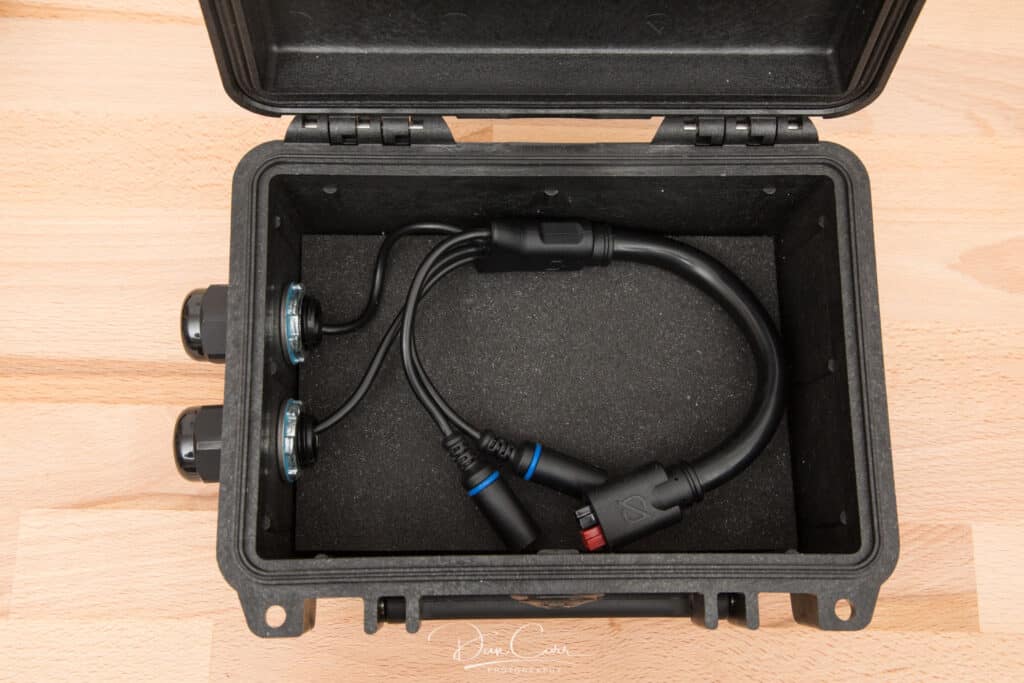
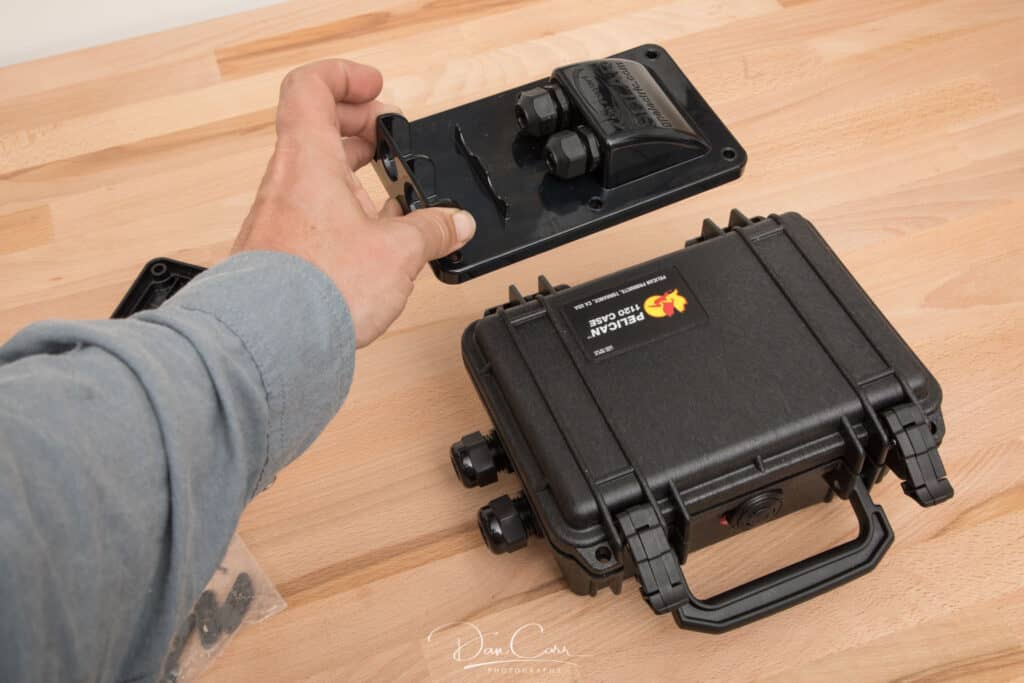
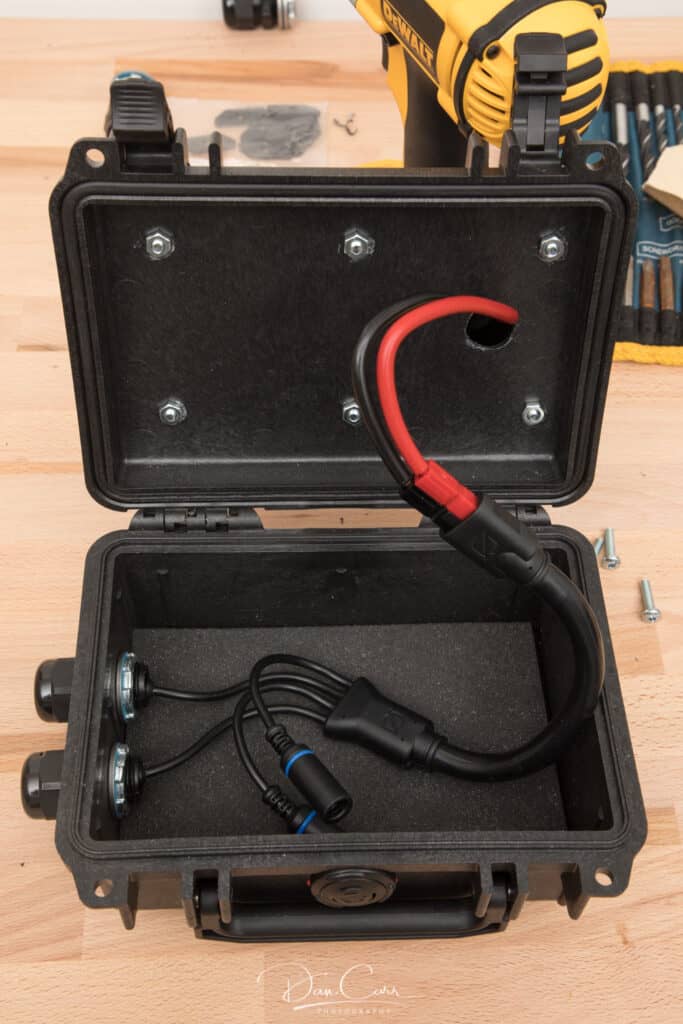
To make the junction box I first purchased a Pelican 1120 waterproof case. From Goal Zero I then got myself the 4 x 8mm combiner to Anderson Power Pole adapter. This adapter takes 4 solar inputs from Goal Zero’s 8mm cables, and combines them into a single Anderson plug. To begin with I just need to use two of them, but I’ll add a third panel next year.
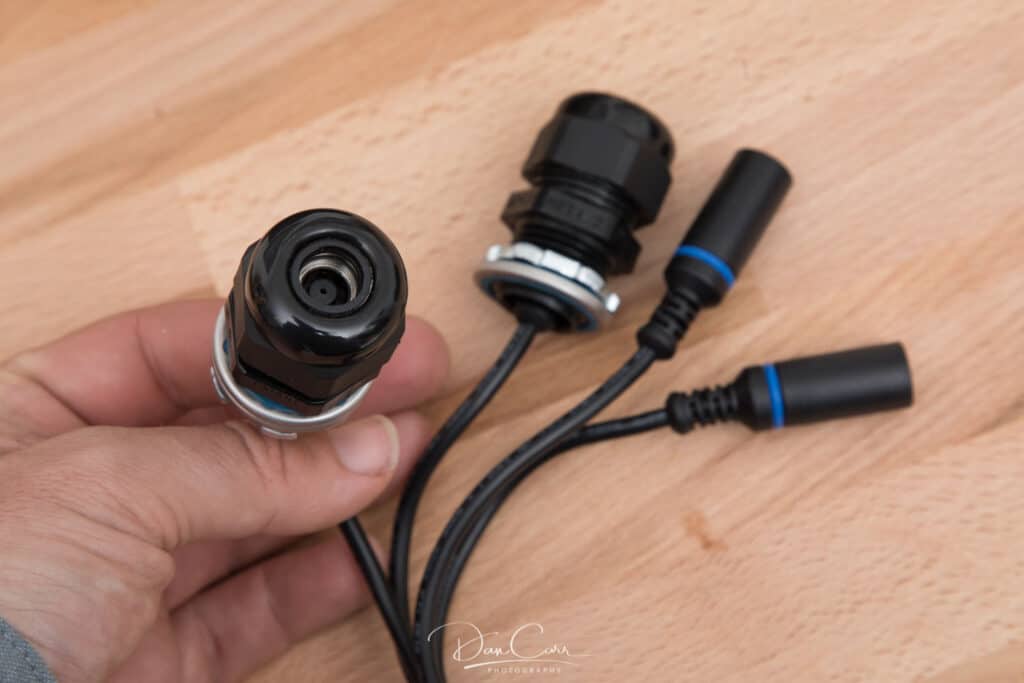
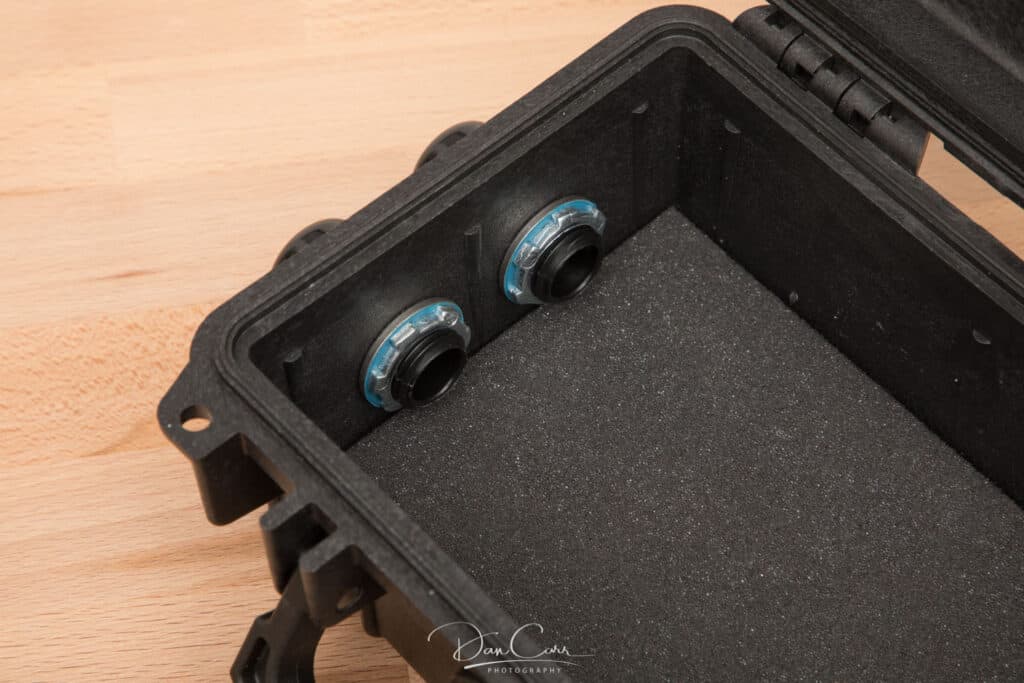
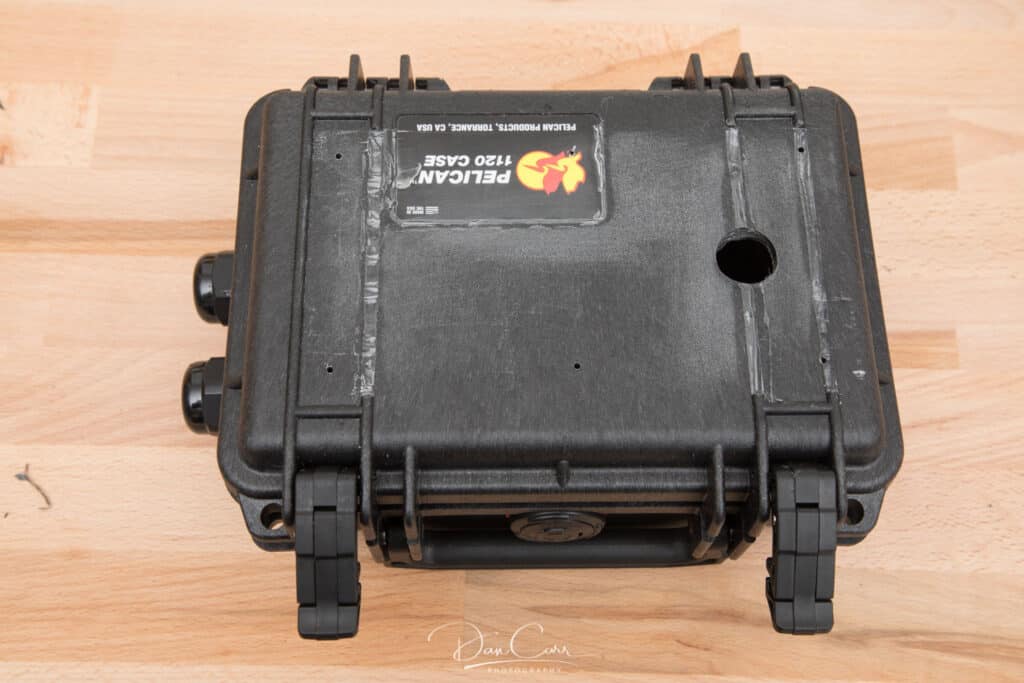
With a quick trip to my local electrical store I was able to source some cable glands that were the right size to clamp the 8mm inputs from the combiner cable. I don’t know the exact brand here, so your best bet is to do what I did and walk into a store holding the combiner cable, then try them all out. Once I got them home, I drilled two 1-inch holed in the side of the Pelican case and locked them in place with some metal cerated locking nuts.

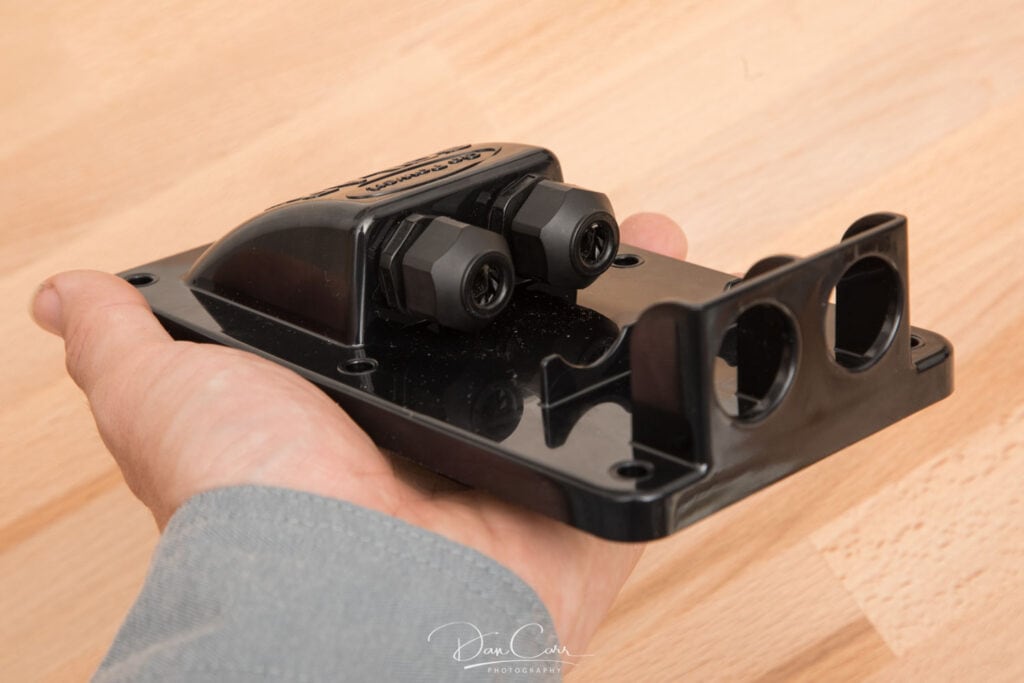
The next step was to get another GoPower cable entry port and mark out its position on the top of the Pelican case. I wanted it to sit flush with the surface, so it meant cutting and sanding a few ridges off the top of the case until it sat flat. Once that was done, I drilled a 1/2 inch hole for the cable to pass through, and then 6 holes to attache the cable port.
For the MC4 cables I used 10-gauge wire and then added Power Pole connectors onto the cable to that it would mate with the Goal Zero adapter cable. Note that Goal Zero uses the positive and negative Anderson connectors in a vertical orientation and not the industry standard horizontal setup. No big deal here as you’ll be adding the Power Poles yourself anyway. Incidentally, I purchased a Power Pole crimping tool from Powerwerx, and I’d highly recommend it if you want this stuff to be solidly built.
Goal Zero are now also using Finger Proof Power Pole connectors instead of the normal ones. The FP versions have small ridges on the connectors, and they confused the heck out of me when I first saw them. It’s almost impossible to find other people using these, but GZ does love to be different (or is it difficult?). What you need to order are the part numbers : Red connectors: 1327FP-BK / Black connectors: 1327G6FP-BK. If you stick to these part numbers, from someone like Allied Electric, or Mouser (where I got mine), you’ll be fine.
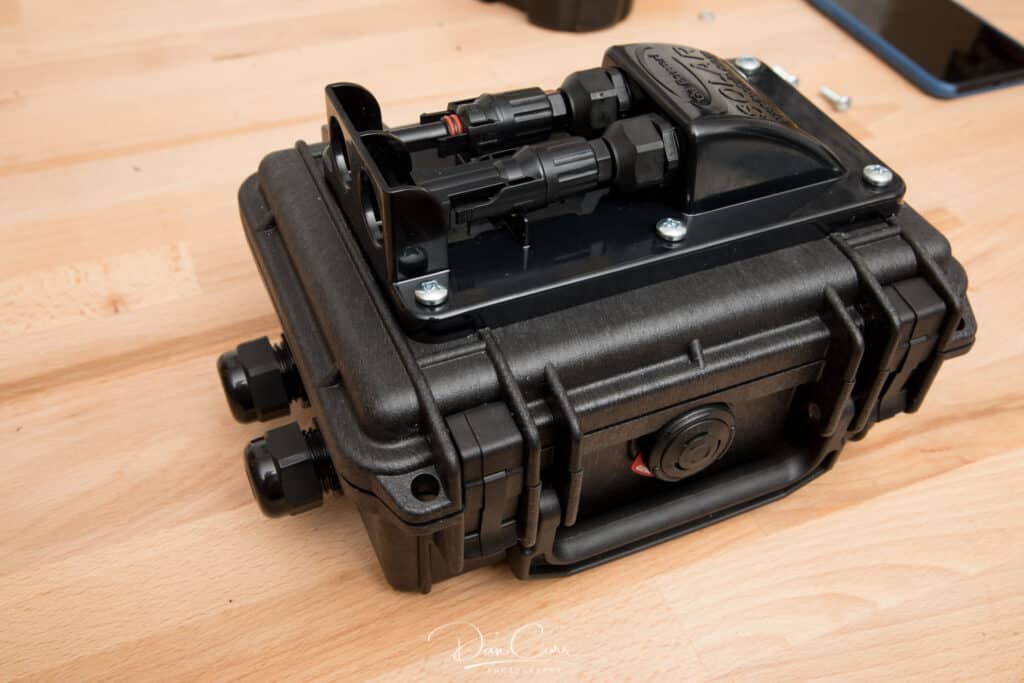
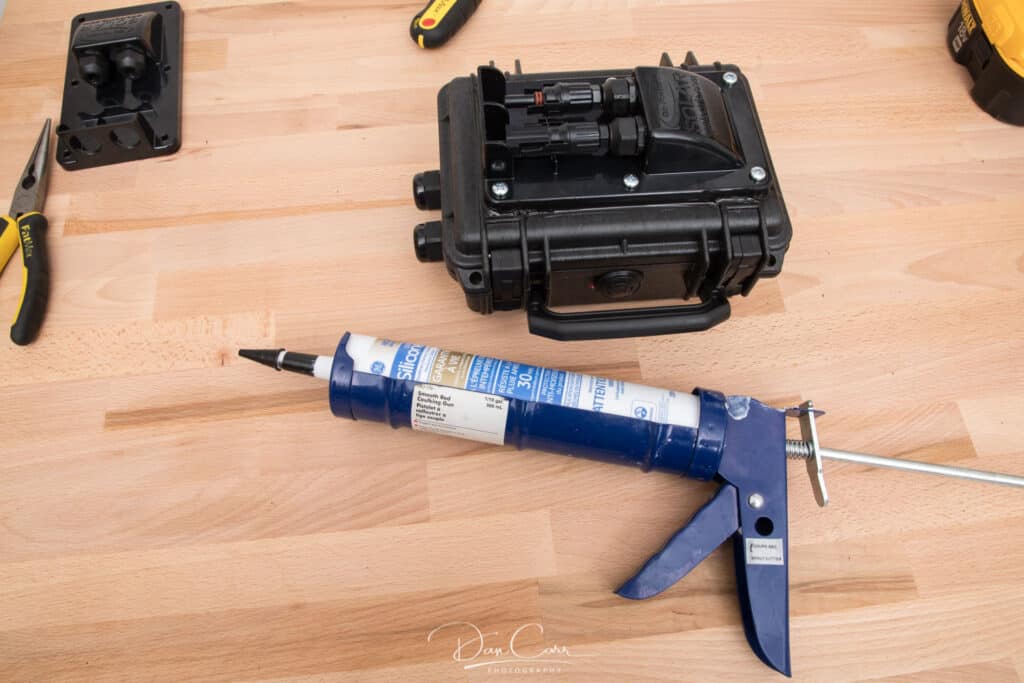
Once the GoPower port was installed on the Pelican case, and the MC4 connectors were in place, I then sealed the edges of the port plate with black silicone that I got from my local hardware store. Job done! A pair of MC4 cables will now connect my junction box to my trailer’s main solar input, and I can run both Goal Zero solar panels into the junction box. This is a nice neat, waterproof setup that’s built to last. I’ll probably mount the junction box on the roof of the trailer, but it means I can add another couple of panels to the whole system really easily at any point.
I know this was a pretty niche usage scenario, but hopefully this has given a few people who find this article some ideas. Happy overlanding!

