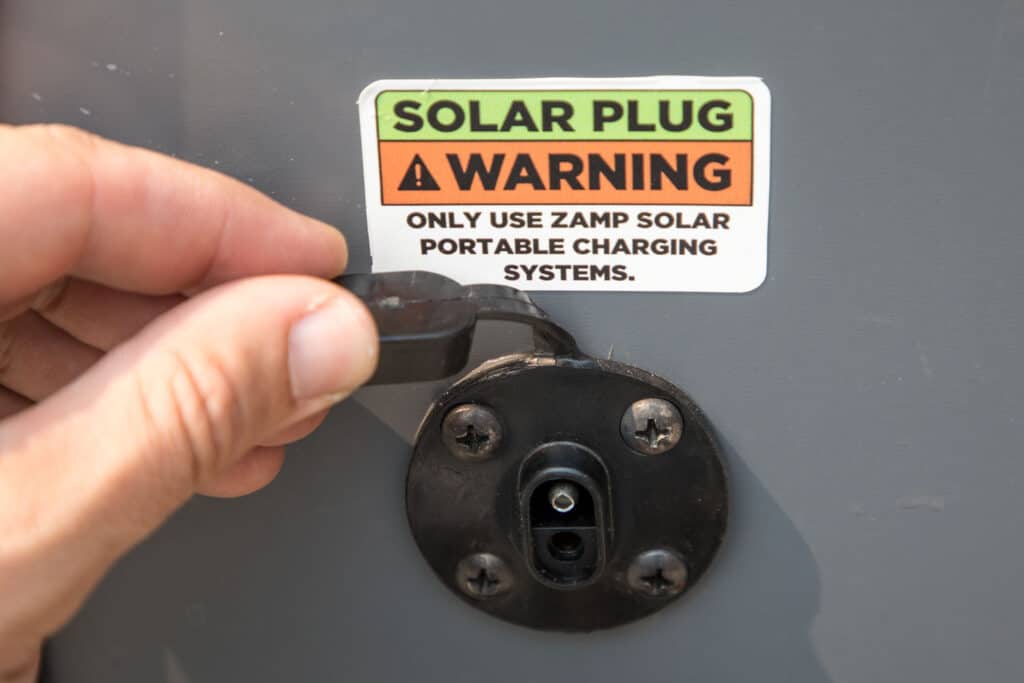
My Taxa TigerMoth adventure trailer has a so-called “Zamp” connection on the outside of it for wiring solar panels to charge the battery. I say “so-called” because actually the plug itself is a standard SAE connector, but the solar company Zamp wires the plug up with opposite polarity to the industry standard. Then they put a big sticker on the trailer or RV that says “Warning, only use Zamp solar panels with this plug!”. Well… that’s a load of crap if you have a soldering iron and ten minutes to spare!
When I first got my trailer, the dealer (British Columbia’s largest) didn’t really understand all of this and tried to tell me that I had to buy Zamp solar panels for my trailer. I’ve always been a bit of a sceptic, and when he also told me a 40w Zamp panel would cost me $600, my eyes nearly popped out of my head. I knew the brand new Goal Zero Boulder 50w panel was only about $200 ($150USD)! I’ve always been a fan of Goal Zero products, and I have several battery packs in my gear closet already. Not only are their products well made, but their customer service and technical support are also stellar. I’m sure the Zamp stuff is great too, and perhaps more suited to permanent attachment to a trailer or RV roof, but for occasional usage, the Goal Zero Boulder panels looked like an awesome deal.
Why does Zamp do this?
Well, they’ll tell you that it is so that the positive pin on the SAE connector coming from their solar panels is the shielded one, and not the exposed one. This makes some sense from a safety standpoint, but I’m still pretty sure it is so that they can force people into buying Zamp panels, just like my dealer tried to get me to do. Fight the power, I say! (with some basic Googling and common sense)
I wanted to publish this because I discovered a lot of confusion out there and a lot of people thinking that this was a really big problem to overcome, and something they couldn’t do themselves! Hopefully, you guys find this useful if you have Googled the issue and come to this page :). I’ve tried to create something that is as simple as I wished I had found when I started looking for information on this topic.
About That New Goal Zero SAE Cable…
In the comments, it was pointed out to me that Goal Zero now make an 8mm to SAE cable which was launched after I wrote this post. For my situation, it wouldn’t have solved the problem because you still need to put a charge controller between the solar panel and the battery somewhere. My Zamp port was wired directly to the battery, so plugging the solar panel into the port directly with that new cable would not be an option because then you would not have a charge controller in your system.
If your charge controller is wired inside your trailer/van, between the battery and the back of your Zamp input, then yes this new Goal Zero cable might do the trick for you – although I cannot confirm the polarities of the SAE plug male and female parts so you would want to test that before plugging it. Make sure it is wired ready for the “Zamp standard” as described elsewhere in this post. Let me know in the comments if you get it working…
I’m NOT an Electrician
First things first, I’m definitely not an electrician, so please use your own judgement and be damn careful when you’re working on this stuff. Disconnect batteries and solar panels before working on anything! The other reason I want to underline my inexperience though is to make people aware that this is a relatively easy task that pretty much anyone can do in a few minutes. I’m going to tell you exactly what you need to buy, and show you step-by-step instructions.
What You Need
A digital multimeter

Nothing fancy – I bought this one on Amazon for $15. Great for checking your work and learning more about how this stuff works so that you are more confident about future work on your RV or trailer, and can troubleshoot issues at a later date.
A Goal Zero Solar Panel
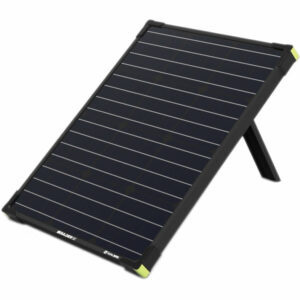
The Boulder 50w panels are nice because you can daisy-chain up to 5 of them together. The Boulder 100w panel is basically two 50w panels together, but you can’t daisy-chain these ones. For many people, two 50w panels is easier because it means you can angle them slightly differently to maximize light gathering over a long day.
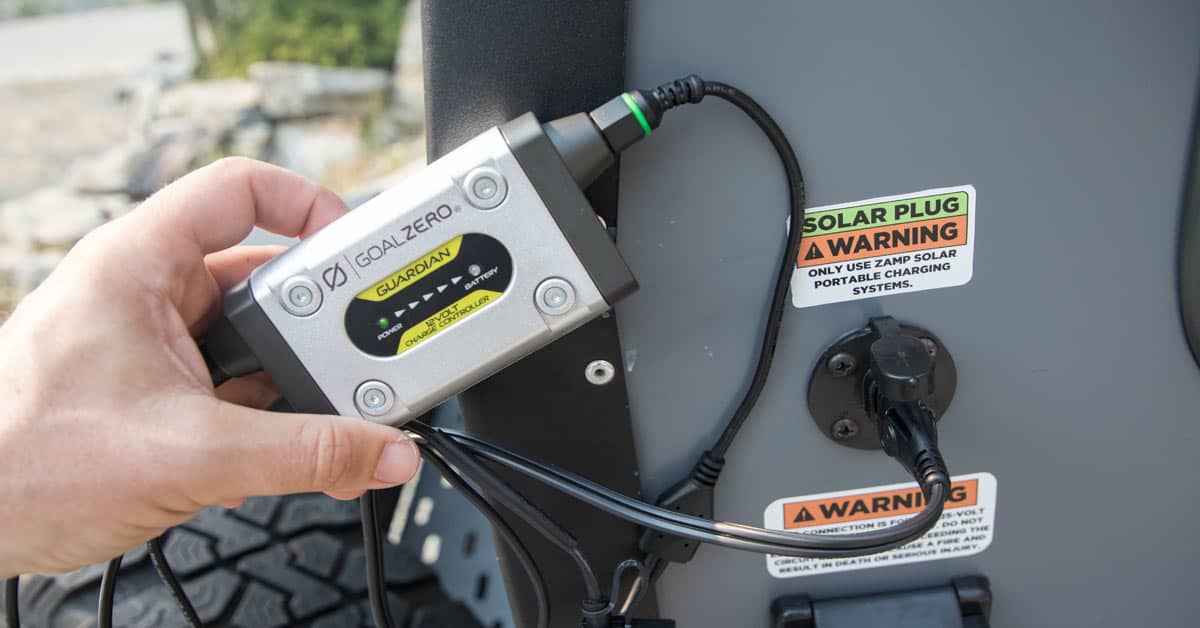
A Goal Zero Guardian Charge Controller
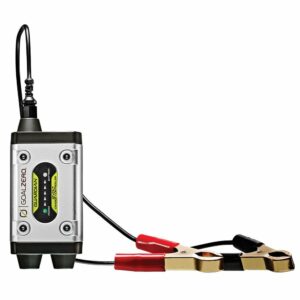
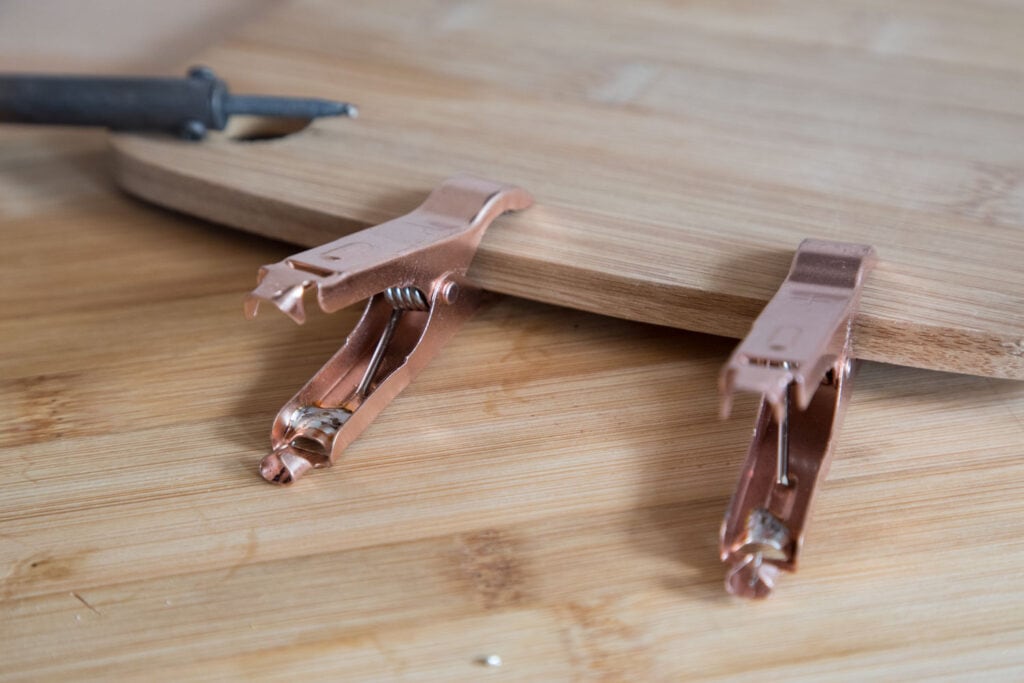
Goal Zero panels do not have a built-in charge controller so you’ll need to get this too. It goes between the solar panel and the battery to that you have some indication of charge performance, and also so that the battery is protected from overcharging. It comes with a pair of crocodile clips on the end of the output cable, which is what we are going to cut off and replace with a Zamp compatible plug! Don’t worry, it’s super easy to do.
Soldering Iron
Any one will do really, this cheap one from Amazon will do the trick.
Some solder
You don’t need much at all, so the smallest pack you can find will work just fine, like this one.
Some heat shrink
This stuff goes over your soldered wires and shrinks to fit the wires tightly when you heat it. You’re going to need about 4-6 inches of it. Annoyingly, this stuff is usually sold in bulk, but it’s cheap so you might just have to be ok with that unless you have a neighbour that has a few inches of it they can give you.
Wire Strippers
Again, nothing fancy, just the basics will do. If you really want to save come money then you could also just use a sharp modelling knife to strip the sheath from the wires.
OptiMATE CABLE O-01, Weatherproof battery lead

Ok, here’s where things can go wrong… what we need is a cable with an SAE connector on the end of it that is wired in the same way as the Zamp connector on your RV or trailer. There are MANY cables out there that look similar, and it’s possible that some are wired one way, and some are wired with the opposite polarity. For this particular item on your shopping list, I’m recommending that you buy THIS EXACT PRODUCT – it’s less than $10. This is the one I purchased, so I can verify that it works! It has an in-line 15A fuse as well so if you screw this up (I’m sure you won’t), you’ll protect your system because the fuse will just blow. Buy this cable and follow my instructions and you’ll be fine!!
Surgery Time!
Step 1
Ok, for safety purposes, let’s use that multimeter and just quickly double check that the Zamp connector on your RV or trailer is indeed wired up as a Zamp plug should be! It would be quite easy for this to be done wrong, and also possible, if you have purchased it second-hand, that someone has switched the wire polarities behind the plug, which would be another way to deal with this whole Zamp plug conundrum.
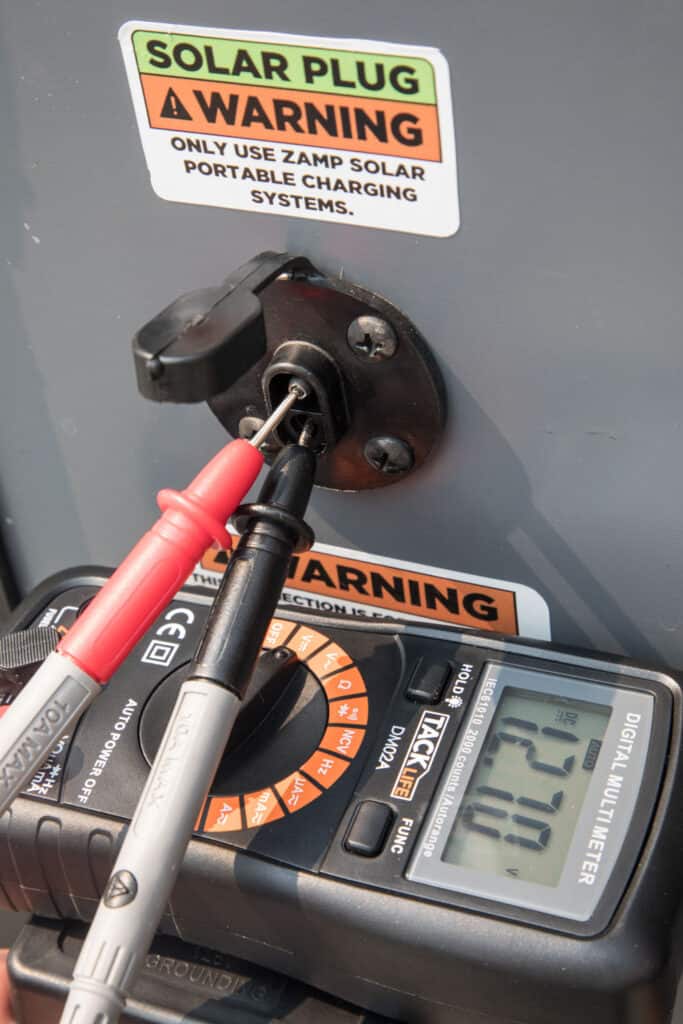
Turn on the battery in your vehicle, take your multimeter, set it to read voltage, and then place the two leads on the two terminals of the Zamp connector on your vehicle. You’ll want to touch the exposed male pin with the RED probe, and the female socket with the BLACK probe.
Don’t worry, this isn’t like disposing a bomb, nothing will happen if you touch them the wrong way around, but we should do it right!
What you should see on your multimeter is a reading that says something around about 12.8v. If you see that it says -12.8v, please double check that you are touching the pins exactly as I have described! We expect it to be a positive voltage if the plug is wired up as a proper Zamp connector. If you get a negative voltage it means your plug is wired backwards already and you’ll either want to talk to your dealer, or switch the wires around behind the plug in order for the rest of this tutorial to be relevant. I’m 99.9% certain that you’re going to find it giving a positive voltage though!
Step 2
IMPORTANT – We are temporarily going to remove the only indicator of which wire is positive and which is negative. Before you proceed, take some tape and wrap it around the positive cable from the Guardian output cable, a few inches behind the red crocodile clip.

The Guardian Charge Controller comes with a pair of crocodile clips on the end of the cable, and this is what we will be replacing with an SAE connector. Slide back the black and red rubber covered on the crocodile clips to reveal the wire soldered onto the clips. Then plug in your soldering iron and head the solder on the crocodile clips until you can pull the wire off it. Stash these clips away somewhere safe just in case you ever need them for anything else, or if you want to put them back on the Guardian controller for some reason.
Step 3
Just as you did with the Goal Zero cable, before we make modifications to the OptiMATE cable, make sure you put some tape around the positive cable so that you remember which one is which!
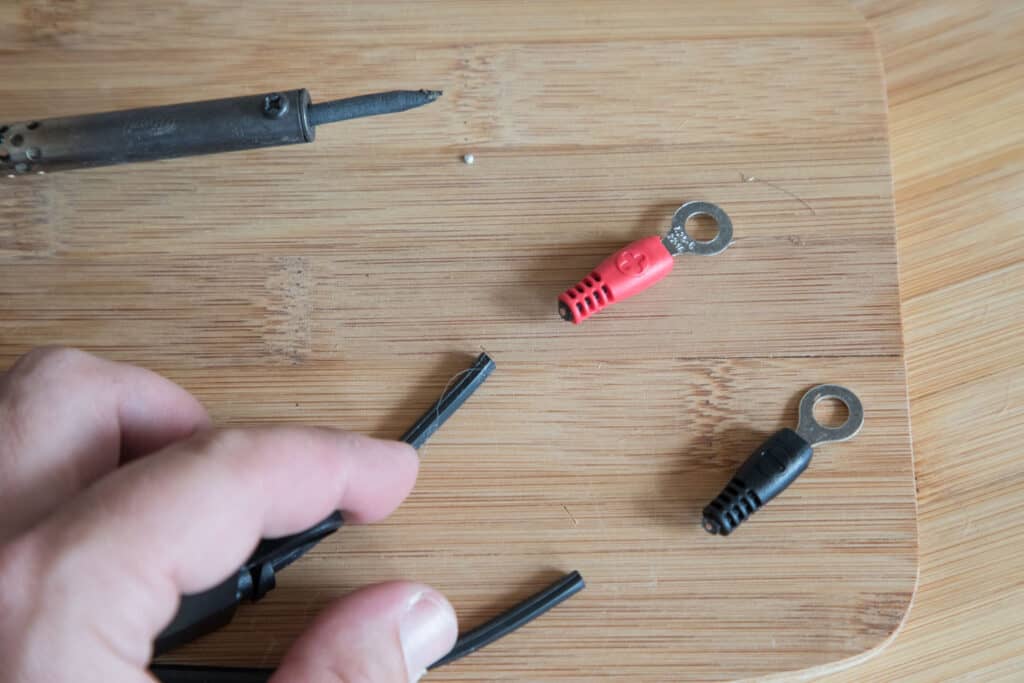
Now cut off the red and black battery terminal plugs from the end of the cable, as close to the plug as you can. It’s not such an issue on the negative cable, but the positive one is lacking some length after the in-line fuse, so it’s nice to keep as much of it as we can.
Step 4
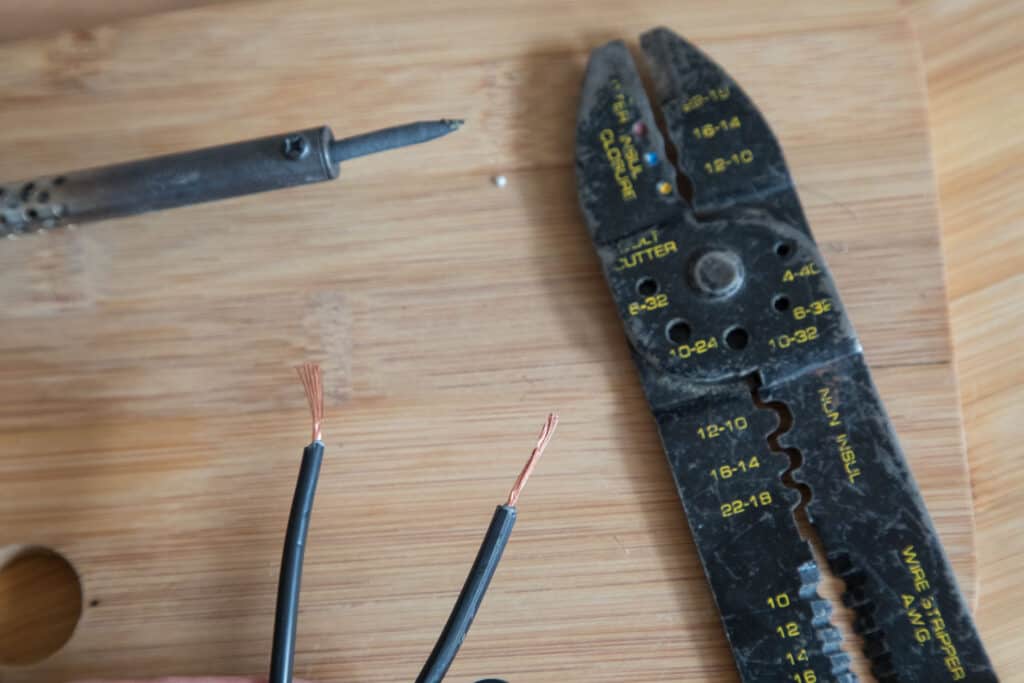
Use your wire strippers to reveal about an inch of wire from the sheath on both ends of the OptiMATE cable and the Goal Zero cable.
Step 5
Slide your heat shrink onto the Goal Zero cable and push them up the wire out of the way for now.
Step 6
Carefully solder the two cables together, making sure that the positive cables, denoted by your pieces of tape, are connected together.
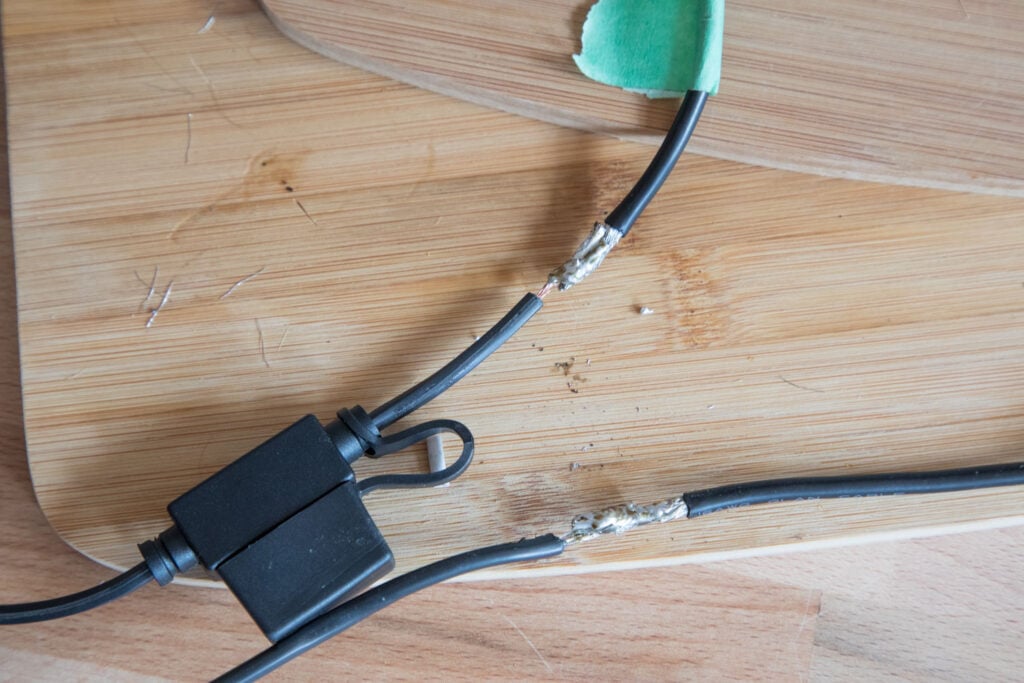
Step 7
Slide your heat shrink over the soldered section of wires and heat with a heat gun or your soldering iron. If you use the soldering iron, DO NOT touch the iron to the heat shrink! You’ll make a real mess. Simply hold it underneath the cable as close as you can without touching it, and move it back and forth until it has shrunk around the cables.
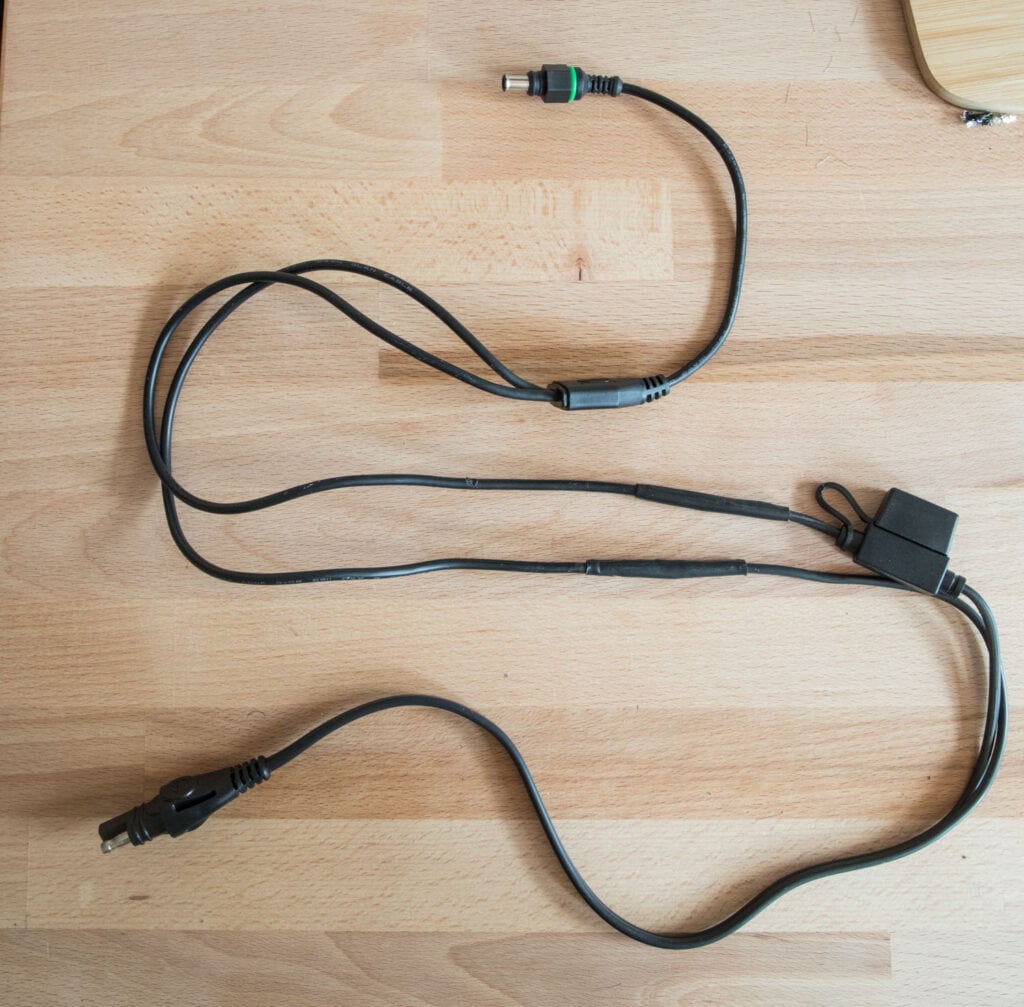
Step 8
Time to check our work! Plug the Guardian controlled into your Goal Zero solar panel and put it outside in the sun. Now use your multimeter with the red probe on the covered female socket, and the black probe on the exposed make pin. You should see a positive voltage displayed on your multimeter! If you see a negative voltage, you’ve someone not followed these instructions correctly.
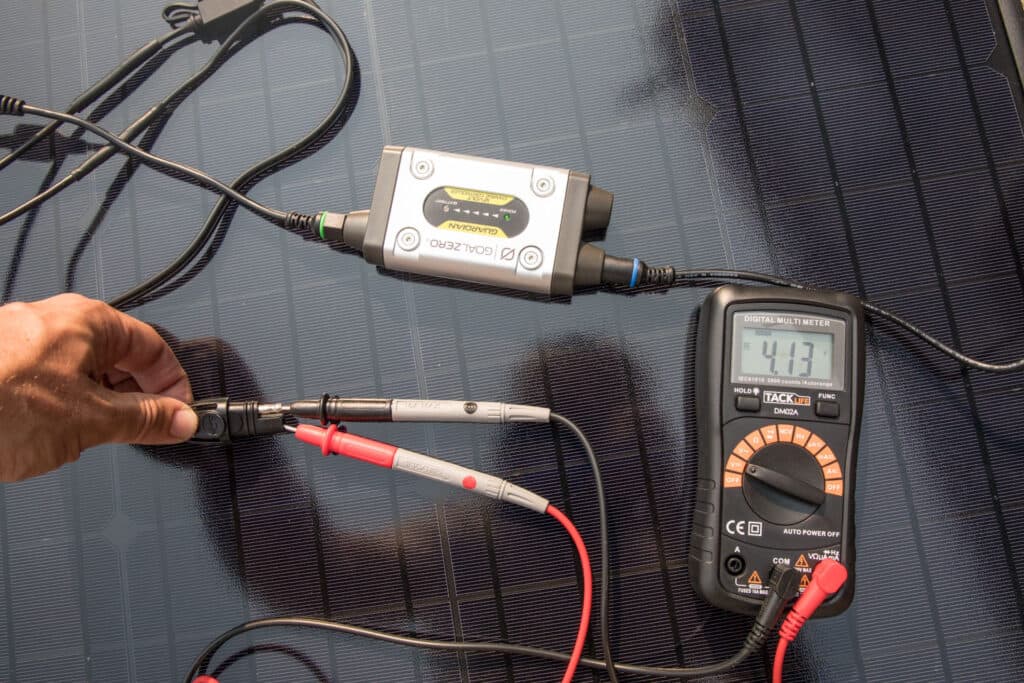
Step 9
Plug the cable into the Zamp plug on your vehicle and you should hear a BEEP coming from the Guardian charge controller to indicate everything is A-OK.
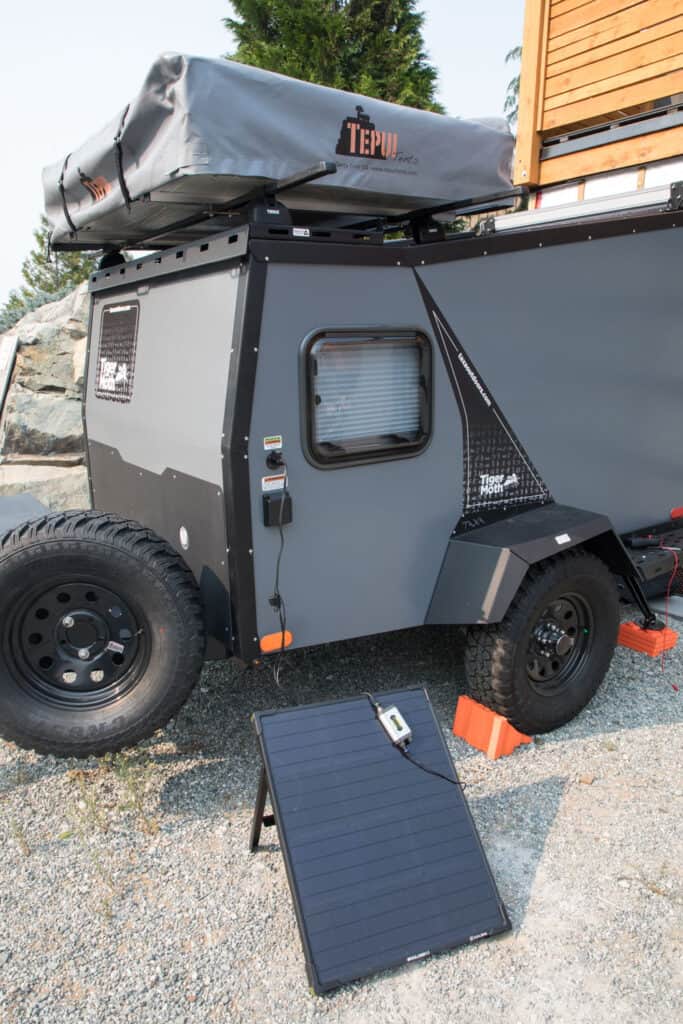
Step 10
Get out and have a life of solar powered outdoor adventures!

