EQUIPMENT USED FOR THIS SHOT
- Canon 5D Mark IV
- Canon 16-35 f/4 L IS
- Really Right Stuff TVC-24L Tripod
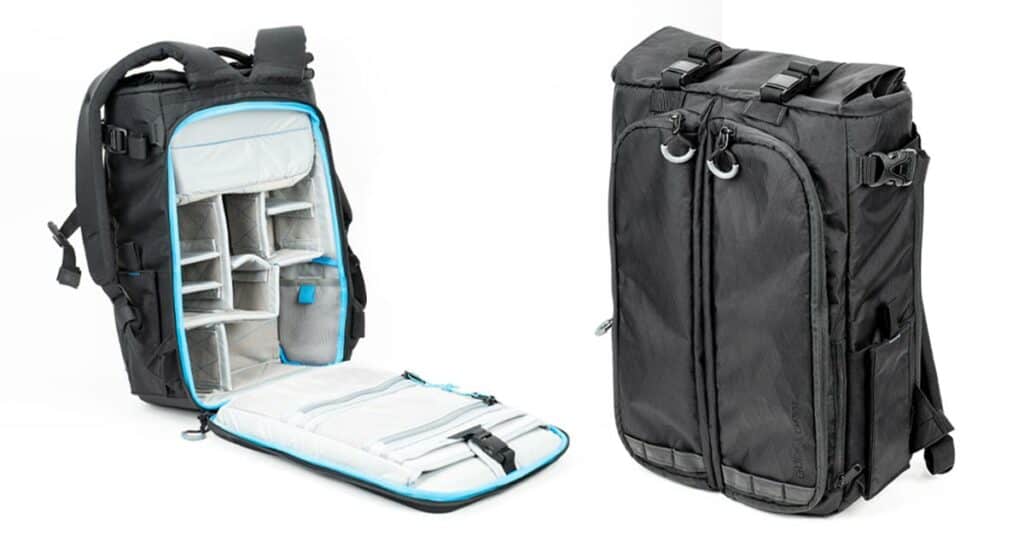
- My MindShift Gear Ultimate Adventure Combo (Read all about it HERE)
- Formatt Hitech Firecrest 4-stop graduated ND filter (use coupon code “DanCarr10” to save 10% from Formatt-Hitech.com and Formatt-HitechUSA.com)
- LeCroit filter holder system (available from Formatt-Hitech so you can also use the above coupon code)
- Formatt Hitech Firecrest circular polarizer
- Really Right Stuff BH-40 ballhead
- I use the Peak Design Clutch strap and Leash straps on all my cameras.
Sunrise at Bow Lake in the Canadian Rockies
This photo was taken on a recent trip to Banff National Park in the Canadian Rockies. Crowfoot Mountain rises out of Bow Lake on the edge of the Icefields Parkway, roughly an hour and a half drive from Banff town itself. It’s a great location for photography at sunrise, so long as you can pull yourself out of bed early enough to make the drive out there. Since there is no accommodation in this area during the winter months, you really have no choice but to set that alarm clock!
This particular sunrise had a number of very dramatic moments as the clouds moved in out out for several hours. Having arrived about an hour before sunrise, I didn’t stop shooting for nearly three hours! I’ve no doubt that some of the other shots from this morning session will be future subjects of the Behind the Shot series as the sky transitioned from clear, to blood red in places and then into this dramatic swirling mass of contrasts that are seen in this shot. Every now and again, mother nature throws you a bone to reward you for your efforts, this was one such instance!
Getting It Right In Camera
Regular readers will know that I’m not a huge fan of spending hours in Photoshop. I typically try to get my image processing done in under 5 minutes, and this often means using filters in the field, rather than blending multiple exposures. Neither method is right or wrong, it just depends on your own preference. For this image I was using two kinds of filter, although I could arguably have just used one…
Whenever I’m working around water, I always have a circular polarizer on the lens to cut down reflections from the sky and see right into the water. This is usually a benefit, but not always. In this particular case, the circular polarizer, when rotated into certain positions, would actually have eliminated the main reflection of the mountain. Since this is obviously one of the main compositional elements of the shot, that’s not at all ideal. I could have removed the filter entirely, but I like to work quickly in these changing conditions, and since I use very high quality filters anyway, it makes little difference in image quality terms. Instead, I just rotated it until the polarization effect was not visible. The light loss caused by that filter was a non-issue since I was using a tripod anyway.
The second filter I used was a 4-stop graduated neutral density filter, I prefer the glass Firecrest one from Formatt-Hitech. In a lot of landscape situations a 3-stop tends to be more ideal, but when the sun is directly visible in the shot at low angles, I tend to reach for the 4-stop one instead. The result of using this filter over the top half of the image is that it really helps to even out the exposure of the sky and the sky reflections in the water.
Compositional Considerations

There’s a few interesting things going on in this image that we can discuss. First of all, I wanted to have a reflection of the mountain in the image because this is a great visual tool to capture people’s attention in the first place. The lake itself was quite choppy from strong winds, so this water in front of the camera is actually just a large puddle that was close to the lakeside. By putting my camera extremely low to the water, it’s hard to tell that this isn’t connected to the lake, and equally hard to tell that it’s actually a very small body of water.
The clouds in the image were moving at a fierce pace, but at this point, the band of clouds on the right lined up right behind the edge of the mountain and this really helped create more contrast there, which was then mirrored by the reflection as well. The diagonal lines created by the clouds are classic leading lines, and they help to move the viewer’s eye across the image towards the rising sun. Fortuitously, the dark grey cloud on the left does the exact same thing from that side of the image , creating another set of lines and reflections which all end up converging in the same spot. Since this spot in the image is also the furthest thing from the camera, it really helps to draw people into the image to explore that area, not just getting stuck on the more prominent foreground mountain.
The other subtle element to the composition is the rock that’s sitting in the puddle. With the camera sitting so low to the water, and relatively close to this rock, small movements in camera position adjusted the rocks position in the image greatly. I chose to place opposite the rising sun as a way to balance the brightness of the sun flare, and slightly break up the hot-spot of the reflected sun. With the brightness of that part of the image, a lot of highlight detail was lost, so the dark rock helps to distract you from the fact that this part of the image is otherwise essentially detailless
Image Editing

The full edit for this was done in Lightroom, no need to take it into Photoshop. As usual, I tend to make my Lightroom edits very selectively, using either the radial filter or the graduated filter. Image editing should be treated as an extension of the compositional process, and this usually means using the editing tools to help guide the viewers attention in some way. That’s a hard thing to do if you are applying the the changes across the entire image, so selective editing tools are often much more useful. Of course there are sometimes occasions where you want to do something like brighten an underexposed image, and this might be a good way to use a global editing slider, but the vast majority of my stylistic editing choices are performed with selective editing tools.
For this particular image, there were two main selective tools applied:
- A graduated tool over the lower half of the image to increase the contrast and clarity of the water
- A radial filer over the mountain to brighten it slightly, and lift some details out of the shadows using the shadow slider
On a global level, I made some small adjustments to the overall saturation and vibrance of the shot. Total editing time was about three minutes. That’s my kind of edit!


