If you’re reading the blog posts in chronological order, you’ll know I had a less than pleasing travel experience a few days ago on a flight to the Yukon. It seems that air travel is only destined to get more complicated, and on my return flight to British Columbia this morning with Air North (actually I’m writing this on the plane), I had another experience that’s worth talking about.
In this instance I ran up against the dreaded carry-on luggage weight limit. I’ve flown a lot in my career and in well over a decade of flight you can count the number of times that it has happened, on the fingers of one hand. Anyone that flies professionally with camera gear knows that it’s practically impossible to get your carry-on under the weight limit. The problem is that airlines will not take responsibility for fragile items in checked luggage, and cameras will be specifically mentioned in the list of items you should not check in.
I’ve flown this same route, with the same gear, ten times in the last year with no issues, but as soon as my bag was weighed I knew I was going to have to do some serious reorganization because my carry-on was about double the maximum limit.
The first thing you should do is tell the check-in agent that your bag is full of fragile camera equipment and that per their own policies, it should not be checked. You can never guarantee whether that will solve your problem, but it’s worth mentioning it right away. In my case this morning, the agent offered to gate check the bag which was a step in the right direction, but still not really a good solution for me. I’ve read plenty of stories about gate checked gear getting damaged, and the contents of my bag was worth about $40,000.
If that doesn’t work, the next question you should ask is whether you can carry a camera onto the plane, in addition to your carry-on luggage. For some reason, airlines often have policies that allow a camera to be around your neck or on your shoulder when you board a plane. To me this is ridiculous, because the weight still goes to the same place, and what actually happens is you slow down the boarding process while you try and figure out what to do with it when you get to your seat, but nonetheless, this is sometimes an option – as it was for me today.
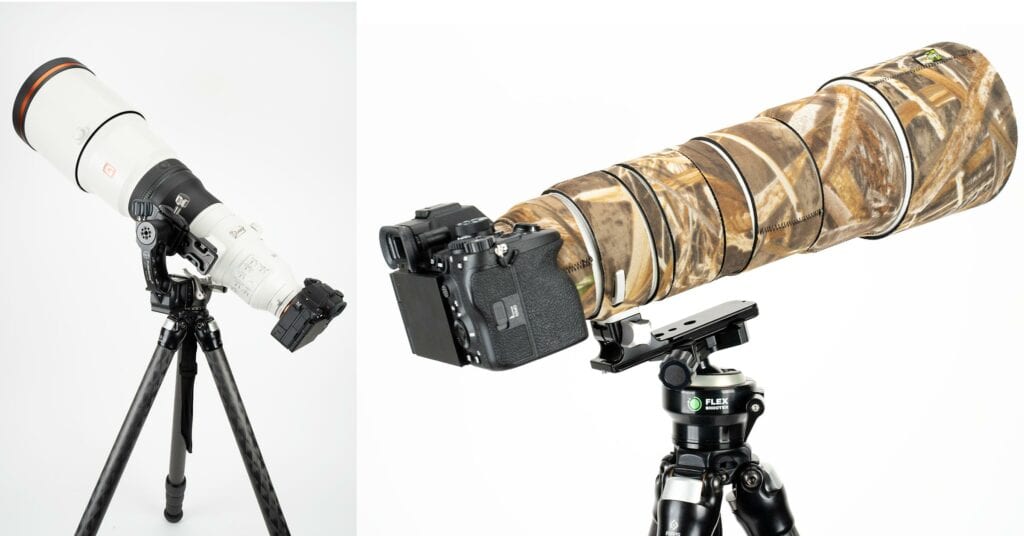
Having asked this question, and received the OK to carry a camera separately, I then put my heaviest lens (a 400mm prime) onto my camera and slung it over my shoulder.
Unfortunately this still didn’t bring me even close to the weight limit, so I knew then that I had to put my jacket on and start filling the pockets with lenses. This is another oddity of airline travel, whereby the contents of your pockets don’t count towards your carry-on limits either. I placed a 100-400 in the left pocket, an 11-24mm in the interior pocket and a 24-70mm in the right pocket.
At this point I’m carrying $20,000+ of camera gear unprotected on my person, but I’m starting to get down towards the weight limit!
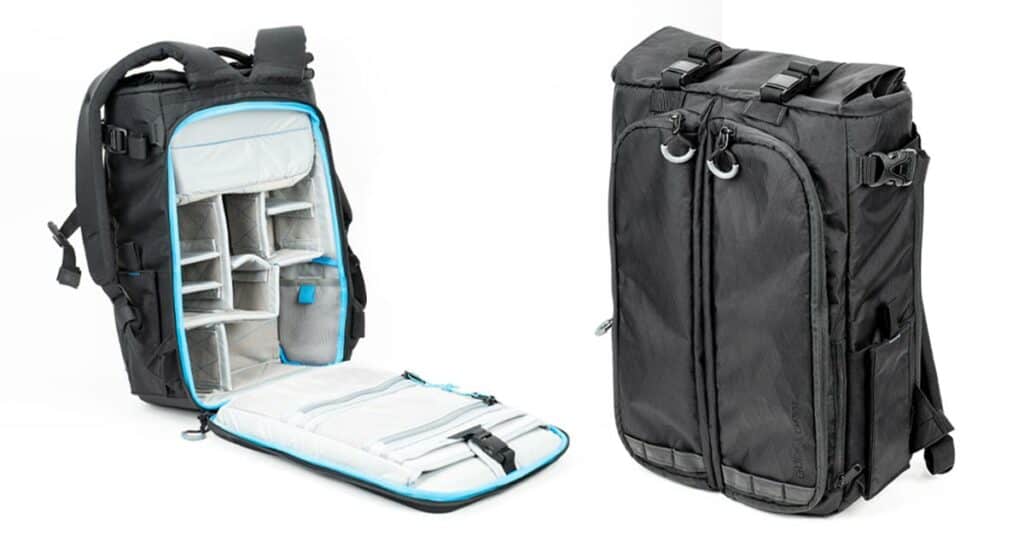
The next thing I needed to do was pull the laptop out of my laptop bag, slip that into the camera backpack and then put the laptop bag in my checked duffle. Success! My half empty backpack was now just under the weight limit, and the check-in agent congratulated me on my inventive re-packing job.
Important Takeaways
There’s a few things to underline from this experience:
- Always carry a jacket with you that has large pockets. This can easily make all the difference! Every time this has happened to me, I’ve used huge pockets to help me through it.
- Always have additional room in your checked bag in case you need to put more things in it. If you think you regularly travel with 60L of luggage, use an 80L duffle bag. If you travel with 80L, use a 100L duffle bag. I can’t tell you how many times this extra room has been useful to me in one way or another. Today I was able to add a jacket and less expensive items like chargers and my empty laptop bag to that duffle.
- Try and keep your cool. I was frustrated to have to do this because it’s a royal pain in the ass, but they are just trying to do their job. There’s no point arguing with people about it. Knowing the little tricks I have told you will usually get you on the plane with your gear, although you will get some odd stares from people, and many questions about your “giant lenses” as you carry your gear through the airport.
Comically, the Transport Canada people who screened my now half empty carry-on bag and all my loose camera gear, actually asked me to put the lenses back in the camera bag so that I didn’t take up as many plastic tubs for the x-ray machine. Can’t win, can you?!
Incidentally, some of you might be thinking “why doesn’t he just go around the corner after checking in, and put all these things back in his bag?”. Well, that might work in some places, in small/medium airports you might find that your check-in agent is also the same person who looks at your boarding pass to let you on the plane. Having just watched you unpack camera gear all over their check-in desk, you can be relatively sure they’ll remember your face when they see you next. Indeed, this was the case with my flight today, so I’m glad I stuck to what had been agreed was acceptable.
Of course I then sat at the gate with my half empty backpack waiting to board, marvelling at the insane size of some of the carry-on roller bags that people had with them! Not a chance that they were within the weight limit… but sometimes these are the cards you get dealt.


