
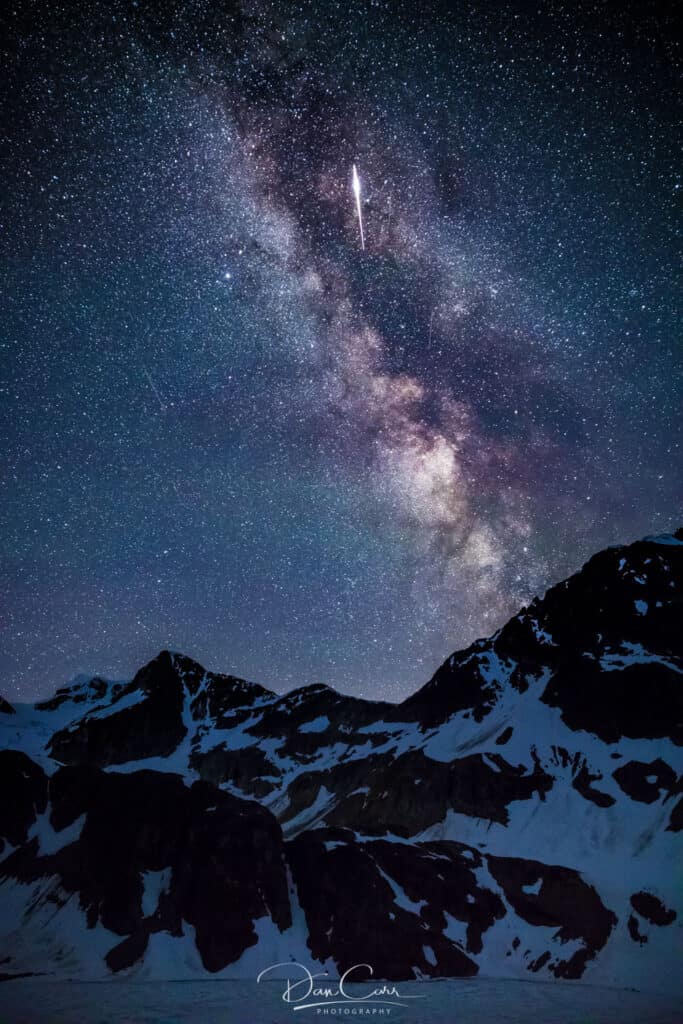
This photo of the Milky Way rising over Wedge Mountain in Whistler had a little surprise in it when I looked closely through my shots on a computer. What at first might appear to be a shooting star in the centre of the frame, is in fact called an Iridium Flare, and it’s caused by sunlight bouncing off the solar arrays of a passing satellite! It’s the first time I’ve ever captured a photo of this phenomenon, so I thought it would be a fun one to share.
Equipment Used for This Shot
- Canon 5D Mark IV
- Canon 24-70 f/2.8 L II
- Really Right Stuff TFC-14 tripod with BC-18 Microball
- Lexar Professional 128GB CF Cards
- Adobe Lightroom CC
Am I Sure It’s A Satellite?
Yes, and here’s why… Once I set the camera up on my tripod and positioned the mountains in the right part of the frame, I started the intervalometer on my camera so that it would take back-to-back 15 second exposures for just over an hour (ISO8000, f/2.8, 15 seconds @24mm). My original intention was to merge all of these images together to make a star trail. If you’ve never shot a long consecutive nighttime sequence before, you might not know this but satellites are everywhere, and they’re easy to spot. The show up as perfectly straight lines in a photo of the night sky, but importantly you’ll always be able to see them tracking across the frame as you flick from shot to shot in your sequence. They move at a constant rate, and usually they are the same brightness all the way through the sky.
Sometimes it’s possible to catch a meteor in your photo, but the difference here is that they tend to have a brighter area at the front, and trail off at the tail. The other important thing for identification is that they only appear in a single frame. I’m not going to say they are moving faster than a satellite, because really they appear faster simply because they are that much closer to the camera, but they do cross the frame much faster. If you think you have a meteor in your photo, and you’re shooting a consecutive sequences, just examine the images before and after. Usually this will give you the answer.
When I looked at this photo though, I had a surprise. At first glance it appears to be brighter at the tip and have a trailing tail just like a meteor. Upon advancing through my photos in the sequence though, I could clearly see the object’s slow progression across the sky after the point where it became momentarily bright. There was no doubt that it was a satellite! So why was it so bright in that part of the frame? I posted the photo into my Instagram Stories feed to seek some knowledge, and that’s when another photographer told me the name of this phenomenon.
At first I was kind of annoyed that it wasn’t a meteor because compositionally it had appeared in just the right spot in the frame. But once I found out the cause of it, I decided it was pretty cool to capture a photo of that too. Usually satellites are ruining photos of the night sky, but in this instance I’ll take it!
Watch Out for Mice!
Whilst waiting to take this photo I had the unpleasant experience of being surrounded my mice in the dark. I’d seen them scurrying around as I set the tripod up, but once the camera was rolling, I had to turn my headlamp off! As soon as I sat down on a nearby rock, I felt one of them run up my leg and across my lap. Moving to a standing position didn’t seem to deter them either, they simply climbed onto my shoe and tried to go up my pant leg. In the end I resorted to standing and marching on the spot for the whole hour so that I didn’t give them any opportunity to find a cosy spot to sleep for the night!
I’m not a particularly squeamish person, and had it been daytime it would have been much more amusing. On a moonless pitch black night at the top of a mountain on your own though, I can’t say that I’d list that as a fun experience.
Getting to the Location
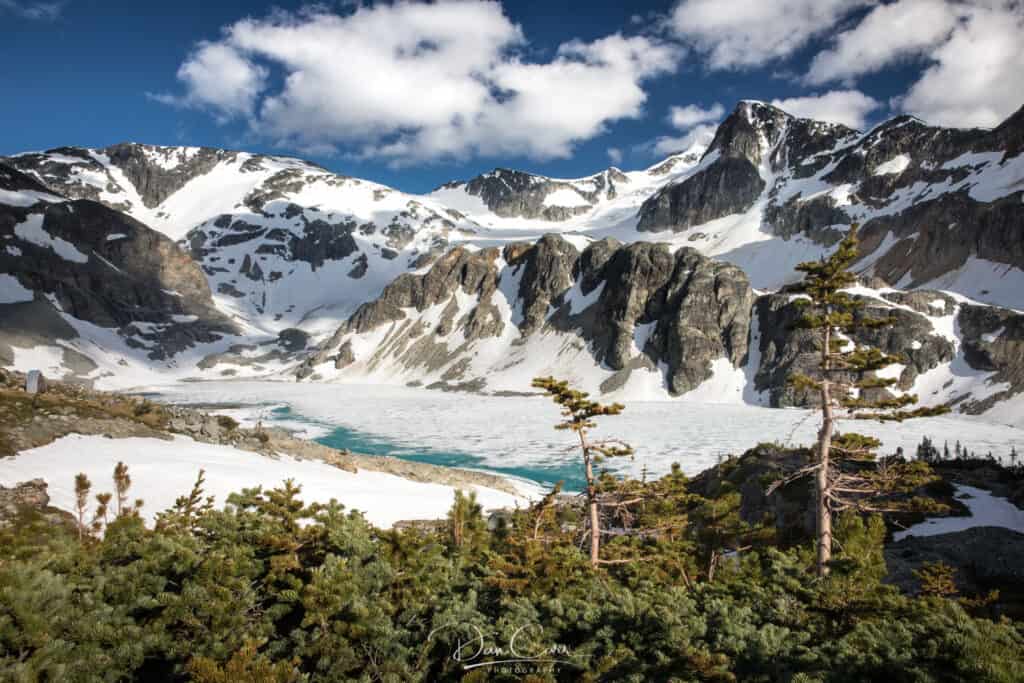
There’s plenty of information out there on the internet about getting to Wedge glacier, so I’m not going to detail everything on that front. What I do want to mention is that this is no walk in the park. It’s a fairly gruelling hike up a very steep valley for about 4 hours or more, depending on how light you are travelling. If you’re looking to do this kind of more adventurous backcountry photography, I’d recommend that you take a look at the series of posts I wrote recently about backpacking with photography gear. That post series talks in more detail about the ultralight RRS tripod setup that I’ve been using, as well as many other considerations for packing light on a photo mission.

