The Kenti photo pack is another addition to the popular Mountain Series of bags from f-stop. These bags are designed specifically with outdoor, nature and adventure photographers.
Compared to the other Mountain Series bags, the Kenti has some very different design features, namely, zippered access to both sides of the bag. Two camera bodies with lenses already attached can be quickly reached and stowed away again in record time. If speed is important in your photography then you should definitely read on.
Bag Design & Features


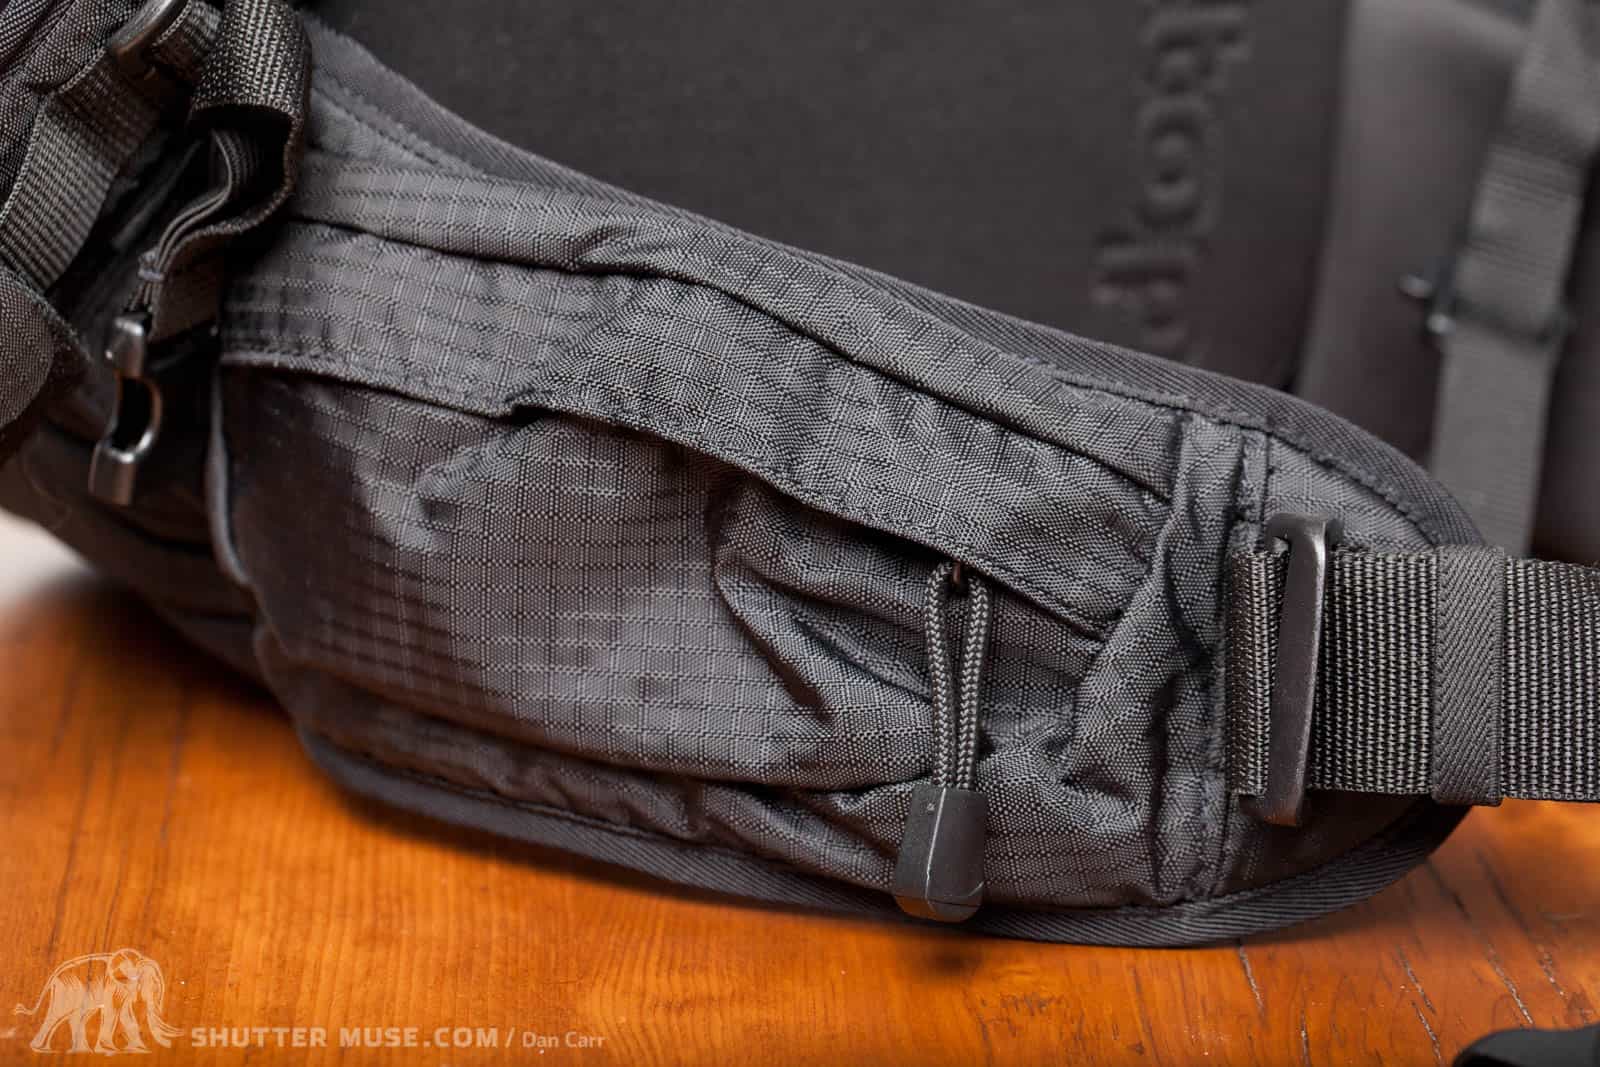


Without a water bladder in the bag the Kenti is a very comfortable pack. Unfortunately that changes somewhat when a full bladder is inserted into the rear pocket. The issue stems from two places; firstly due to the interior design of the main camera compartment, which is pretty solid to provide protection and rigidity, the bulge of a bladder has nowhere to go but outwards. Secondly, the back panel of the bag is quite thin and very flexible. The result is that a full bladder (I tried 3L Camelbaks) bulges the back panel considerably. For me it was past the point of a mere annoyance, I had to empty some water from my bladder when I was testing this out. Comfort and fit of a pack on a hike are of the utmost importance to me and I rank it far higher than a bags ability to carry a particular type or amount of equipment so this is a bit of a disappointment to me, especially given that the bag features a few features designed to make it a great mountain biking companion, a scenario where you would almost certainly want to be traveling with a large amount of water as well.


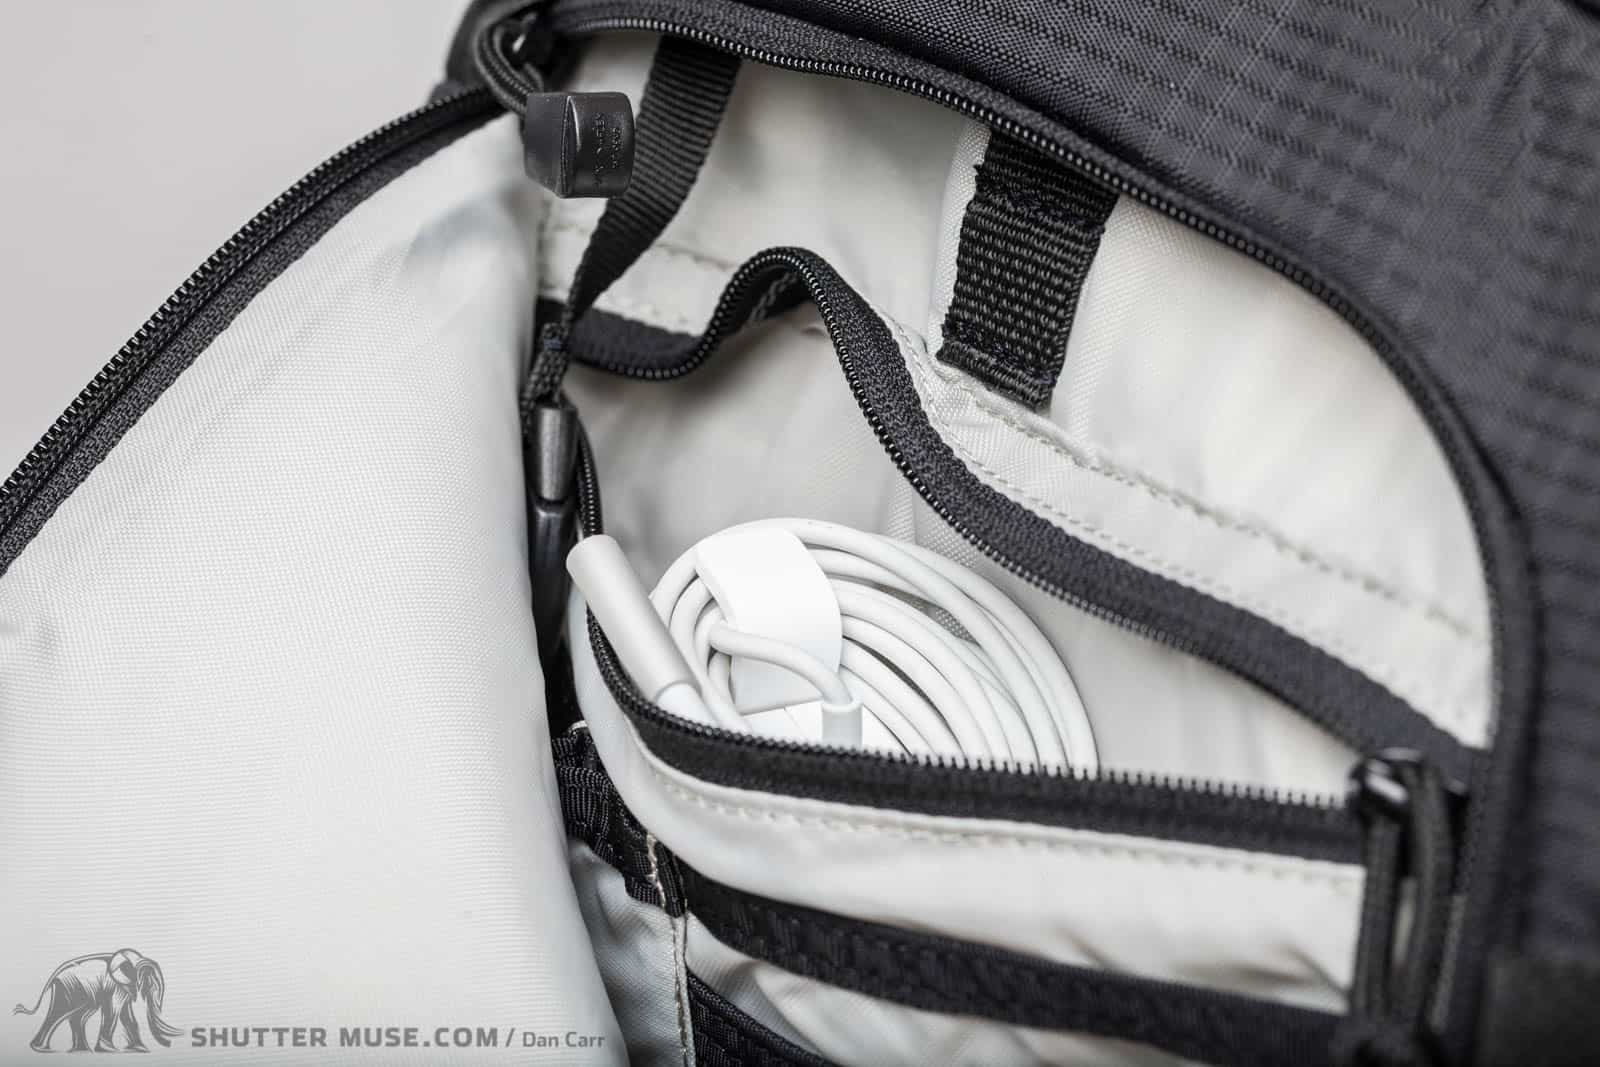

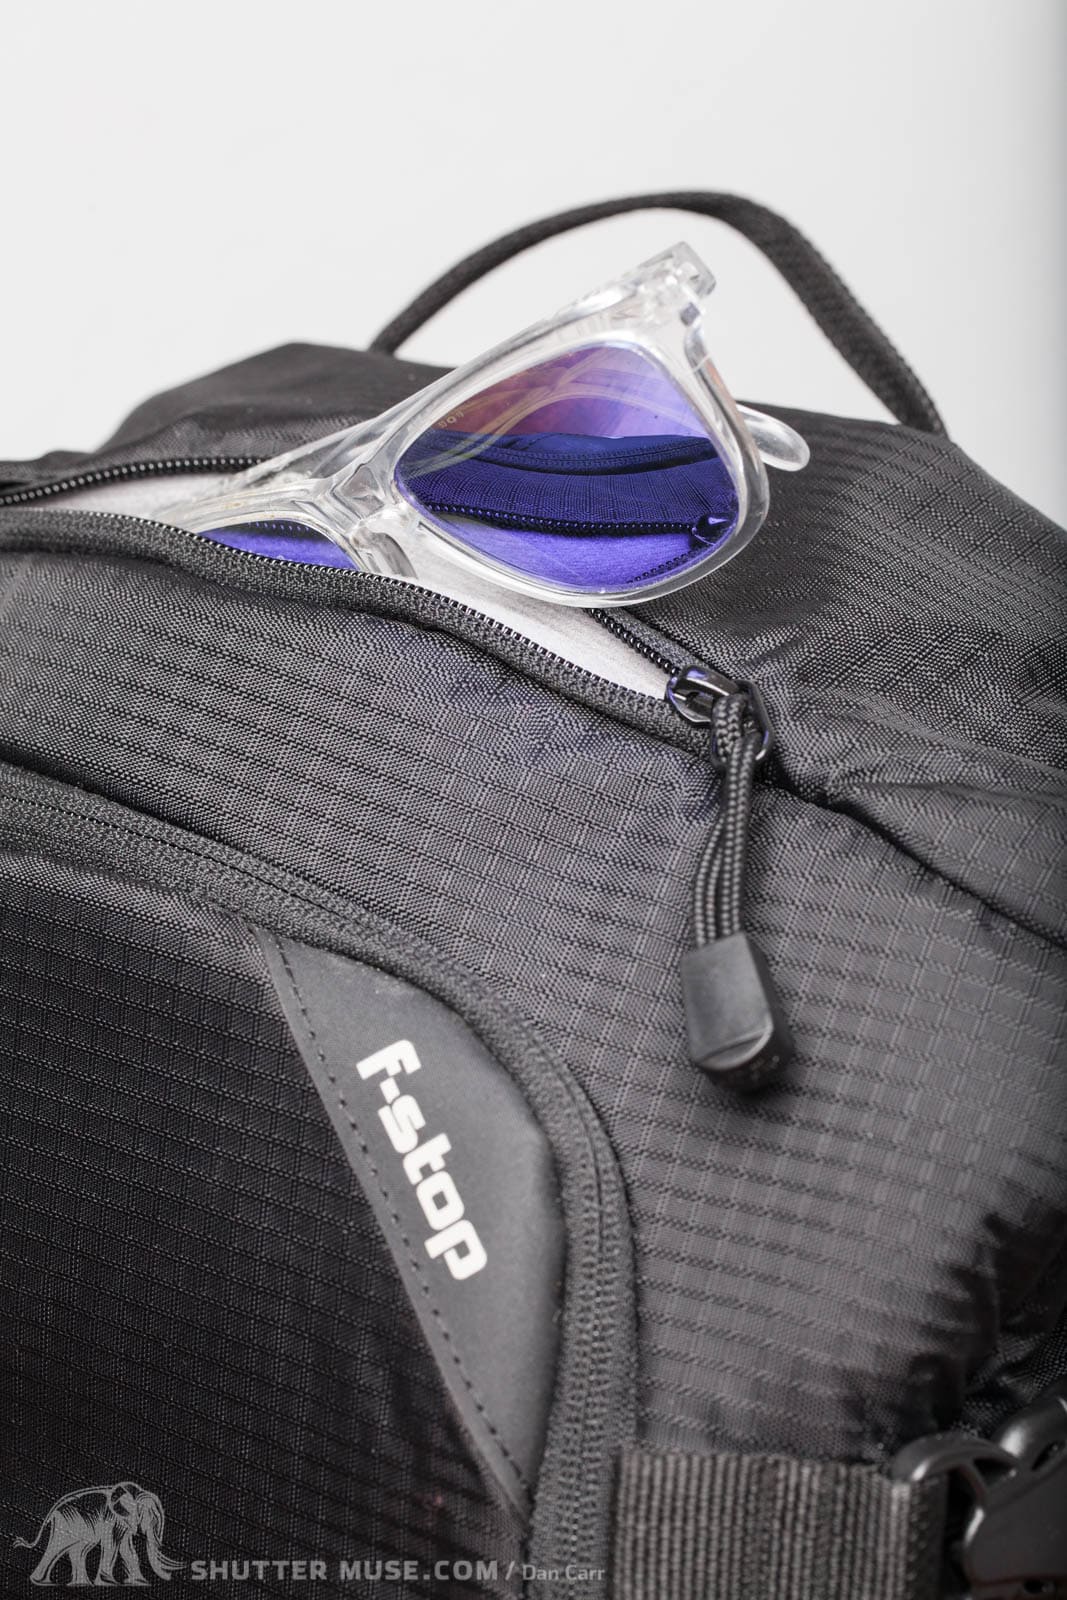
The packs low profile and sleek design make it a great pack for mountain biking, this has been recognized with the inclusion of a dedicated bike pump sleeve in the front organizer which is a great idea. You will also find another couple of smaller pockets tucked down in the bottom of the front organizer but they are tricky to keep track of what is in them.


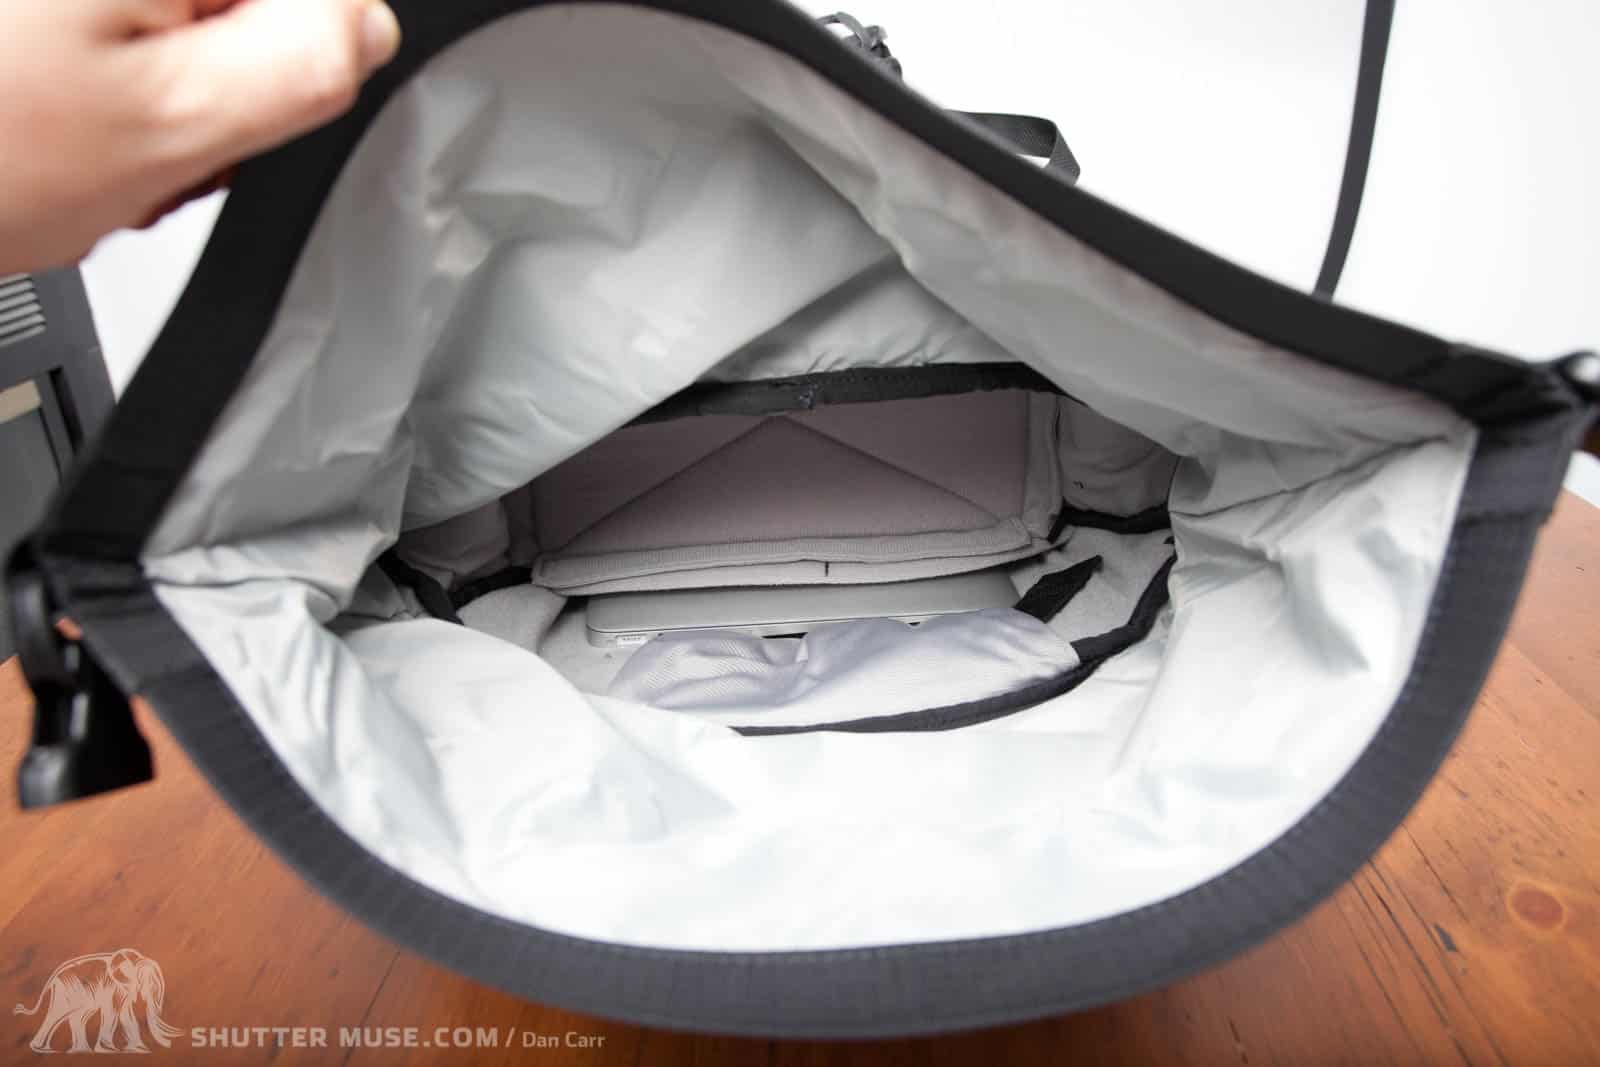
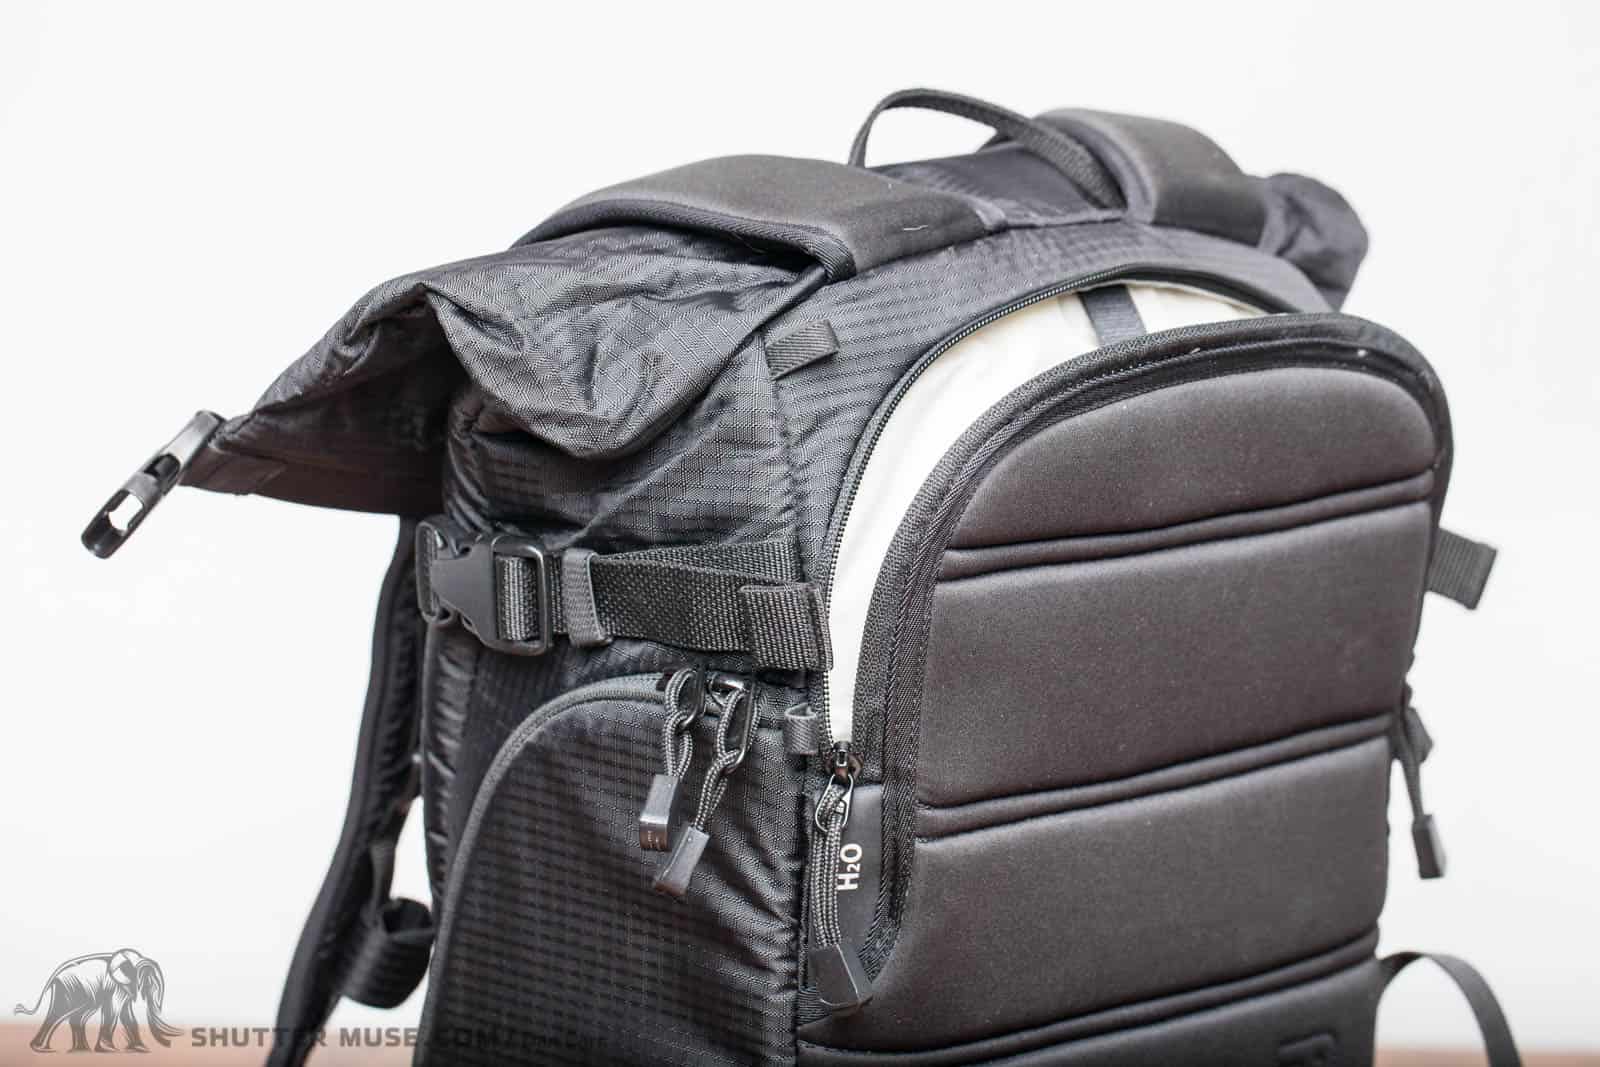
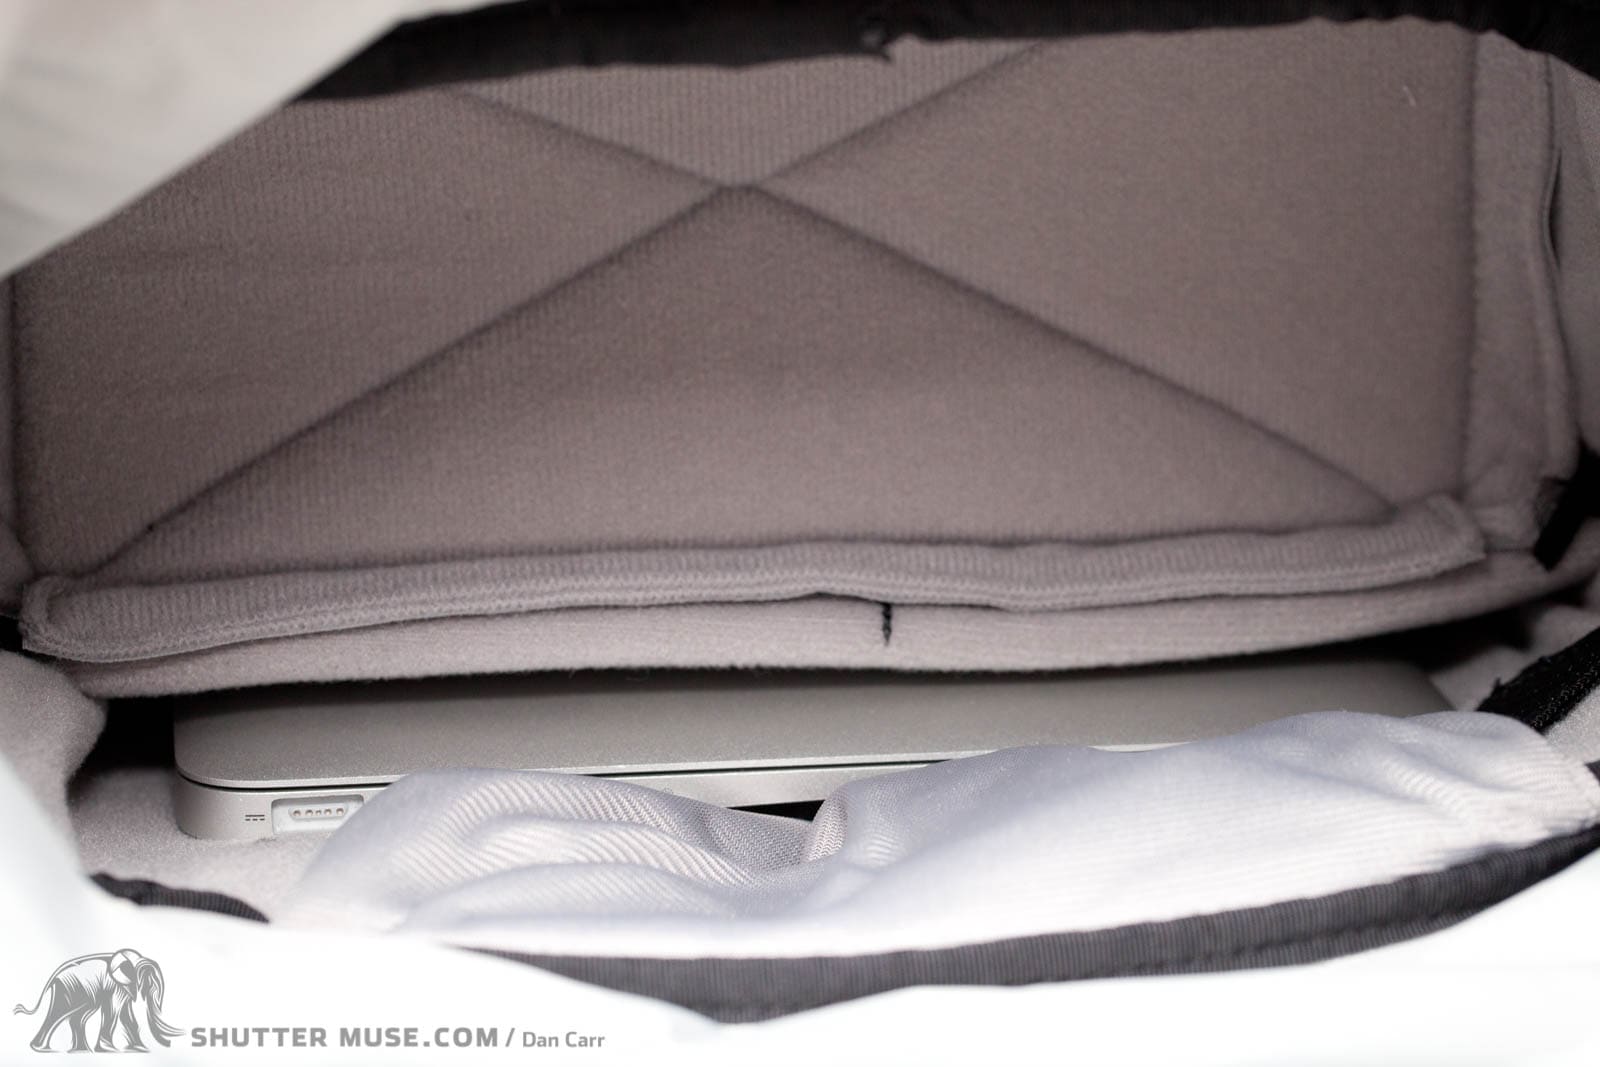
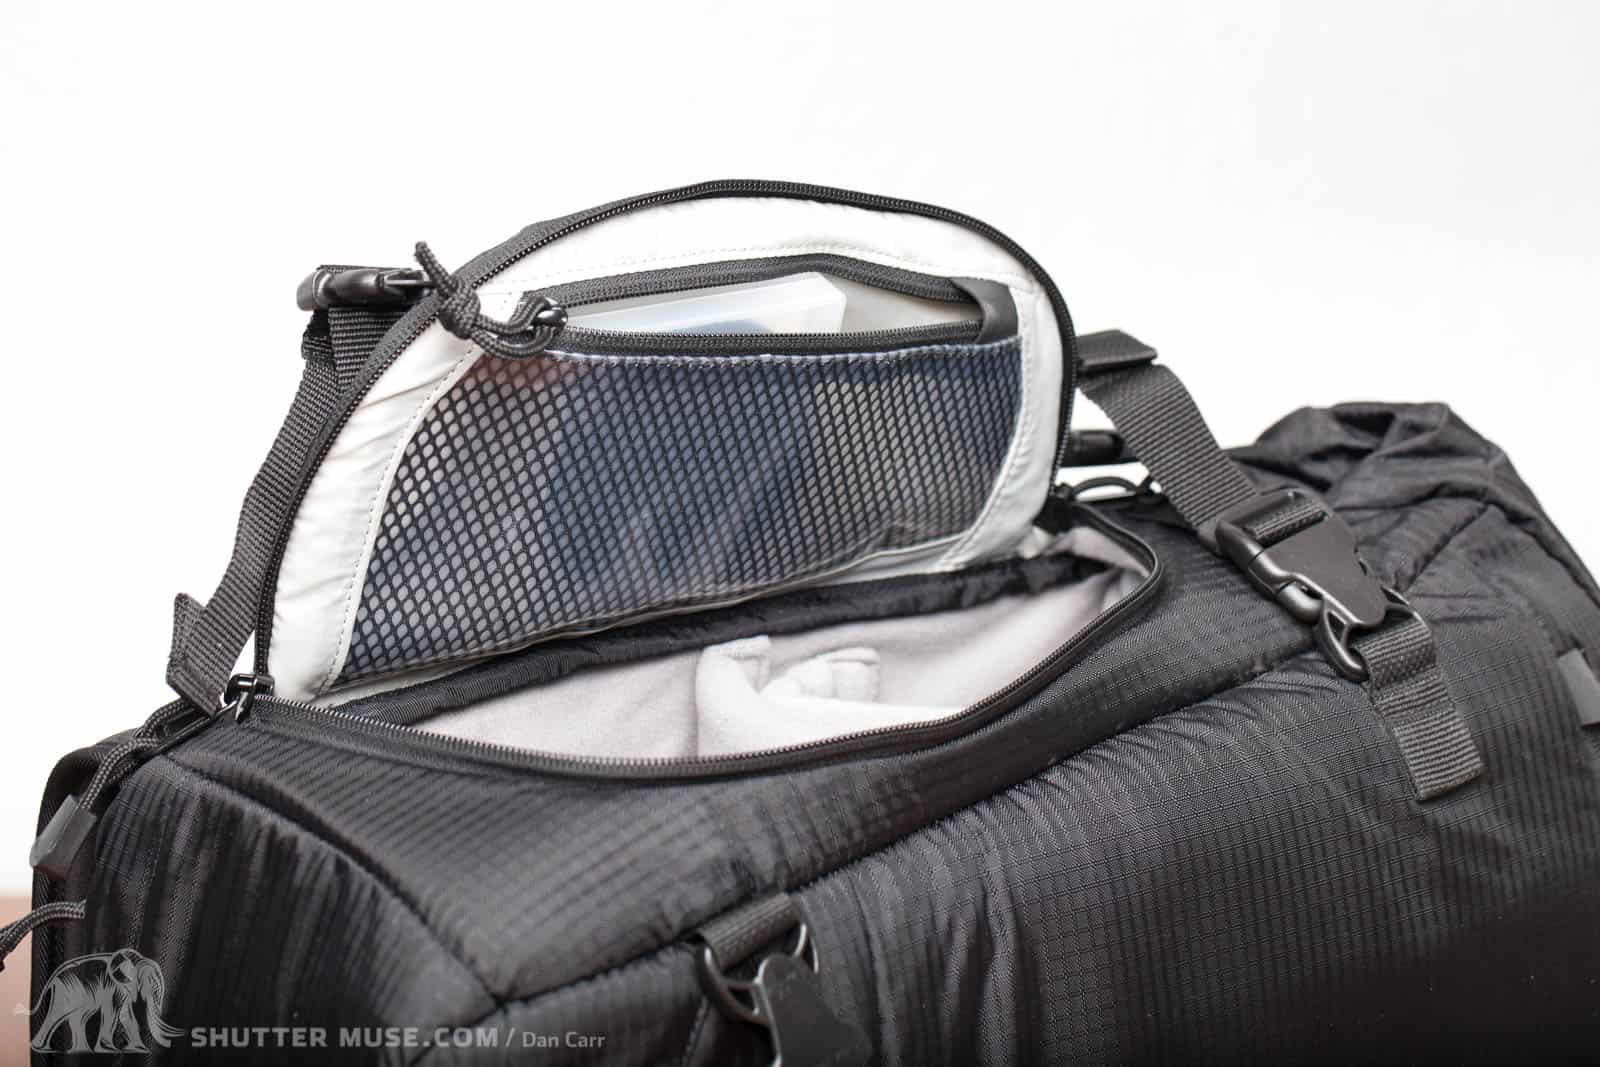
Opening up the roll top reveals a heavily padded sleeve for a laptop. In this photo it is an 11″ Macbook Air but F-Stop says that it will fit a 13″. No 15″. I was also able to fit my Air into the water bladder pocket and I believe a 13″ would fit as well. As you can see though, if you also put other things in there then the laptop is buried with no easy way to get to it.
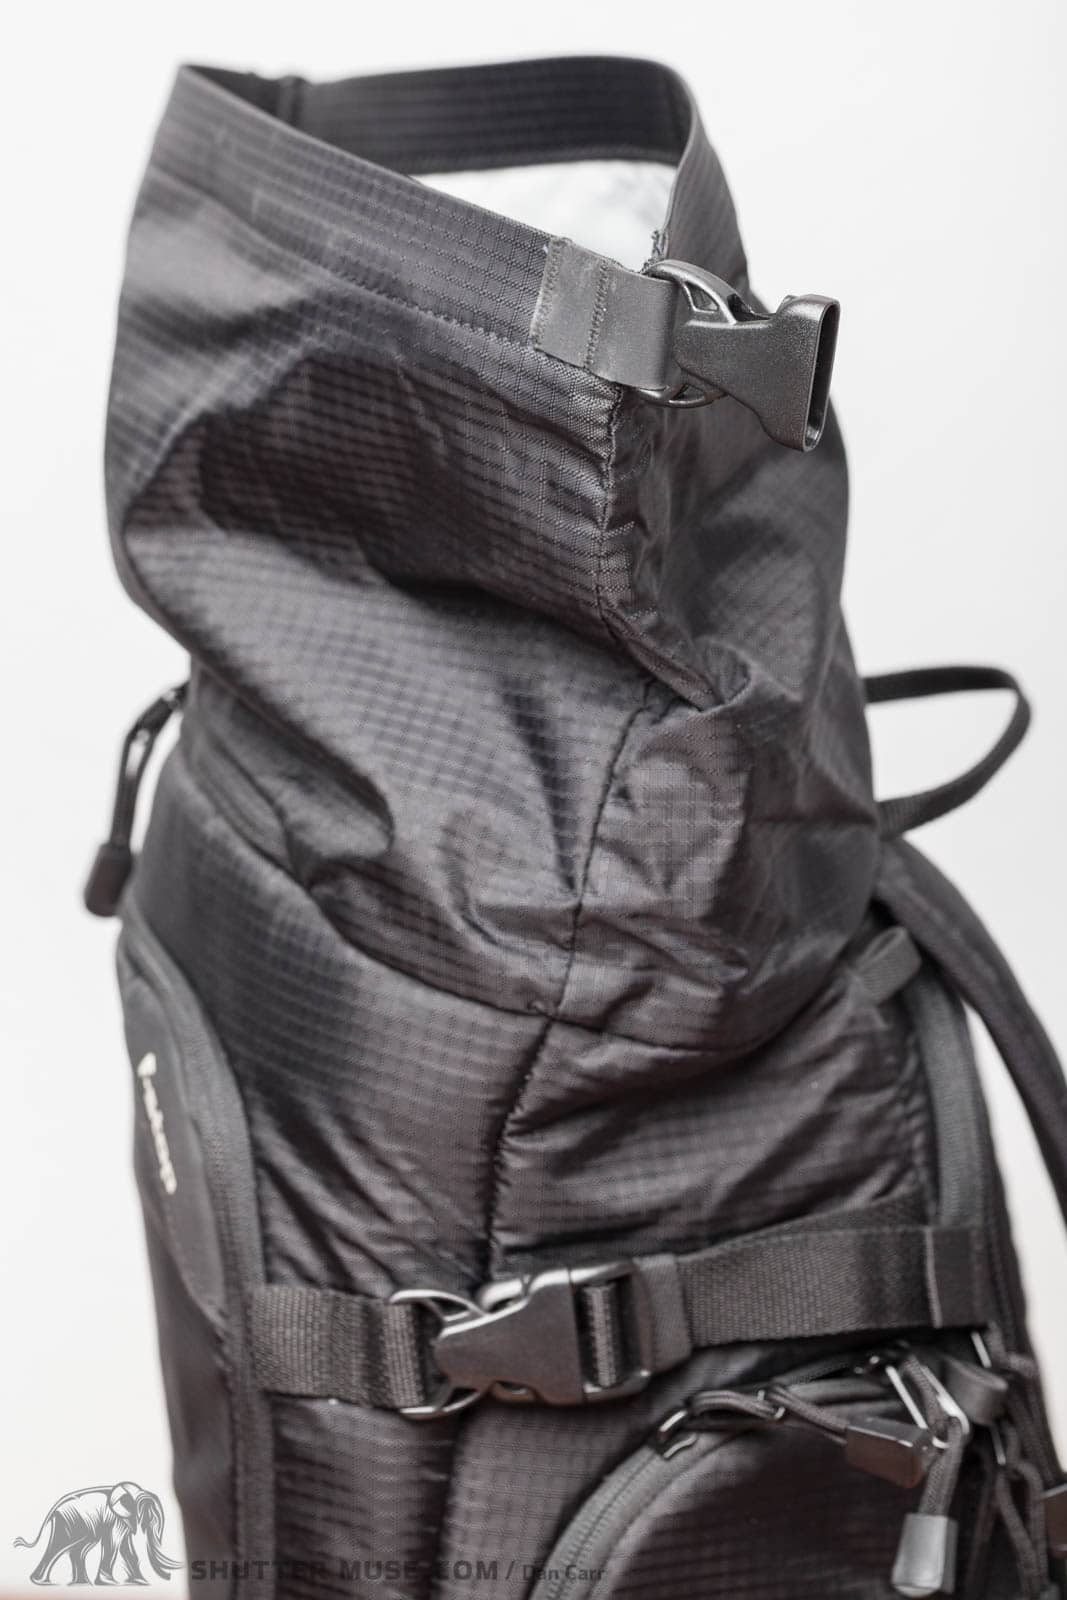
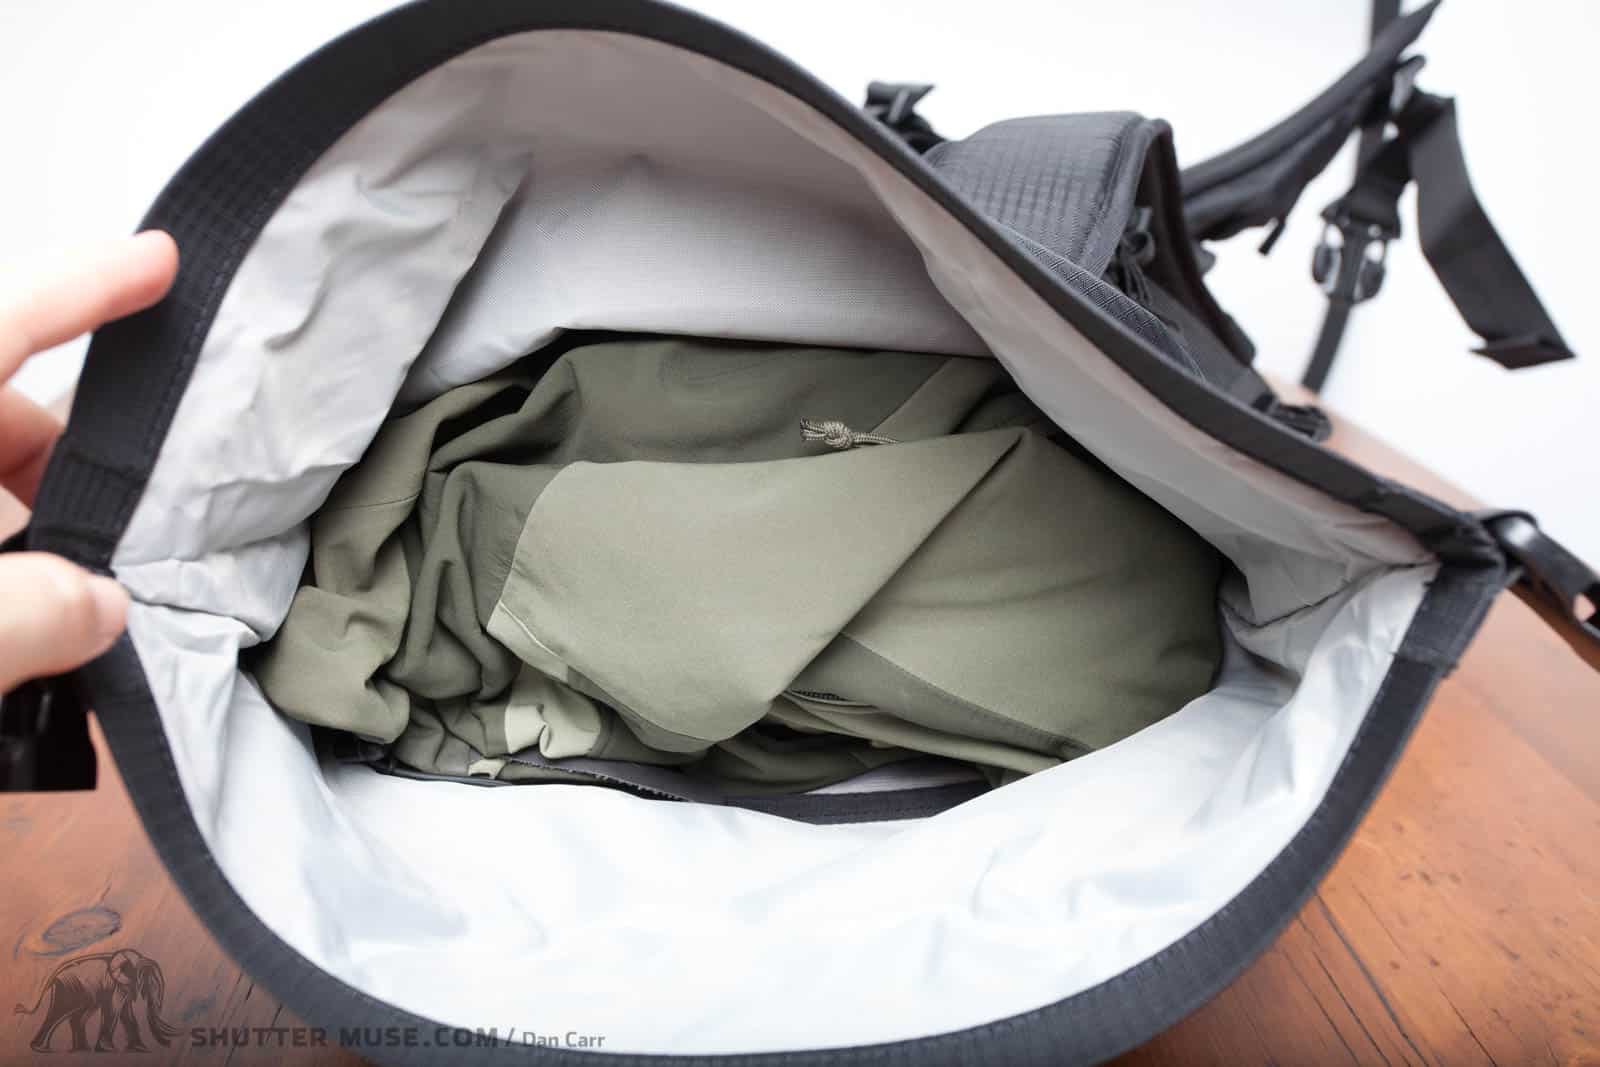
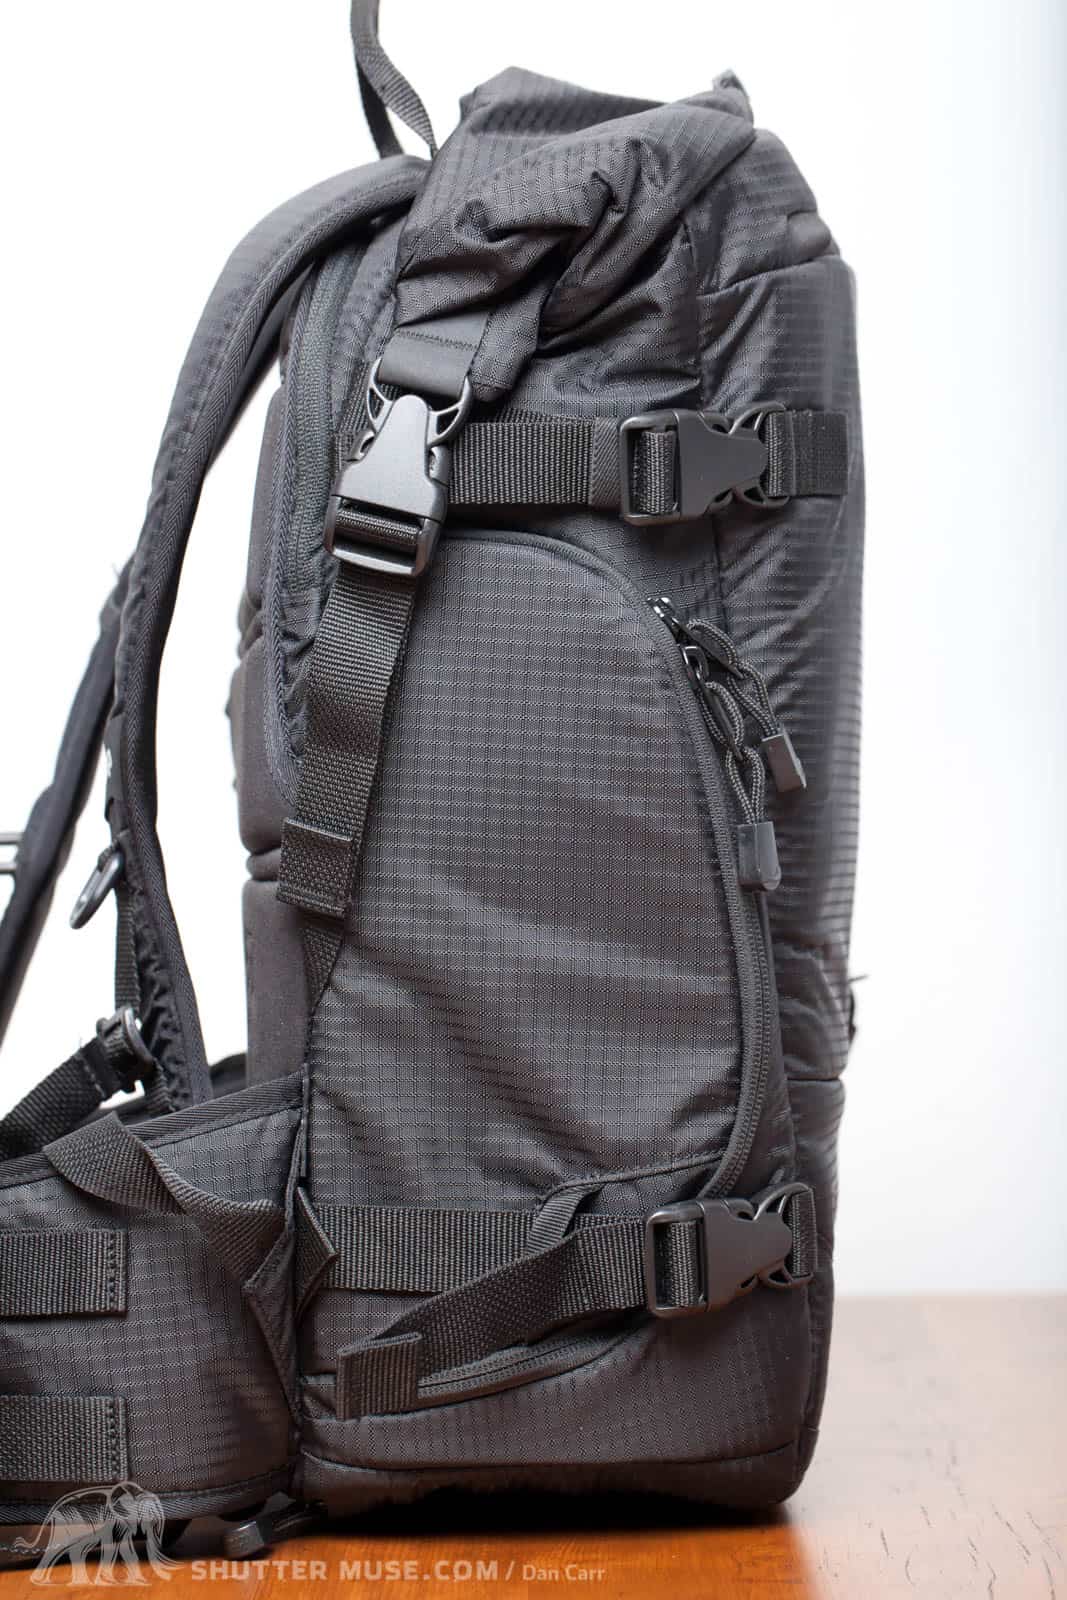
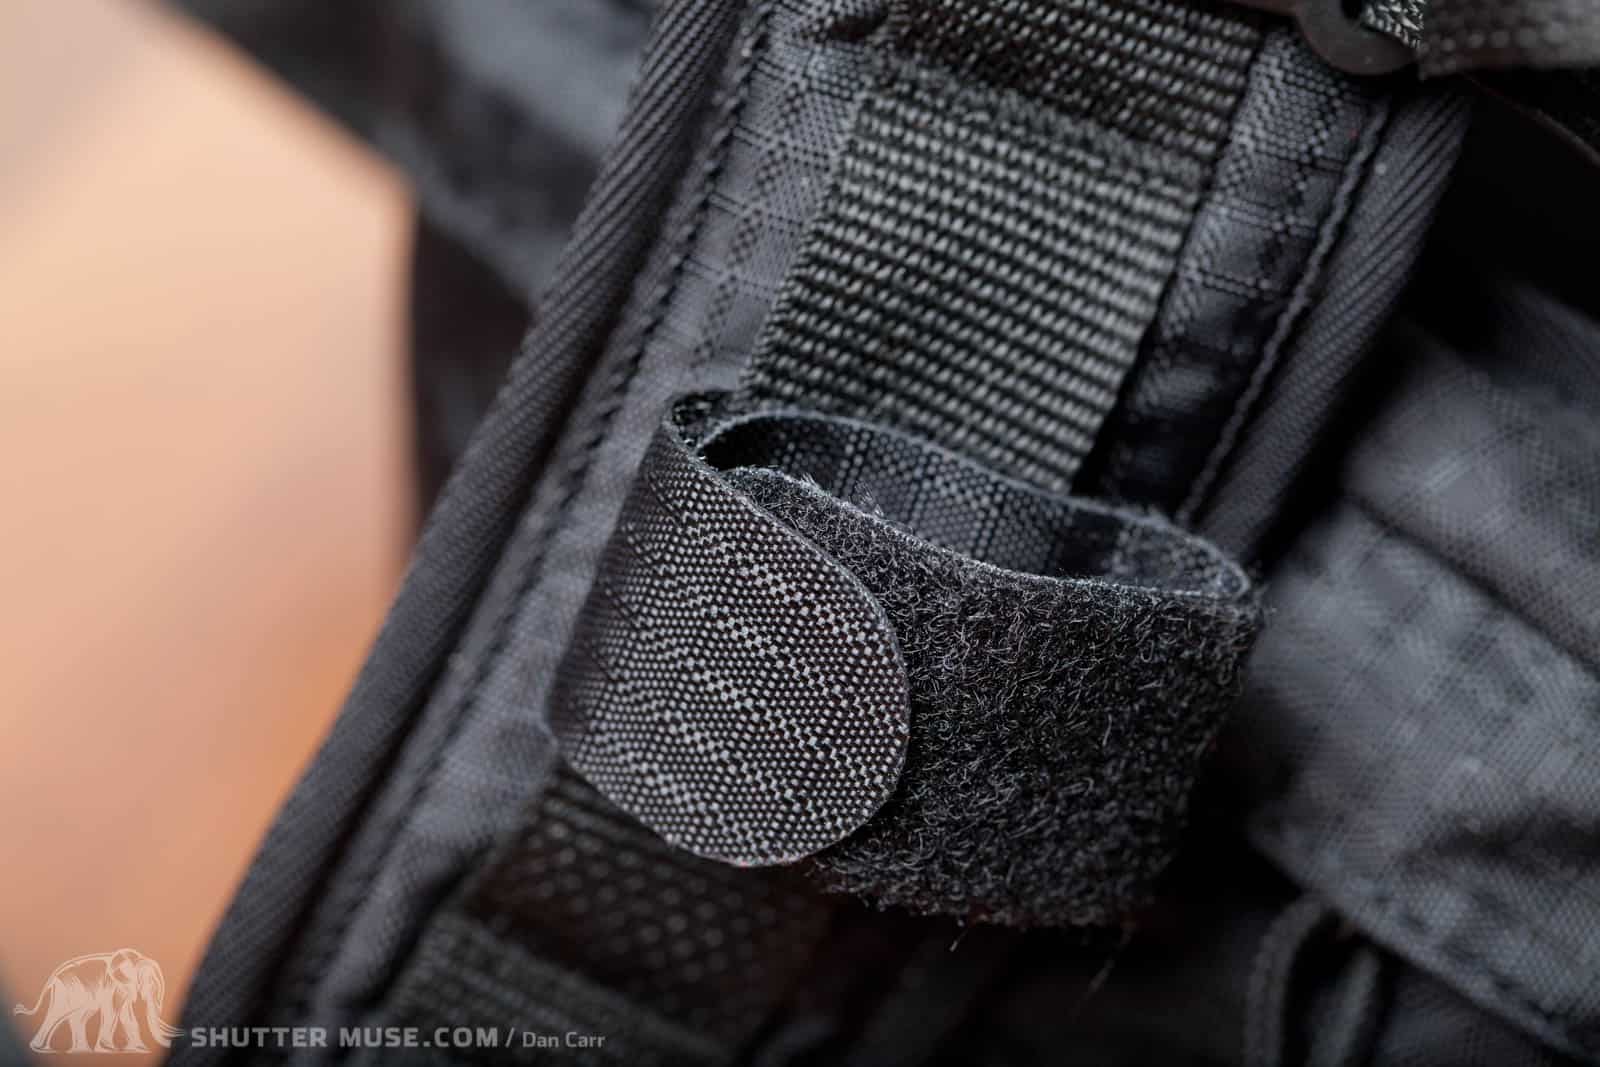
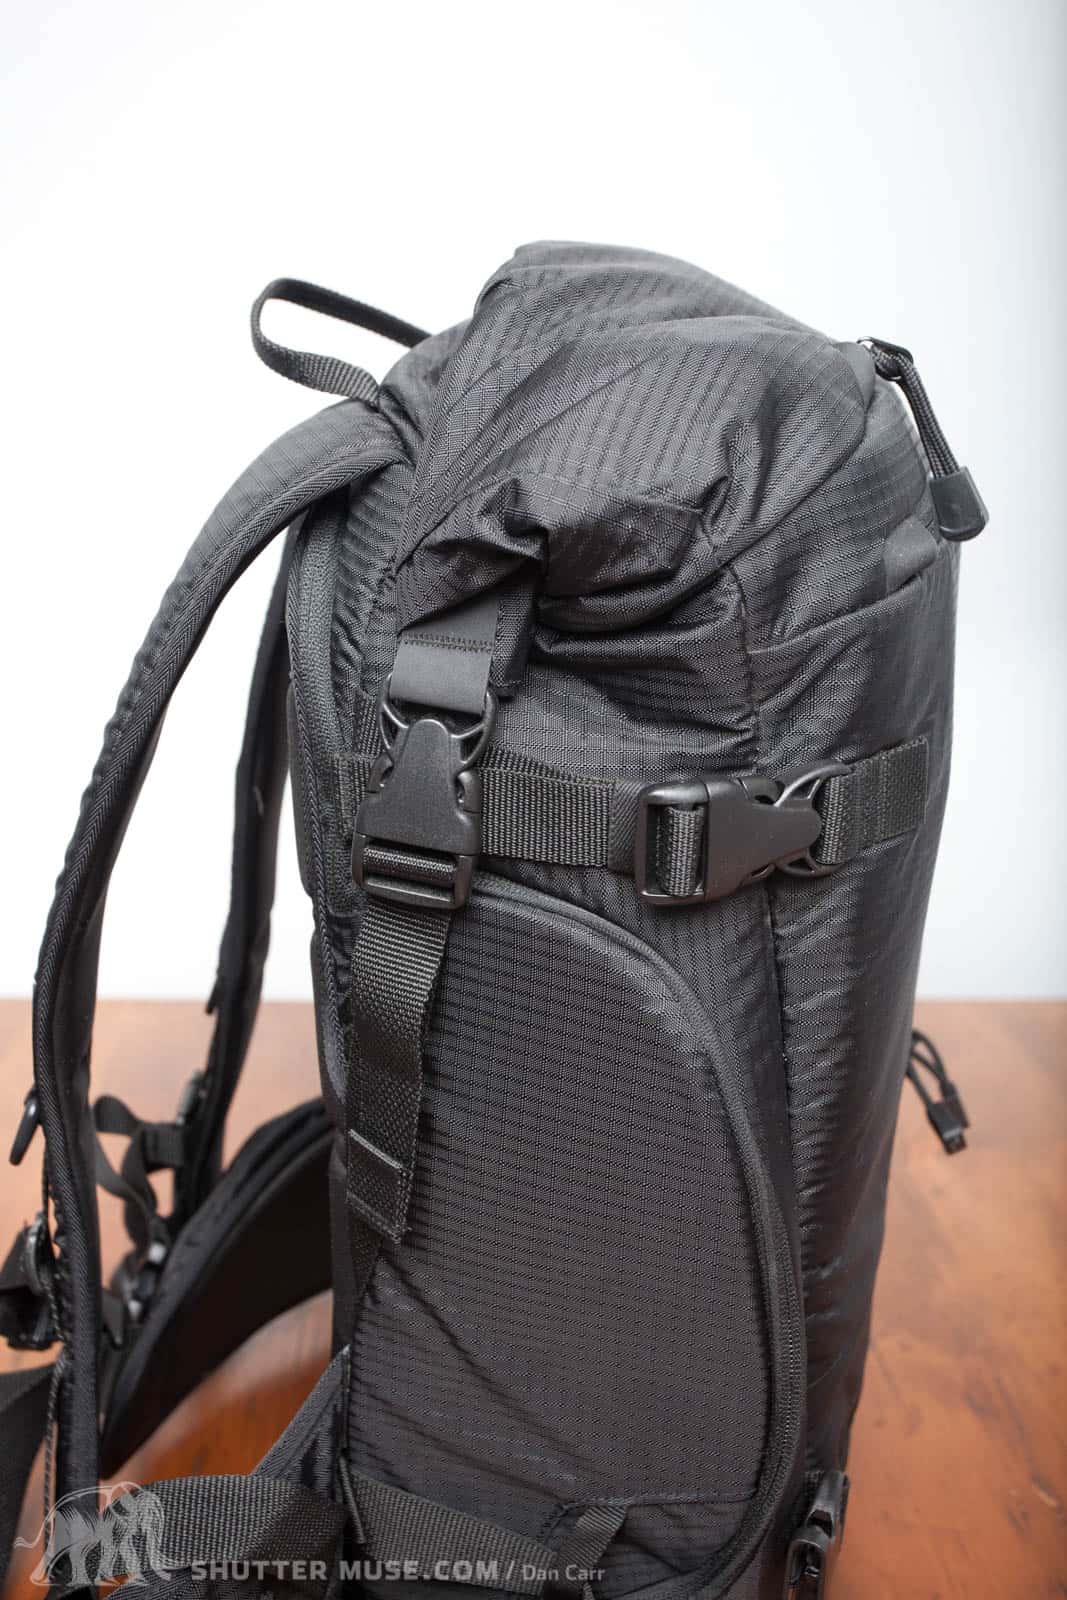
The roll top seems like it would one of the standout features of the bag but it falls short by offering little in the way of extra room. In the photo above you can see that I was able to fit a wind proof mid layer in the top section but that was about it. I had expected this feature to offer much much more room than it actually did. The photo below shows the pack closed up with the mid layer in the top section. The problem for me is that there was just not enough excess material in the roll top. When fully unrolled (as in the photo 2 above here), it looks as though there is a lot of extra material but in order for the bag to close properly and seal away the elements you have to perform one full twist of the top of the roll. Once you have done this there really is almost nothing left of the excess material. You could do a half twist of the top before clipping it but it would allow dirt and water to enter directly. If you refer up to the photos showing the laptop sleeve you’ll notice that there is already room internally on top of the camera compartment and this is where 95% of my mid layer is situated in the above photo. If the pack had a regular top with a zipper on it I still would have been able to fit this layer in there and it would have been faster to open and close. I do like the width of the opening provided by the roll top design but it falls short of my expectations in the area of expanded capacity, where it essentially offers very little. As You’ll have noticed from the topmost profile shots of the bag the roll top has some clever straps which secure it further down the side of the bag. These straps keep the top of the bag sleek just like the rest of the design but leaves me wandering what the disadvantage would have been had the roll top area been given more material. Any excess when not in use could have been rolled up, and when in use the compression straps would still have kept the sleeker, slimmer design.
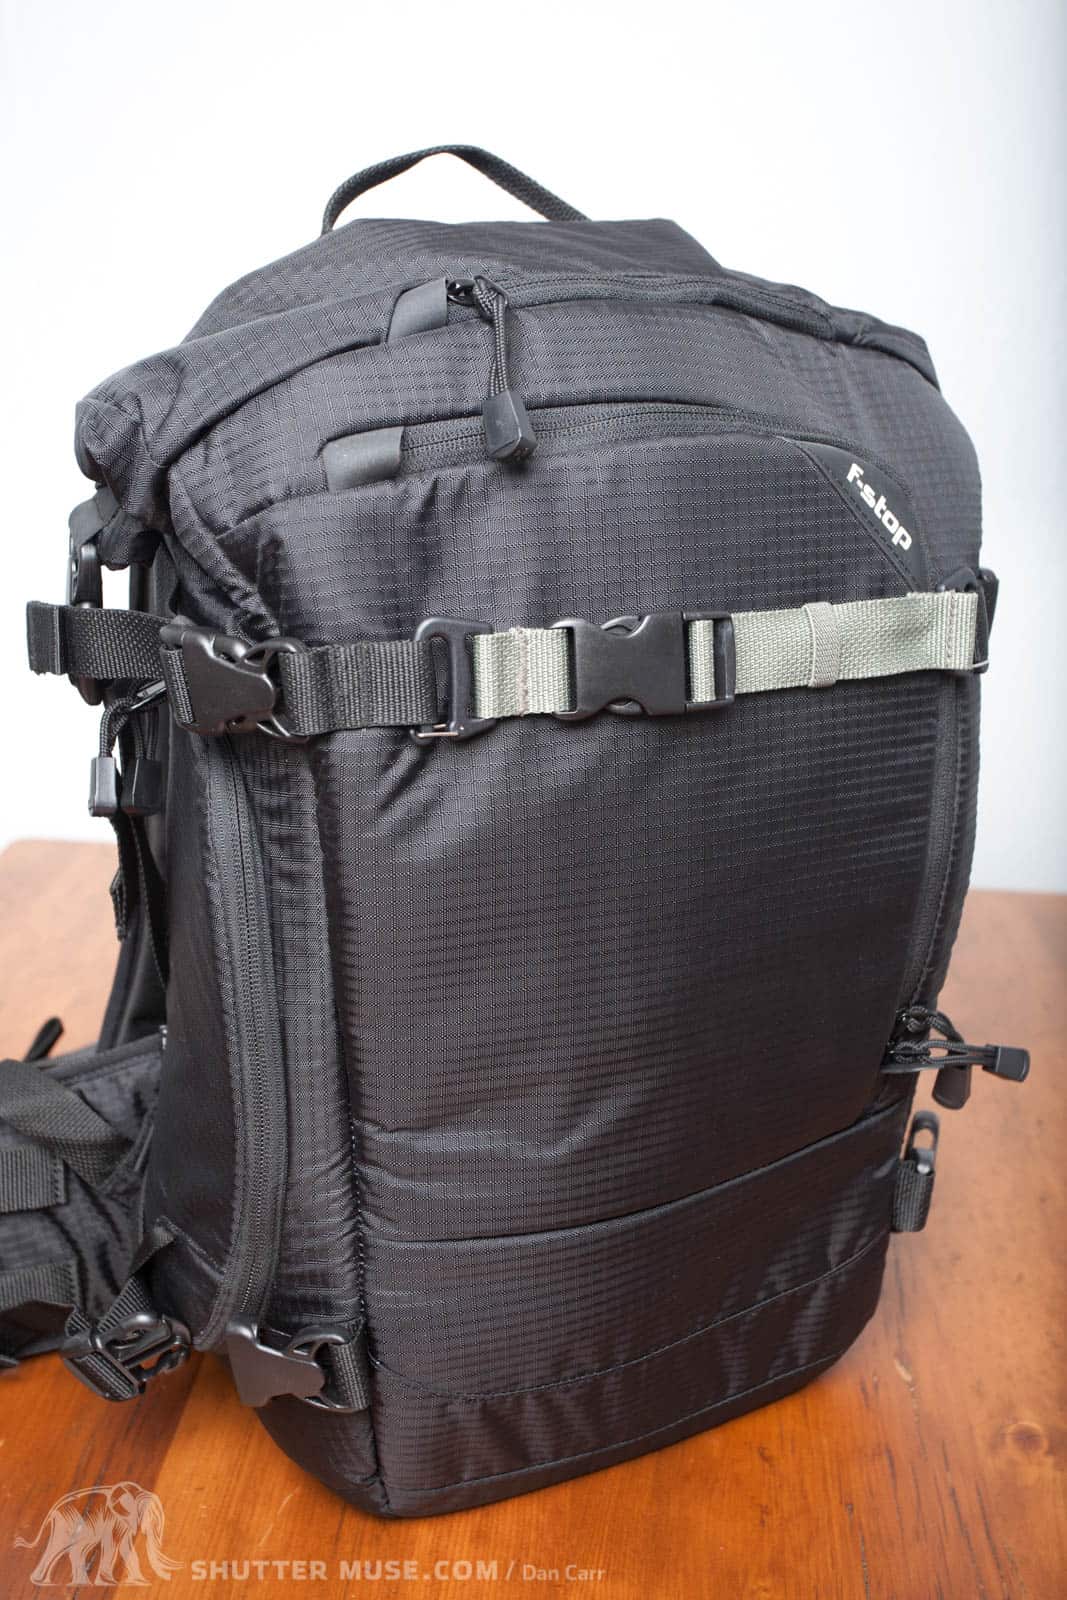
Gatekeeper straps can be used for attaching things like tripods, they cost an additional $15 for a set and much like the rain cover, on a bag that costs $269 I think this should have been included. As you can see in the photo above there is one set of loops for attaching a GateKeeper across the front. When I took the product images I only put the one strap on there because it was not obvious to me that if you want a second strap below that one you should insert it into the same loop as the side strap. Why bother putting loops on the top and not the bottom ? I have no idea, it’s very odd but essentially it makes little difference other than it’s very slightly trickier to insert the straps to begin with. Thankfully the lower strap does fit because that provides a stable way of attaching a tripod to the bag, something which a singe strap (as in the above photo) would not have done. On the issue of tripods, the only other place to put one would be on the side of the bag. Given that the bags main feature is side openings I don’t really rate this as a good place for one as it instantly negates the speed of access. With the bag being quite small as well, anything more than a small to medium sized tripod would really unbalance the load if it was placed on the side. With this in mind I would have preferred to see front straps on the bag as a permanent feature, not an optional GateKeeper solution because I think every bag should come with a good tripod carrying solution. “How well” or “Where can you carry a tripod?” is one of the most asked questions I get about these sorts of bags. In this case I would have to tell someone they should definitely spend a further $15 which is not an ideal answer for a premium quality bag.
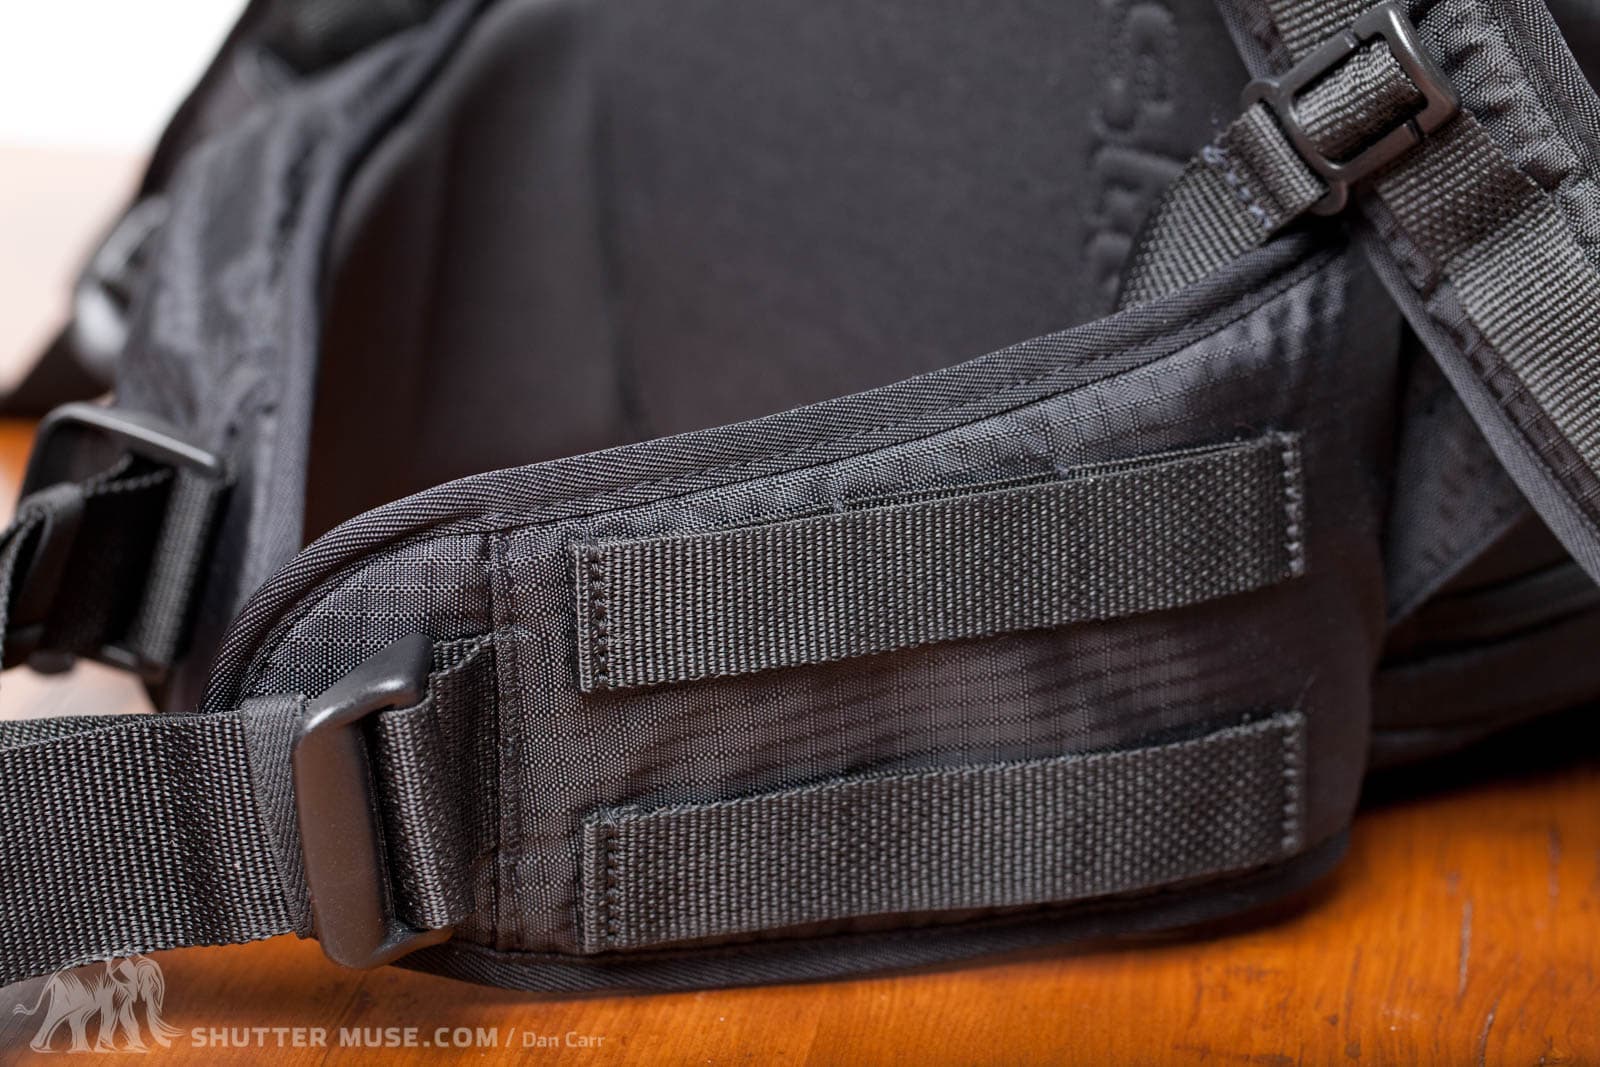
Those of you who have read my Dakota Component review might be wandering about compatibility with the chest mount system for the Navin. If you purchase the $19 chest mount kit with a Navin then Gatekeeper loops are provided on the side of the bag for the two lower straps. Loops are not provided for the top strap though as they are on all the other bags designed to work with the Navin. Much like the missing front panel loops I can’t think why this would be, but you can fit them straps through the webbing loop that also secures the D-rings on the shoulder strap. It works just fine except that it requires a very short strap which leaves you with a large amount of excess strap hanging down on the front, something that would not be the case if dedicated loops were provided as they are on the Tilopa backpack and Satori.
Camera Capacity
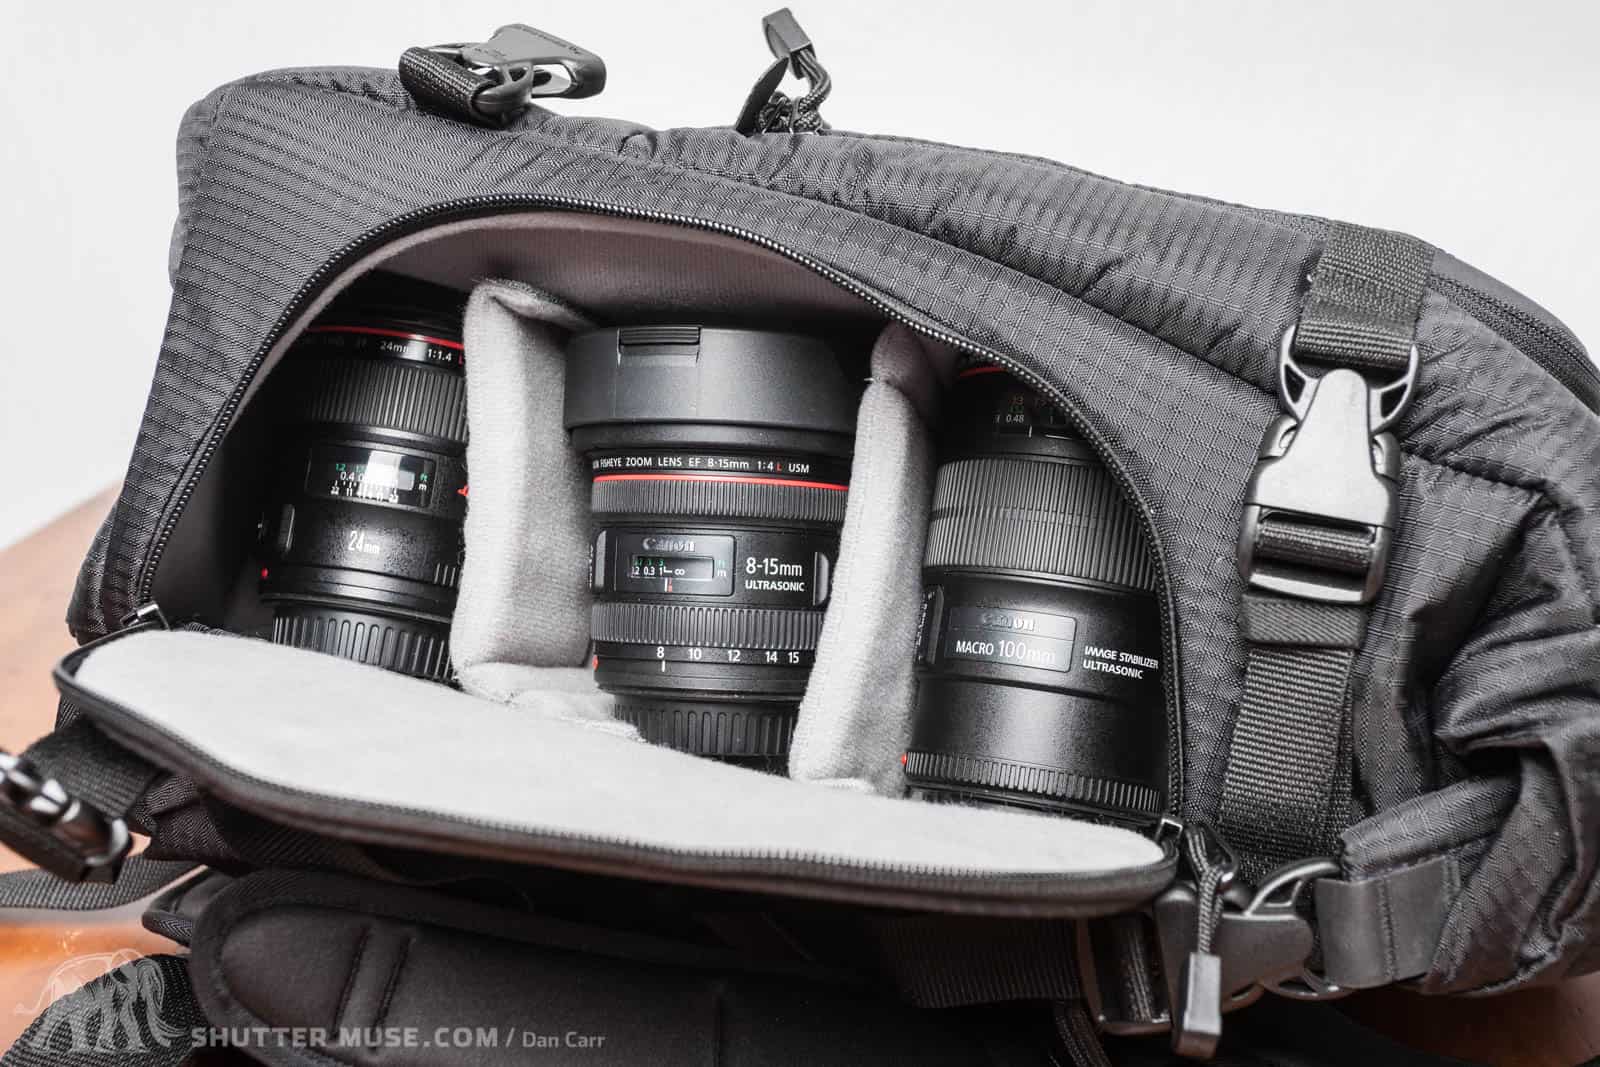
One thing that is nice about the camera compartment design is that the central divider is removable and re-positionable. So you can choose to have lots of depth on one side and much less on another. This is perfect for those just wanting to use one camera body mounted with a lens, and just lenses on the other side. Those who want to have two bodies mounted up will probably leave the divider right in the middle. As you can see, capacity s very roughly 1 body and 4 lenses or two bodies and three lenses, assuming that one of the two bodies would only have a wide angle attached thus leaving room for an extra lens in that side.
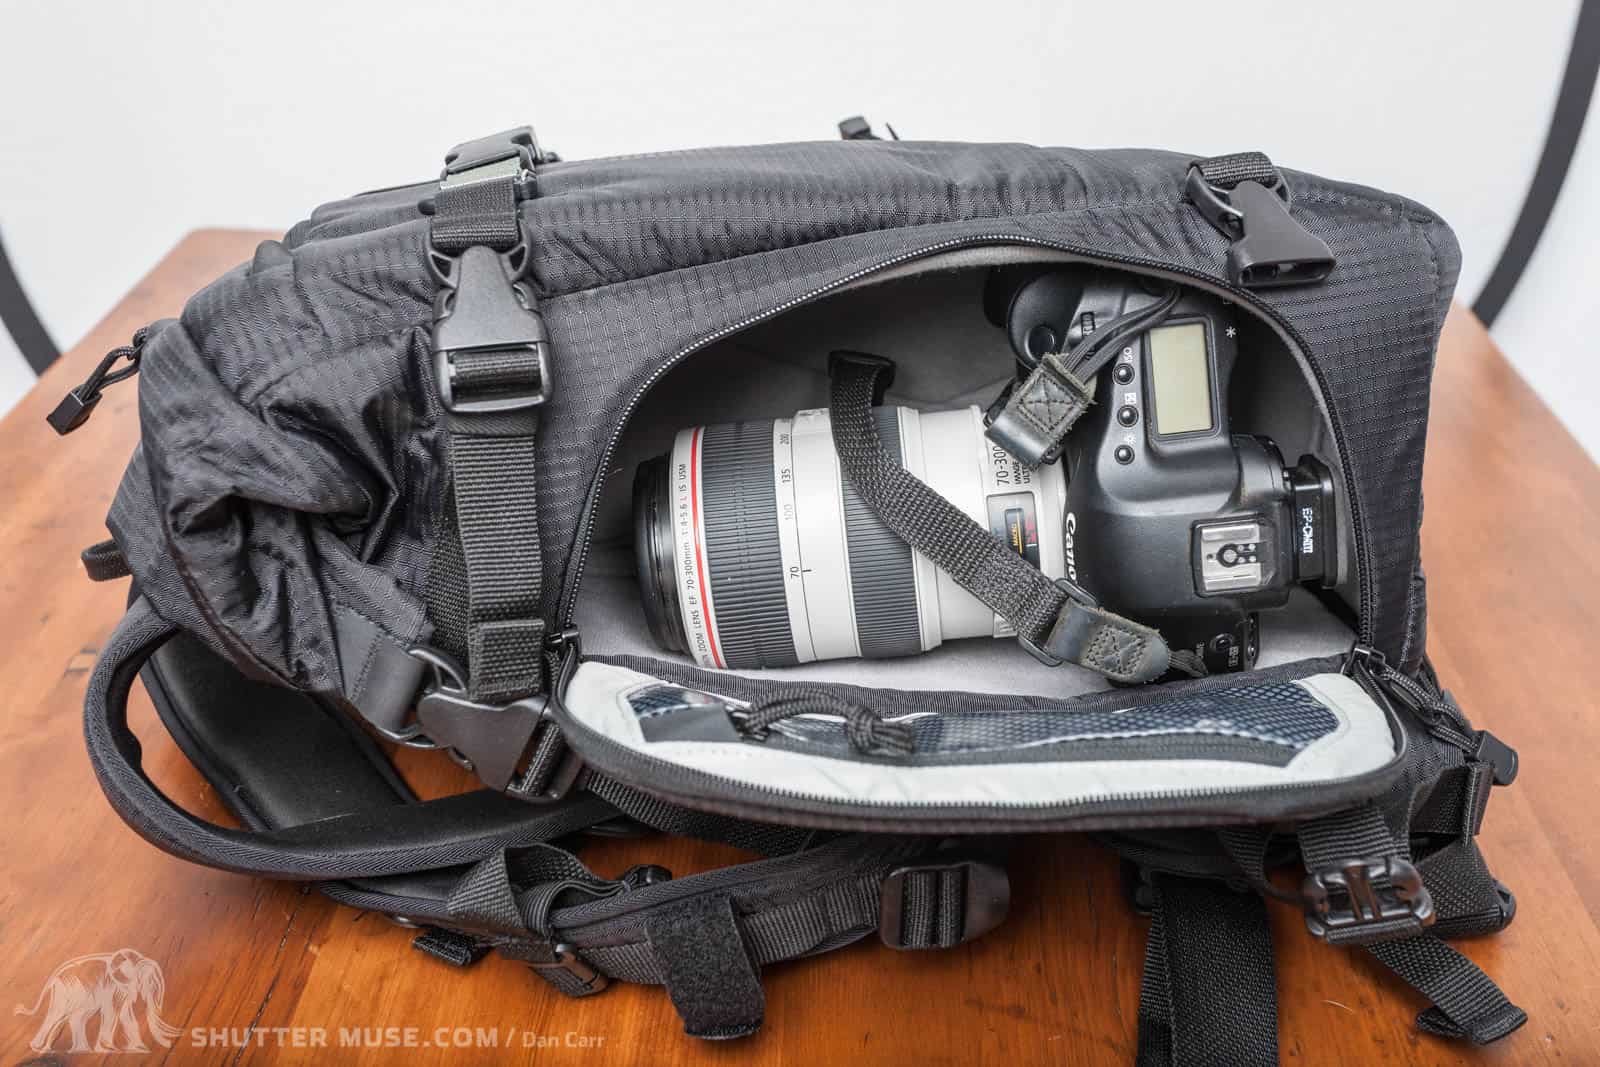
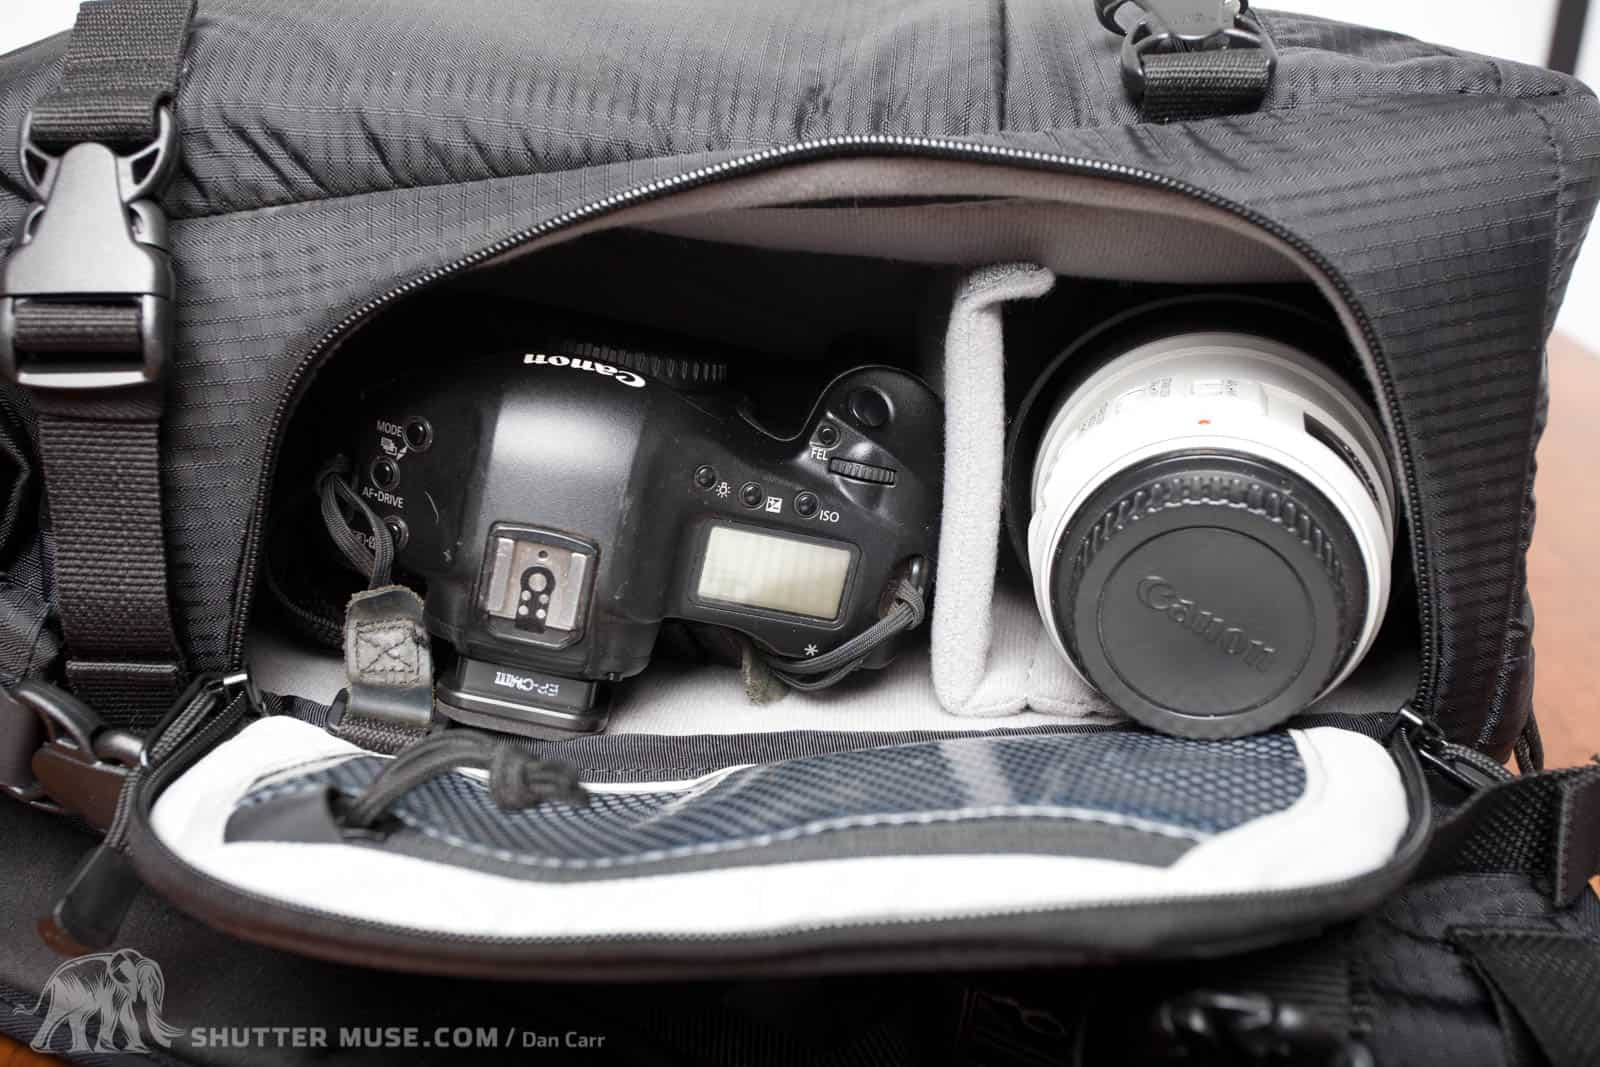
Here we see a Canon 1dMK4 and a 70-300 attached though a 70-200 will also fit. Whilst F-Stop say the bag will accommodate up to a pro sized body, that does come with some caveats. With a laptop inserted into the internal sleeve I was unable to satisfactorily insert the canon 1-Series pro sized camera with lens attached. The only way I could accommodate it comfortably with the laptop was in the configuration shown in the photo below. If you compare the photo above and below you can see the bulge of the 11″ Macbook air encroaching on the camera compartment and making it no longer possible to fit this camera. Note that I was only using a Macbook Air, the slimmest laptop that I’ve ever seen. Those wanting to put a 13″ Macbook will find that it takes up even more space in this area. I say accommodate it ‘comfortably’ because whilst I could physically squeeze the camera in there, with the solid form of the laptop in the front, it pushed the camera grip into an uncomfortable bulge on the back panel which you could easily feel while carrying it.
When using a smaller cameras you can of course rotate the camera to that the side is facing out of the opening rather than the top as in these photos. This clears up the issues with the laptop bulge and the bulge in the back panel and in that way you can very easily accommodate two cameras with lenses attached. For people using things like 5dMKII and 7Ds this is a great way to work, especially for travel photography where you’ll never be quite sure what you are going to find.
Pros & Cons
Pros
- Holds 2 regular sized DSLRs with lenses attached
- Sleek design keeps weight close to your core and allows you to move very freely feeling relatively unencumbered
- Side panel access makes camera retrieval very quick
- Excellent protection for small laptops
- Bike pump sleeve
- Excellent protection of camera gear
- Bombproof feel to the materials and build
Cons
- Relatively expensive, several other manufacturers offering single side access bags for 30-50% less money
- No included rain cover
- Gatekeeper straps an extra expense
- Side mounting of tripod impedes access to the bag so purchase of GateKeepers necessary for tripod
- Roll top section of bag provides limited extra storage room, nothing like what I was expecting
- Uncomfortable when used with full water bladder
- Can’t fit pro sized body in satisfactorily with lens attached when laptop is in laptop sleeve
- Even without laptop in sleeve larger cameras have to be squeezed in tightly
- Laptop hard to access if you have other gear on top of the camera compartment
Conclusion
F-Stop have set the bar so high before with their previous Mountain Series packs but if you’ll pardon the pun, but this one is a bit of a mixed bag. Whilst the double side opening is unique, it’s only really useable for someone with two smaller bodies. If that is you and you can live with the bags other foibles then you’ll get on with it. F-Stop’s renowned build quality is here in swathes.
The sleek, well padded design lends itself very well to mountain bike photography but the uncomfortable use of water bladder and limited extra storage at the roll top are a shame. The roll top idea is great, there just isn’t enough of it for me to justify it as a reason to get the pack. As such it’s really going to limit who I would recommend it to when compared to their other small bags like the f-stop Loka and the Guru, both of which are fantastic packs and at a similar price point offer far more flexibility.
I can see it being a great bag to carry around for some urban shooting but at that point you’re paying for some more adventure specific features like the materials and the roll top, when you likely don’t need them. I have had a few days skiing with this pack on mountain and for that use it works very well. Its thin profile means I didn’t even need to take it off my back when I sat on the chair lift which was awesome. Very occasionally when I ski, photos are not my priority, but I like to carry a camera “just in case”. In that scenario this is great pack for the job because the minimal weight is kept close to the body and you can ski like you aren’t even wearing a pack. So far this has been my favourite use of the Kenti.
Bottom line is that if you only want to carry small camera bodies (one or two) and a couple of lenses for a physical activity such as skiing, biking, the small design will suit you very well and your gear will be very well protected. If you need to take pro-sized bodies and almost anything else on your adventure other than your camera gear, you are going to be better off looking something larger. If you still want side panel access then consider the Shimoda Action X v2 series.