A few months ago I got a call from Salomon asking if I would like to be part of a trip to Japan in February. The crew would be Sammy Carlson, Dane Tudor and Mike Henitiuk along with filmers from Salomon and also Poorboyz Productions. I was stoked! Japan was right up there on the list of places I wanted to go and I knew the proposed crew for the trip would be a good one….
We left Vancouver airport heading for Tokyo and then a flight from there to Sapporo on Hokaido, Japan’s North Island. Trying to pack gear for long overseas trips like this is always tough. Airlines have all but done away with the old baggage allowances of 2x32kg bags , most now only allow 2x22kg (and sometimes even less). To transport ski equipment, camera equipment and personal items in 2×22 is nearly impossible. My ski gear (skis, boots, poles, ski wear etc) weights in at 20KG on its own. I resign myself to the fact that I’m going to get charged for excess baggage either way. The important thing though is to try and keep it to 2 bags of 32kg. Anything over 32kg must be sent as freight!
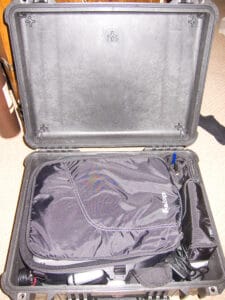 For this trip I took a large Dakine rolling ski bag in which I packed my ski gear, a tripod, a shovel and probe, 2 lightstands and some ski touring equipment. I also packed a pelican a pelican 1550 hard case with my large sized F-stop ICU. In the ICU I put my Elinchrom ranger battery pack and flash head, along with some pocketwizards and a couple of Nikon flashes. One thing that I have always been wary of is how conspicuous the pelican cases look. They can attract far too much attention if you are looking to slip though immigration and customs without being held up for a long time. There’s also the chance that they could get stolen because they scream, I’ve got expensive gear in here.
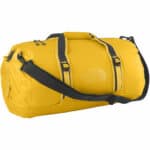
 To combat this I put the pelican case inside a huge 150-liter duffel bag. This time I was using a First Ascent bag available from Eddie Bauer. First Ascent is a new collaboration between Whittaker Mountaineering and Eddie Bauer, affordable mountaineering equipment and clothing. From what I have seen so far it seems like good value and durable stuff and its made from 1000d Cordura nylon. In the same duffel bag I also pack a smaller North Face flyweight duffel bag with all my clothes. That way if there is any problem with that bag being over the limit, I can easily take the clothing bag out and check that separately. It also makes things easier when the airline wants to get into the pelican case to do security checks on the battery pack. They wont have to unpack all my clothes, just simply take the smaller bag out. The tiny North Face duffel is perfect because it only weighs 14oz. I also packed an F-Stop Satori into the duffel to carry the lighting equipment that was in the Pelican case.
Worth mentioning too is that for every single flight I took on this trip , my name was called at the gate and I had to go and meet with the security personnel from the airline to discuss my battery pack. This is nothing new, happens all the time and I don’t blame them at all but make sure you are prepared for it. I wrote an article on my blog about this and if I had not been taking my own advice I think I would have failed to get my bag on all the flights. Every single security agent thanked me profusely for being so well prepared with my paperwork.
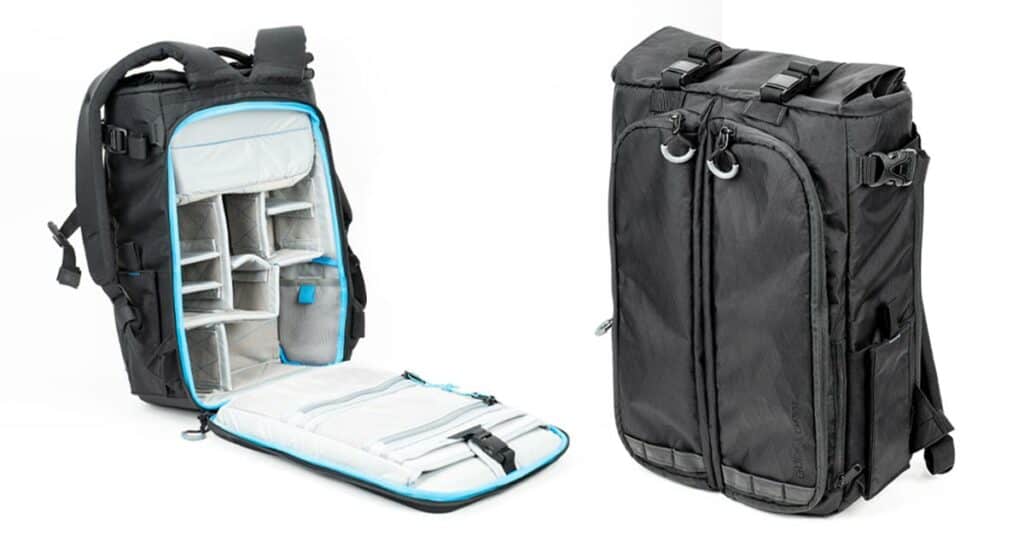
For carryon I packed 2 cameras ( Canon 1dMKIV and Canon 5dMKII) plus 8 lenses into my black F-Stop Tilopa. I like the black Tilopa for flying with because it draws a lot less attention than my red Satori. I don’t want the airline personnel to take a second look at me because then they might decide to weigh my carryon where they would find that it’s over 3 times the allowable weight!! Discretion is key! If your bag does get weighed, there is a good chance that you will have to hang your cameras around your neck and stuff all your lenses in your pockets to get them on the aircraft. This has happened a couple of times to me. Technically you can take a camera on board in that fashion, and nowhere does it restrict the size of that camera. Just in case this happens, I also wrap my camera bodies in Lens Coat body wraps to protect them from scratches if i have to carry them on separately. For this reason I always carry my ski jacket with me too, no matter how warm it is because it has 8 different pockets I can stuff lenses into.
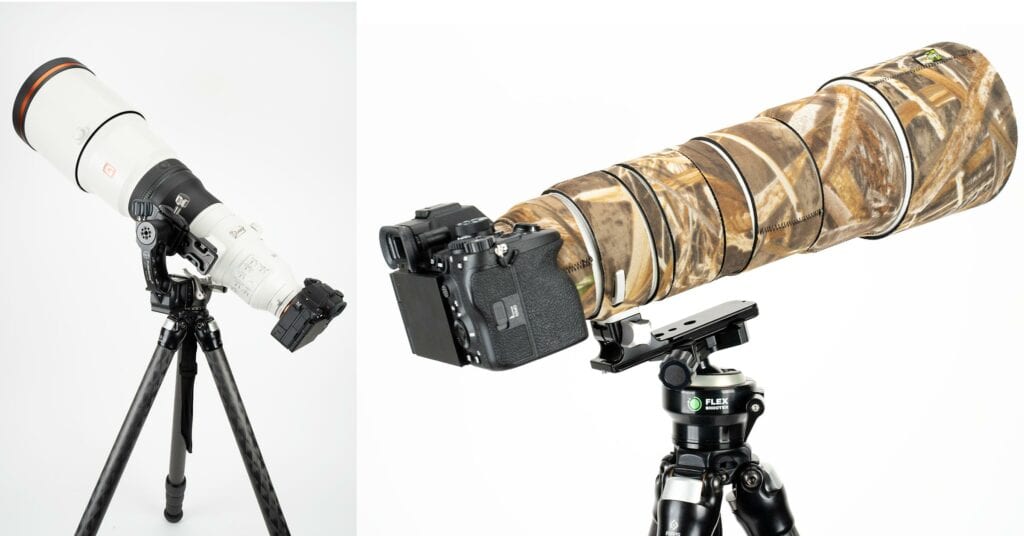
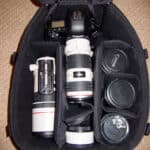 The trip was to be quite long and I was unsure as to exactly what kind of shooting we would be doing. In fact I ended up taking more lighting equipment than I needed, but i’d far rather do that than not take enough. For the majority of the time, the flash gear stayed locked in the pelican case in the back of our rented mini-van. The 5dMKII never came out for skiing on this trip but I did use it for travel pics while we were wandering around Tokyo and Sapporo. This was the first trip that I had used the 1dMKIV though and I was blown away by it, but more on that at a later date. Just trust me for now, its an incredible camera. On the left here you can see my typical daily lens choice while we were there. I had the 300mm f4 , 70-200 f4 IS , 17-40 f4 , 24 1.4II and the 1.4 TC. Other lenses like the 85mm and 50mm and 24-105 went somewhat unused for the trip because we were doing a lot of hiking in very very deep snow, or ski touring, and in those situations I want to keep the weight of my pack down a bit so I can keep up with the athletes!!
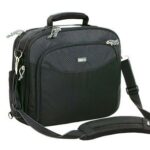 Being an international flight from Canada I was also allowed to take one “personal item” on the plane with me. You are allowed to take a laptop bag as your extra item, but crucially the allowable size of the bag is much bigger than the size of a modern laptop! Use this to your advantage! For my laptop bag I use a Think Tank Airport Check In. Designed specifically for this purpose it allows me to fit a laptop and all my necessary chargers I need neatly into the same bag. I can also fit my extra hard drives as well as my ipod, point and shoot camera and all the necessary travel documents and reading material. When you are on the plane, stash your main camera bag in the overhead bin and then slip the Airport check in under the seat in front of you so you have easy access to all your magazines, books and ipod on the flight. All of your chargers and cables go into a separate case that slides easily in and out of the main compartment and includes dividers to organize things even further.


